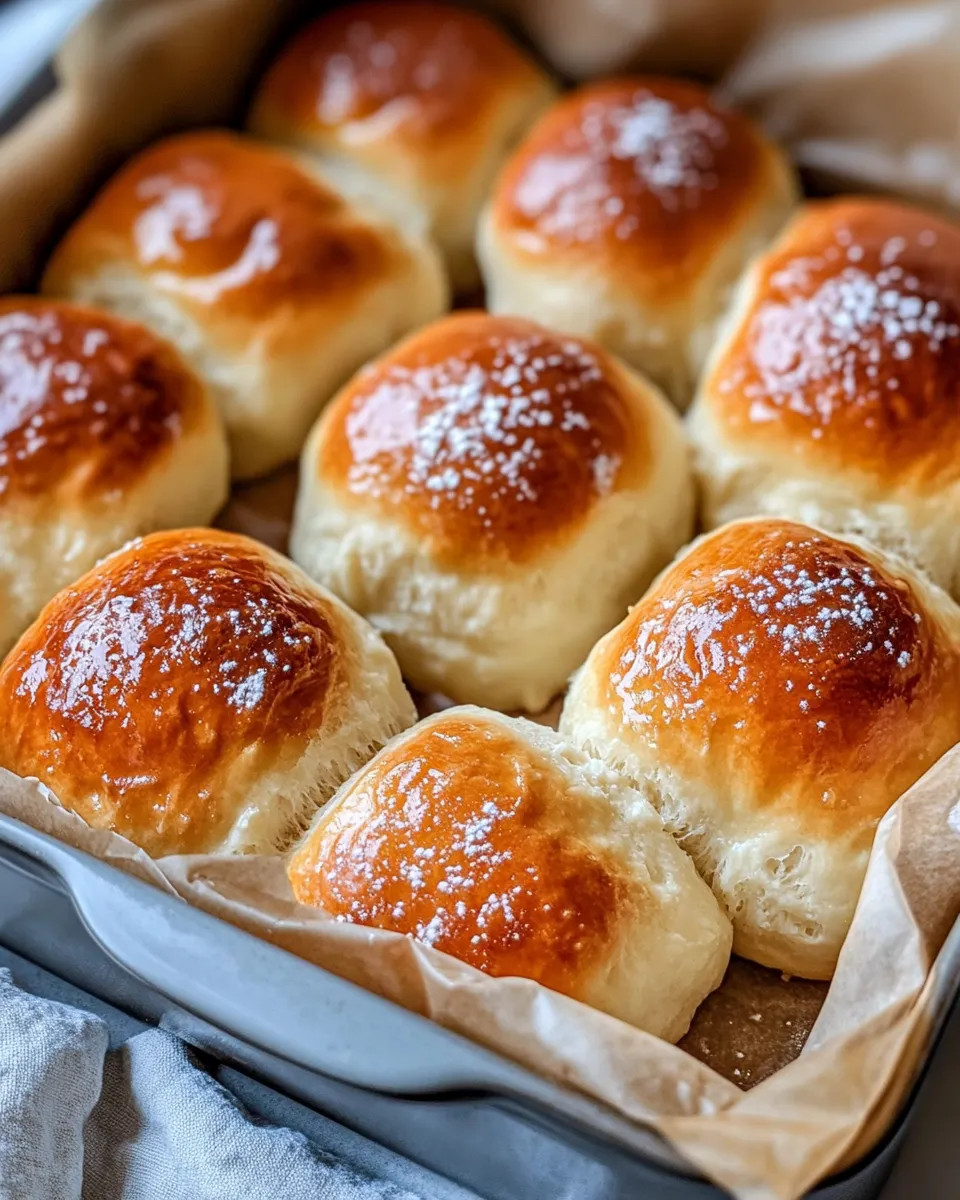
These honey butter dinner rolls are the kind of recipe that becomes a constant in your rotation because they’re forgiving, fast, and endlessly comforting. The dough is a one-bowl mix of self-rising flour and Greek yogurt, which means no waiting around for yeast. You still get a tender, pull-apart roll with a crisp, golden top and a sweet-savory finish courtesy of honey and herbs.
I love making them for weeknight dinners and for holiday tables alike. They hold up well under a pat of extra butter or alongside a bold stew. The method is practical: mix, shape, bake, brush. No complicated folds. No proofing schedules. Just reliable results that taste like you’ve spent way more time on them than you actually did.
Below you’ll find the exact ingredient list and the step-by-step approach I use every time, followed by tips on why this works and how to fix problems if they come up. If you’re short on time but want something homemade and special, these are the rolls to keep in your back pocket.
What You’ll Need
Ingredients
- 1 3/4 cups self-rising flour — gives structure and lift; do NOT substitute with regular flour unless you adjust leavening.
- 1 1/2 cups plain Greek yogurt — provides moisture, tang, and richness; thicker yogurts make handling easier.
- 1 tbsp honey — sweetens the dough and helps browning.
- 2 1/2 tsp fresh herbs (I used sage and thyme) — adds aromatic depth; finely chop for even distribution.
- 1/2 tsp salt — balances the sweetness and enhances flavor.
- Optional topping: flaky sea salt — finish after glazing for a crunchy, salty contrast.
- 1 tbsp unsalted butter, melted — for the glossy, rich brush that finishes the rolls.
- 1 1/2 tsp honey — mixed with butter for the glaze to echo the dough’s sweetness.
- 1/2 tsp fresh herbs — small amount in the glaze for a fragrant top note.
Honey Butter Dinner Rolls: How It’s Done
- Preheat the oven to 375°F (190°C) and prepare an 11×7-inch baking dish (lightly grease or line it).
- In a large bowl (or in a stand mixer fitted with a dough hook), combine 1 3/4 cups self-rising flour, 1 1/2 cups plain Greek yogurt, 1 tablespoon honey, 2 1/2 teaspoons fresh herbs, and 1/2 teaspoon salt. Stir until a shaggy dough forms. If the dough is too sticky to handle, add a little extra self-rising flour as needed.
- Turn the dough out onto a floured surface. Lightly flour your hands and knead the dough a few times until it comes together into a smooth ball.
- Using a bench scraper or knife, divide the dough into 12 even pieces. Roll each piece between your hands to form a smooth ball.
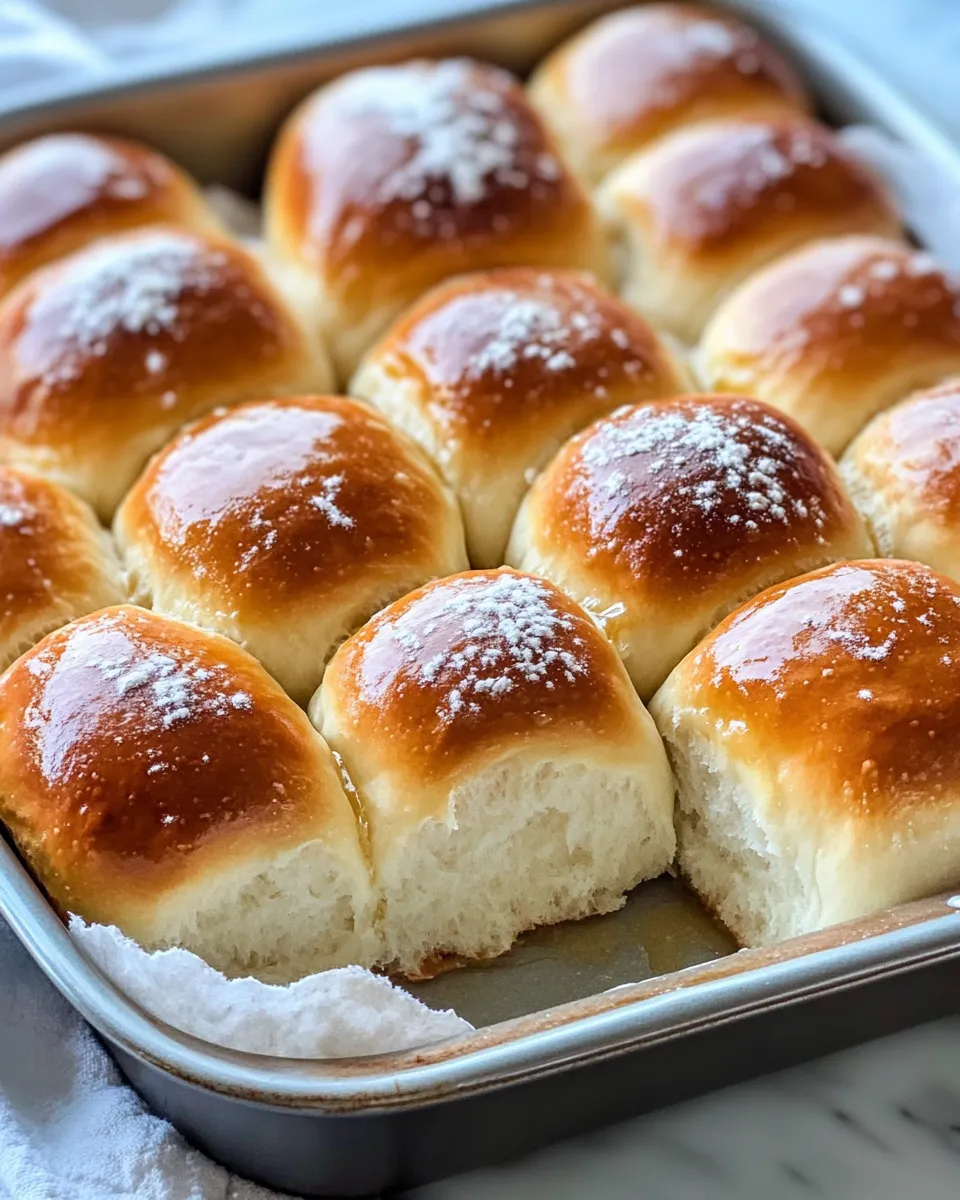
- Arrange the 12 dough balls in the prepared 11×7 baking dish so they are touching (this creates pull-apart rolls).
- Bake in the preheated oven for 30 to 35 minutes, until the tops are golden brown and the rolls are cooked through.
- While the rolls bake (or immediately after removing them from the oven), whisk together 1 tablespoon melted unsalted butter, 1 1/2 teaspoons honey, and 1/2 teaspoon fresh herbs.
- Brush the butter–honey–herb mixture evenly over the hot rolls. Sprinkle flaky sea salt on top if desired.
- Serve warm, pulling the rolls apart to enjoy.
Why You’ll Keep Making It
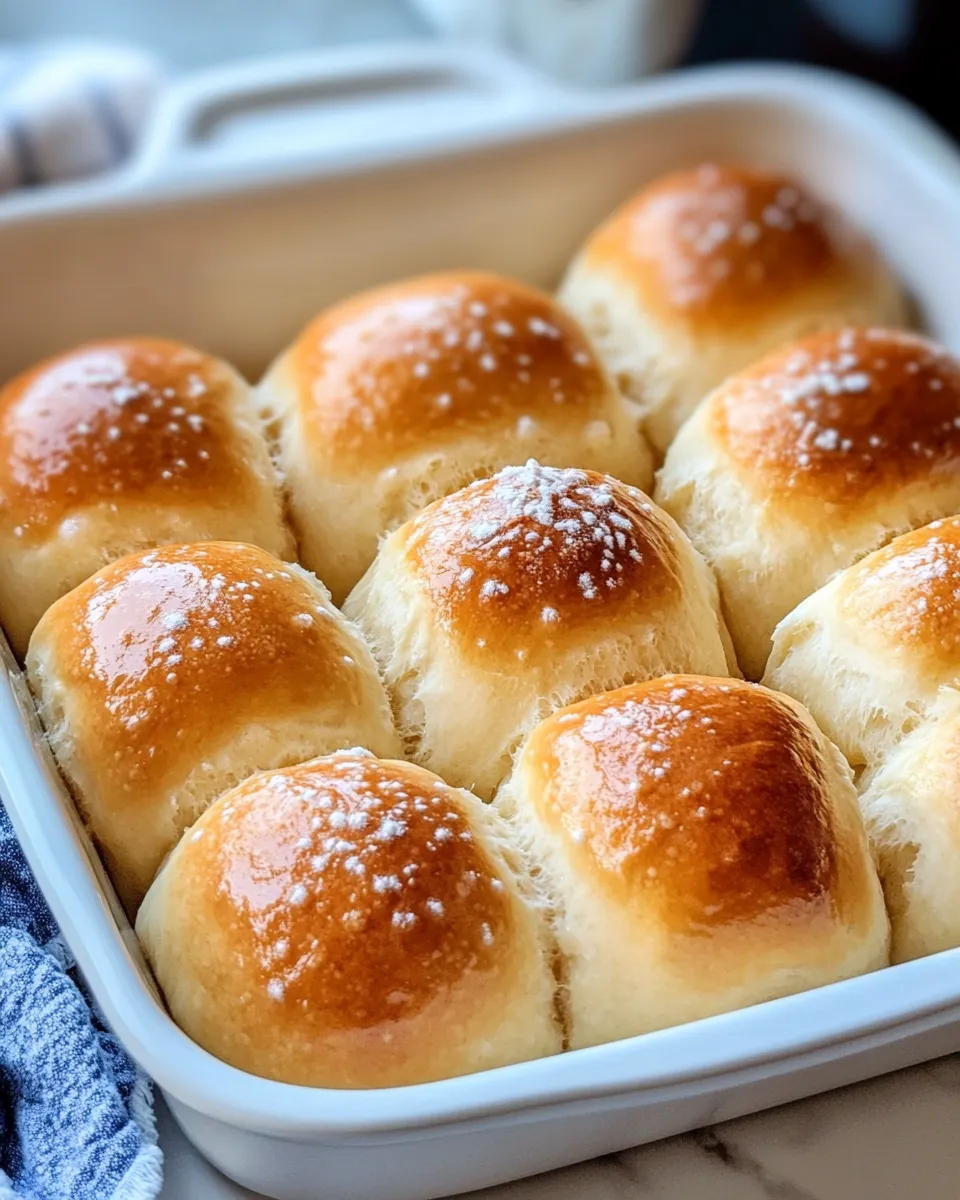
These rolls hit a sweet spot: they feel special but don’t demand special skills. The one-bowl dough cuts down on cleanup; the lack of yeast makes timing predictable. You get soft, tender insides and a golden exterior every time. The honey-herb glaze elevates them beyond simple rolls without adding steps.
They are incredibly versatile. Bring them to a potluck, serve them with soup, or tuck a small spoonful of leftover roast into a split roll for an indulgent sandwich. Because the dough is forgiving, they’re a great place to experiment with different herbs or subtle flavor additions without risking the whole batch.
What to Use Instead
If you want to tweak the flavor or use what you have on hand, small changes work well. Swap the herbs for another fresh herb you enjoy; the amounts in the recipe are mild, so choose something fragrant rather than overpowering. If you prefer a simpler finish, omit the flaky sea salt and brush the rolls with plain melted butter and a touch of honey.
Note: This recipe relies on self-rising flour for its structure and lift. Swapping out that ingredient will require adjusting leaveners and possibly liquid; proceed with caution if you choose to alter the flour base.
Tools of the Trade
Minimal tools are required:
- Large mixing bowl — to combine dough easily.
- Stand mixer with dough hook (optional) — speeds mixing and is helpful for sticky doughs.
- Bench scraper or knife — to divide the dough into even pieces.
- 11×7-inch baking dish — fits twelve rolls closely for pull-apart baking.
- Basting brush — for applying the honey-butter glaze evenly.
Common Errors (and Fixes)
Dough too sticky
Problem: Sticky, unmanageable dough. Fix: Lightly flour your hands and the work surface. Add self-rising flour a tablespoon at a time until the dough can be handled. Don’t overdo it — too much flour will dry the rolls.
Dense or under-risen rolls
Problem: Rolls are heavy rather than soft and pillowy. Fix: Make sure you’re using self-rising flour. If you used a different flour by mistake, the leavening will be off. Also, divide the dough into even pieces so they bake uniformly; uneven sizes can leave smaller rolls overdone while larger ones stay dense.
Tops brown too quickly
Problem: Crust darkens before centers are cooked. Fix: Tent loosely with foil for the last 10 minutes of baking. You can also check oven temperature with a thermometer — some ovens run hot.
Bland flavor
Problem: Rolls taste flat. Fix: Make sure you included the salt in the dough and the honey in the glaze. Fresh herbs make a noticeable difference; if yours are old or weak, replace them for better aroma.
Seasonal Adaptations
Spring and summer: Boost the herb profile with bright options — a little chopped chive or basil folded into the dough after mixing can add a fresh, garden-fresh note. Keep the glaze light and skip heavy savory toppings.
Fall and winter: Use heartier herbs like sage or rosemary (if you prefer, reduce the amount slightly as those herbs can be assertive). A touch more honey in the glaze feels fitting for colder months. Serve warm with soups, stews, or roasted meats for a cozy meal.
Notes on Ingredients
Self-rising flour: This is non-negotiable for the recipe as written. It contains the leavening agents that give the dough lift. If you only have all-purpose flour, you’ll need to add baking powder and salt in precise amounts — that’s a different approach and requires careful measurement.
Plain Greek yogurt: Provides moisture and a tender crumb. Full-fat Greek yogurt yields the richest rolls, but lower-fat versions will work; expect a slightly different texture. If your yogurt is very loose, strain it briefly to thicken for better handling.
Honey: Adds sweetness and promotes browning. The recipe uses honey in both the dough and the glaze to create harmony between interior and finish.
Fresh herbs: They contribute aroma and a savory counterpoint to the honey. If you only have dried herbs, use them sparingly — dried herbs are more concentrated. Chop fresh herbs finely so they distribute evenly in the dough.
Butter and glaze: A simple melted unsalted butter blended with honey and herbs gives that shiny, flavorful finish. Apply it while the rolls are hot so it soaks in slightly and becomes glossy.
Storage & Reheat Guide
Room temperature: Store cooled rolls in an airtight container or a resealable bag for up to 2 days. Warm them gently before serving.
Refrigerator: You can refrigerate for up to 4 days, but keep them tightly sealed to prevent drying.
Freezer: Freeze cooled rolls in a single layer on a sheet until firm, then transfer to a freezer bag for up to 2 months. Thaw at room temperature and reheat in a 325°F (160°C) oven until warmed through.
Reheating: For best texture, reheat in an oven or toaster oven at 300–325°F until warm, about 8–12 minutes depending on size. Microwave in short bursts if you’re in a hurry, but the crust will lose crispness.
Troubleshooting Q&A
Q: My rolls are gummy in the middle. A: They likely need more time in the oven. Tent with foil if the tops are browning too quickly and continue baking until a skewer comes out clean. Also ensure the pieces were evenly sized.
Q: The dough won’t come together. A: Your yogurt could be unusually thin or you mixed in too much flour while trying to compensate. Add a splash more yogurt if the dough feels dry, or a dusting of flour if it’s too sticky. Aim for a soft, slightly tacky ball.
Q: Can I make these ahead? A: Yes. Assemble into the dish, cover tightly, and refrigerate overnight. Bring to room temperature before baking and add a few extra minutes to the bake time if cold. Alternatively, bake fully, cool, and reheat when needed.
Q: How do I get an even herb distribution? A: Finely chop the herbs and stir them into the yogurt before adding to the flour. That helps them disperse evenly without overworking the dough.
See You at the Table
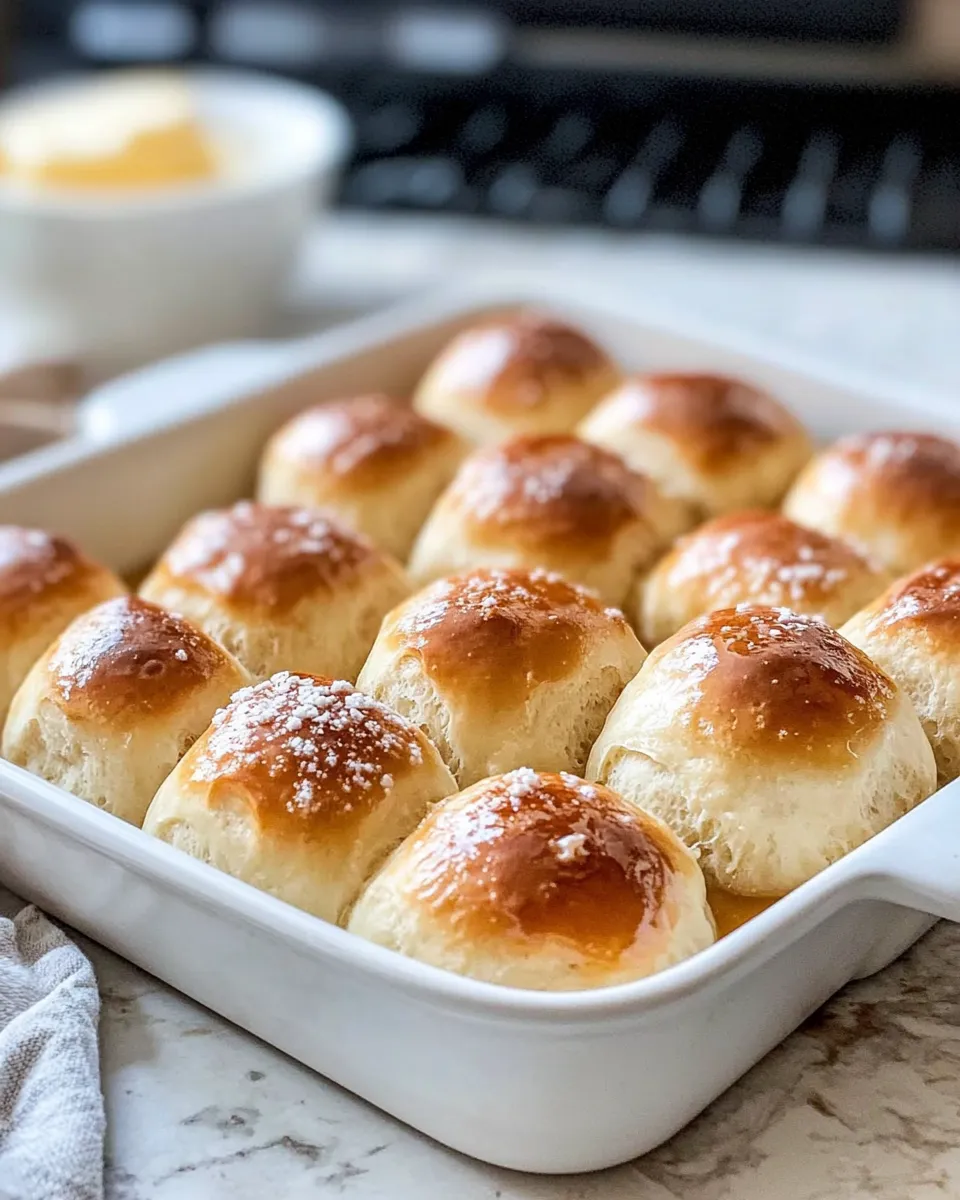
These honey butter dinner rolls are simple, dependable, and show up beautifully whether you’re feeding the family on a Tuesday or setting a table for guests. The method keeps things practical: minimal hands-on time, a single pan, and predictable timing. You’ll get soft, fragrant rolls with a glossy, honeyed finish that pulls apart in perfect little parcels.
Make a batch, keep extras in the freezer, and don’t be afraid to nudge the flavors toward your favorites with different herbs or a touch more honey on top. When you serve them warm and everyone starts tearing them apart, that’ll be the moment you know this recipe earns a permanent spot in your meal plan. See you at the table.

Honey Butter Dinner Rolls
Ingredients
Ingredients
- 1 3/4 cupself-rising flour NOT regular flour
- 1 1/2 cupsplain Greek yogurt
- 1 tbsphoney
- 2 1/2 tspfresh herbs I used sage and thyme
- 1/2 tspsalt
- Optional topping: flaky sea salt
- 1 tbspunsalted butter melted
- 1 1/2 tsphoney
- 1/2 tspfresh herbs
Instructions
Instructions
- Preheat the oven to 375°F (190°C) and prepare an 11×7-inch baking dish (lightly grease or line it).
- In a large bowl (or in a stand mixer fitted with a dough hook), combine 1 3/4 cups self-rising flour, 1 1/2 cups plain Greek yogurt, 1 tablespoon honey, 2 1/2 teaspoons fresh herbs, and 1/2 teaspoon salt. Stir until a shaggy dough forms. If the dough is too sticky to handle, add a little extra self-rising flour as needed.
- Turn the dough out onto a floured surface. Lightly flour your hands and knead the dough a few times until it comes together into a smooth ball.
- Using a bench scraper or knife, divide the dough into 12 even pieces. Roll each piece between your hands to form a smooth ball.
- Arrange the 12 dough balls in the prepared 11×7 baking dish so they are touching (this creates pull-apart rolls).
- Bake in the preheated oven for 30 to 35 minutes, until the tops are golden brown and the rolls are cooked through.
- While the rolls bake (or immediately after removing them from the oven), whisk together 1 tablespoon melted unsalted butter, 1 1/2 teaspoons honey, and 1/2 teaspoon fresh herbs.
- Brush the butter–honey–herb mixture evenly over the hot rolls. Sprinkle flaky sea salt on top if desired.
- Serve warm, pulling the rolls apart to enjoy.
Equipment
- Oven
- 11x7-inch baking dish
- Large Mixing Bowl
- stand mixer (optional)
- Bench Scraper or Knife
- Measuring cups and spoons
Notes
Optional: sprinkle flaky sea salt on top before serving.