I cook rice several times a week and freezing it changed my kitchen life. It saves time on busy nights, cuts down on waste, and keeps texture and flavor surprisingly close to fresh when done right. In this post I’ll walk you through a reliable, no-frills method for cooking, cooling, freezing, and reheating rice so it behaves well in the freezer and on the plate.
There’s no mysterious equipment required and no special tricks — just attention to temperature and packing. I write like I cook: practical, direct, and with the little details that actually matter. Follow the steps exactly for predictable results, and lean on the tips later in the post when you want to tweak timing or portions.
If you’re a meal-prepper, parent, or home cook who hates soggy microwaved rice, this technique will become one of the easiest ways to save time. Ready? Let’s get into the ingredients and the step-by-step method that keeps rice tasting fresh even after being frozen.
What Goes In
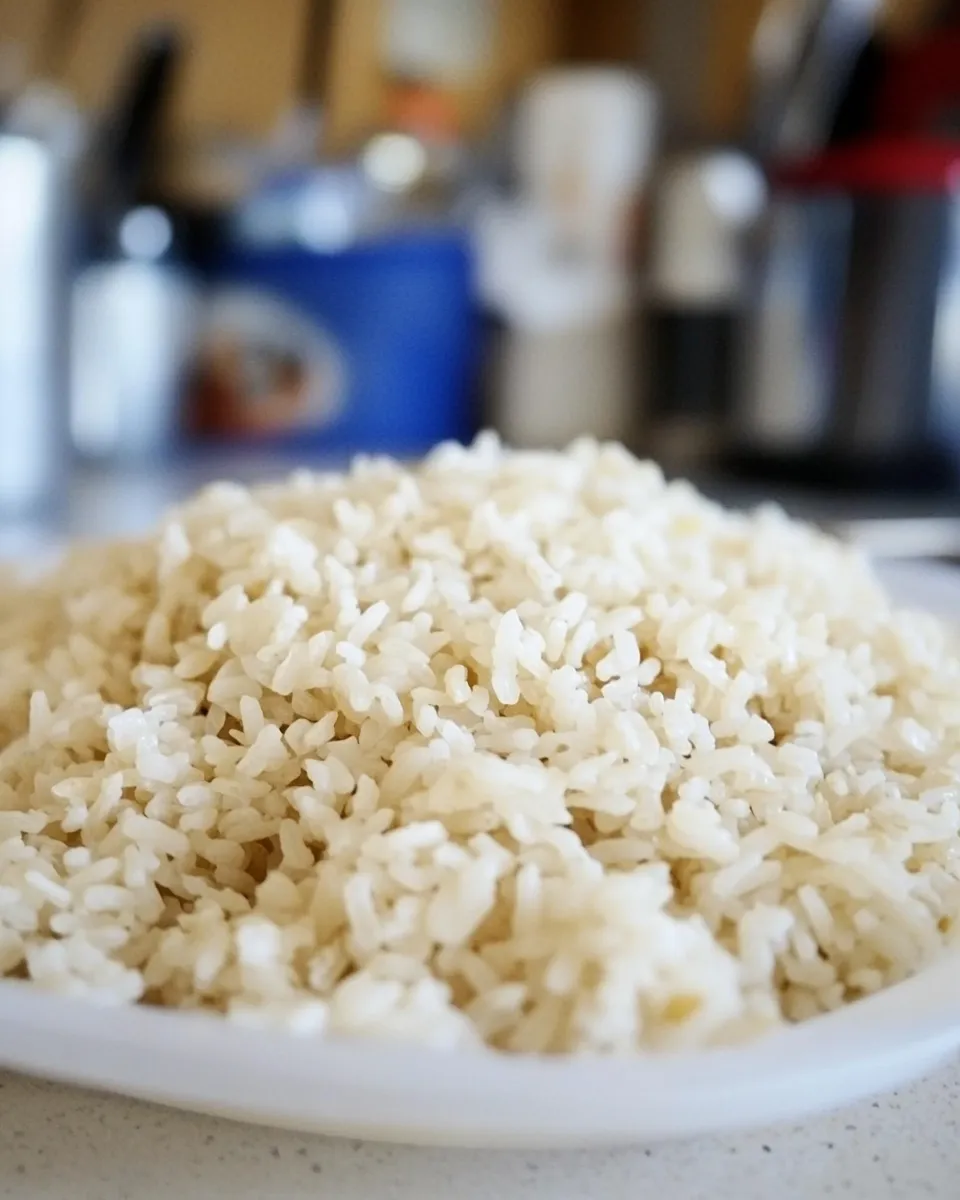
- 4 cups brown rice — the main ingredient; brown rice holds up well to freezing and reheating because of its firmer grains.
- 8 cups cold water — used for cooking; the 2:1 water-to-rice ratio gives fully tender grains for this method.
- salt to taste, optional — seasons the pot while cooking; add sparingly if you plan to use the rice in multiple dishes.
Mastering Freeze Rice: How-To
- Rinse 4 cups brown rice under cold running water until the water runs clear; drain well.
- Place the rinsed 4 cups brown rice, 8 cups cold water, and salt to taste (optional) into a large pot.
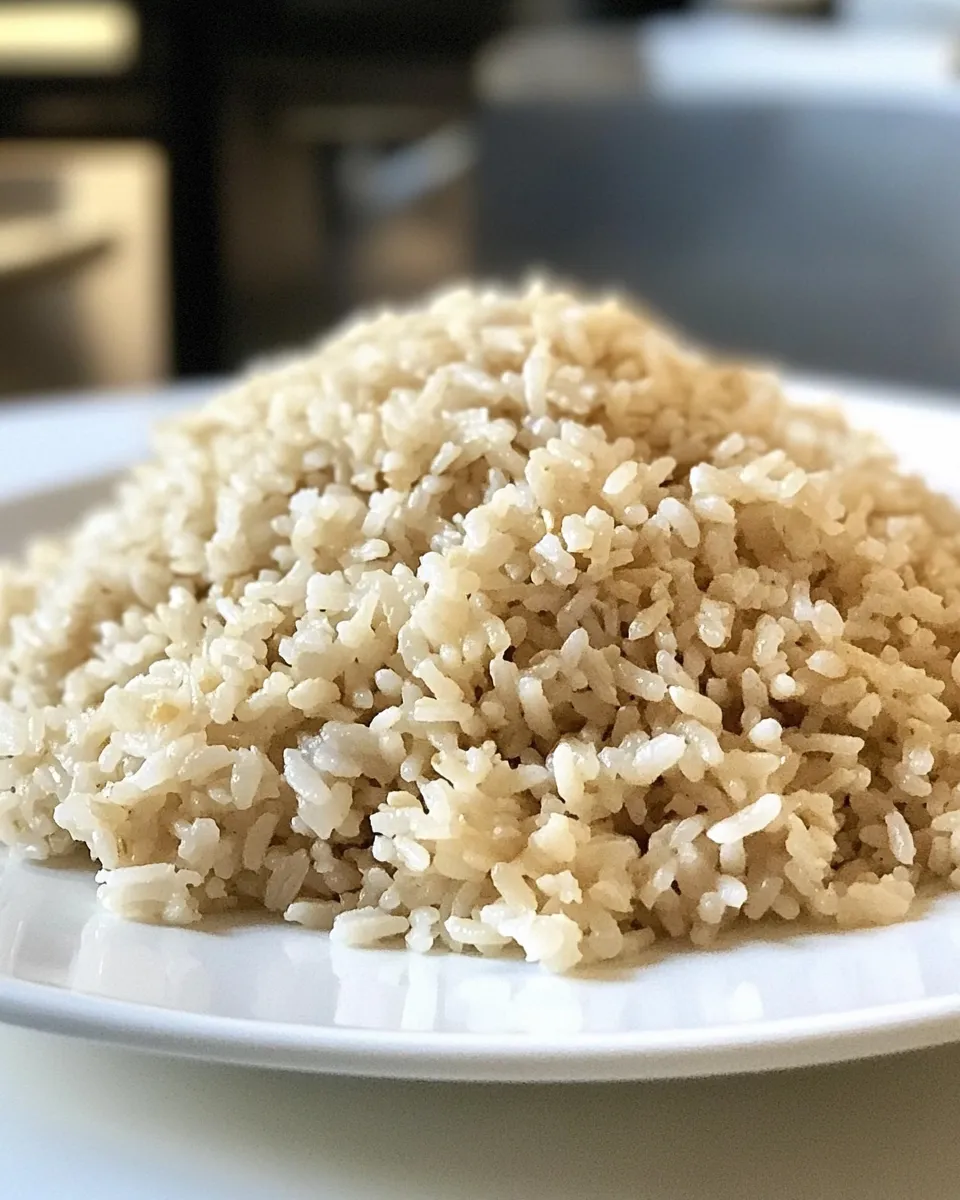
- Cover the pot, bring to a boil over high heat. Once boiling, reduce heat to low to maintain a gentle simmer, keep covered, and cook until the rice is completely soft (check a few grains for tenderness).
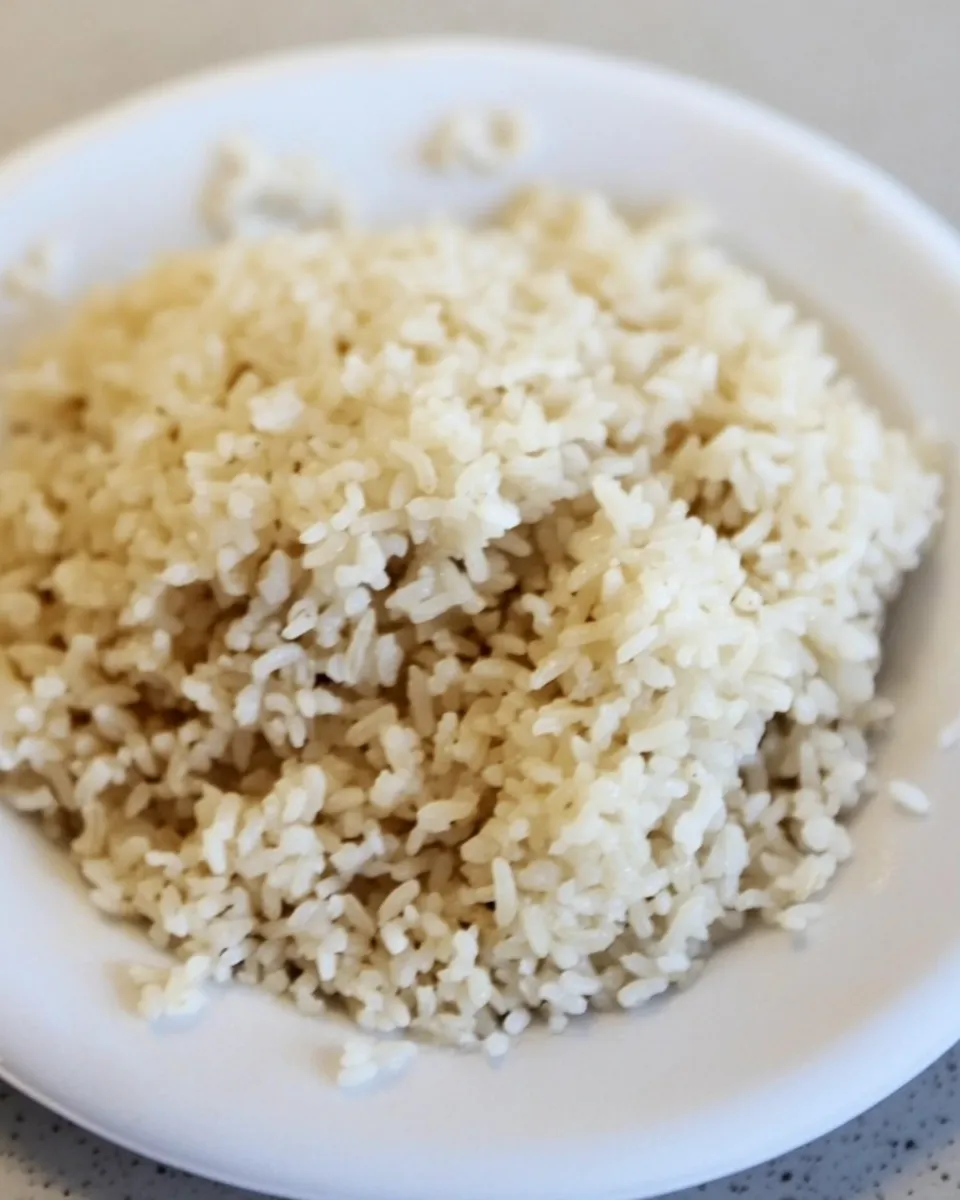
- Remove the pot from heat and use a fork to fluff the rice.
- Cool the rice uncovered on the counter for 30–45 minutes, until it reaches room temperature.
- Divide the cooled rice into 4 equal portions and place each portion into a freezer bag. Press out as much air as possible, seal the bags, and freeze.
- To reheat, open a frozen bag, add 1–2 tablespoons of water, and microwave 3–5 minutes or until hot. Close or cover as needed while reheating.
Why It’s My Go-To
This method balances convenience and quality. Using a full pot and a generous cooking time ensures the brown rice becomes completely soft — no gritty center. Cooling to room temperature before freezing prevents condensation in the bag, which helps avoid ice crystals and freezer burn. Dividing into equal portions saves headaches later: grab the right amount for a bowl, a stir-fry, or meal-prep containers without defrosting the whole batch.
I also like that the technique uses only pantry staples and a microwave for reheating. The timings are forgiving enough for busy households. The flavor and texture after reheating are excellent when you follow the cooling and packaging steps — no gluey clumps, no dry, chalky grains.
Low-Carb/Keto Alternatives
If you’re on a low-carb or keto plan, rice itself isn’t ideal. Here are swap ideas that freeze and reheat well so you can keep the same workflow:
- Cauliflower rice — steam, cool quickly, portion into bags, and freeze. Reheat with a splash of water; texture is softer but pleasant in many dishes.
- Shredded cabbage or konjac rice — both hold up to freezing if blanched briefly, cooled properly, and packed tight to remove air.
Essential Tools for Success

- Large pot with a lid — you need space for a full 4 cups of rice plus water without boiling over.
- Fine-mesh sieve — for rinsing rice until the water runs clear; removes surface starch that can make rice gummy.
- Fork — for fluffing the rice so steam escapes and grains separate before cooling.
- Freezer bags (quart or gallon) — thin enough to press out air, sturdy enough to resist punctures; label them with date and portion size.
- Counter space — cooling uncovered for 30–45 minutes needs a safe spot away from drafts and pets.
Slip-Ups to Skip
- Freezing hot rice — putting hot rice in the freezer causes condensation and ice crystals; cool first.
- Sealing bags with trapped air — air equals freezer burn and weaker texture. Press out air before sealing.
- Skipping the fluff — not fluffing leaves compact clumps that freeze into unwieldy blocks.
- Microwaving without adding water — frozen rice reheats much better with 1–2 tablespoons added to restore moisture.
Dietary Swaps & Alternatives
Beyond the low-carb ideas, other swaps work depending on your dietary needs:
- White rice — if you prefer quicker-cooking rice, use white rice with adjusted cooking time and less water (but follow the same cooling and bagging approach).
- Mix-ins for flavor — if you like cooking rice with aromatics (bay leaves, garlic, broth), you can, but be mindful of salt levels since the rice will be used across dishes.
- Gluten-free — plain rice is naturally gluten-free; watch sauces or mix-ins if freezing rice for later use in complex meals.
Pro Tips & Notes
- Divide by meal — portion rice for single meals to avoid repeated thawing and refreezing.
- Label each bag — note date and portion size so you use older bags first and know how long they’ve been frozen (best within 3 months).
- Use flat packs — lay freezer bags flat while freezing for space-saving stacks and faster thawing.
- Quick cool if needed — if your kitchen is warm, spread rice in a thin layer on a rimmed sheet to shorten the cooling time, then bundle into bags.
- Keep seasonings flexible — if you add strong herbs or sodium while cooking, the rice may become single-purpose. Keep it neutral for the most versatility.
Cooling, Storing & Rewarming
Correct cooling is the most important step for freezer-friendly rice. After you fluff the pot, let the rice sit uncovered for 30–45 minutes on the counter until it reaches room temperature. That short window lets steam escape and prevents trapped moisture from turning into freezer crystals.
Storing
Divide the cooled rice into 4 equal portions and press each into a freezer bag. Squeeze as much air out as possible and seal. Lay bags flat in a single layer in the freezer until fully frozen, then stack. Stored this way, rice keeps quality for around 2–3 months; it’s still safe longer, but flavor and texture decline over time.
Rewarming
Open a frozen bag, add 1–2 tablespoons of water to restore moisture, and microwave 3–5 minutes or until hot. If you prefer stovetop, drop frozen rice into a covered skillet with a splash of water and steam on low, stirring occasionally until heated. For oven reheating, place rice in a covered oven-safe dish with 1–2 tablespoons water and bake at 350°F (175°C) until hot.
Troubleshooting Q&A
- Q: My reheated rice is dry — what went wrong? — A: You likely didn’t add enough water before reheating or the bag had too much air and the rice dried in the freezer. Add 1–2 extra tablespoons of water and stir while heating.
- Q: The rice turned out gummy after freezing — help. — A: Gummy texture can result from not rinsing the rice well or overcooking so the grains break down. Rinse until the run-off is clear and check grain tenderness while cooking to avoid mush.
- Q: How long can I safely keep the rice frozen? — A: For best taste and texture, use within 2–3 months. Properly frozen rice stays safe longer but quality drops.
- Q: Can I refreeze rice after reheating? — A: Avoid refreezing reheated rice. Only freeze once after the initial cooking and cooling cycle to maintain safety and texture.
- Q: Is it okay to freeze flavored rice? — A: Yes, but bold flavors and added fats may change how the rice reheats. Keep strong spices or sauces separate if you want maximum flexibility.
Bring It to the Table
Frozen rice is a kitchen MVP. Pull a bag to make a quick bowl with beans and sautéed veggies, to tuck under a curry, or to toss into fried rice straight from the freezer. For fried rice, thaw partially or microwave briefly — slightly drier rice actually fries better. For bowls and curries, reheat with a splash of water, then finish with a drizzle of oil or a pat of butter for shine.
Small habits make this method effortless: label each bag, freeze flat, and always add a touch of water when reheating. With those steps, your rice will be reliable, versatile, and ready exactly when you need it.
How to Freeze Rice
Ingredients
Ingredients
- 4 cupsbrown rice
- 8 cupscold water
- saltto taste optional
Instructions
Instructions
- Rinse 4 cups brown rice under cold running water until the water runs clear; drain well.
- Place the rinsed 4 cups brown rice, 8 cups cold water, and salt to taste (optional) into a large pot.
- Cover the pot, bring to a boil over high heat. Once boiling, reduce heat to low to maintain a gentle simmer, keep covered, and cook until the rice is completely soft (check a few grains for tenderness).
- Remove the pot from heat and use a fork to fluff the rice.
- Cool the rice uncovered on the counter for 30–45 minutes, until it reaches room temperature.
- Divide the cooled rice into 4 equal portions and place each portion into a freezer bag. Press out as much air as possible, seal the bags, and freeze.
- To reheat, open a frozen bag, add 1–2 tablespoons of water, and microwave 3–5 minutes or until hot. Close or cover as needed while reheating.
Equipment
- Large Pot
- Colander
- Fork
- freezer bags
- microwave (for reheating)
Notes
6. Divide the cooled rice into 4 equal portions and place each portion into a freezer bag. Press out as much air as possible, seal the bags, and freeze.