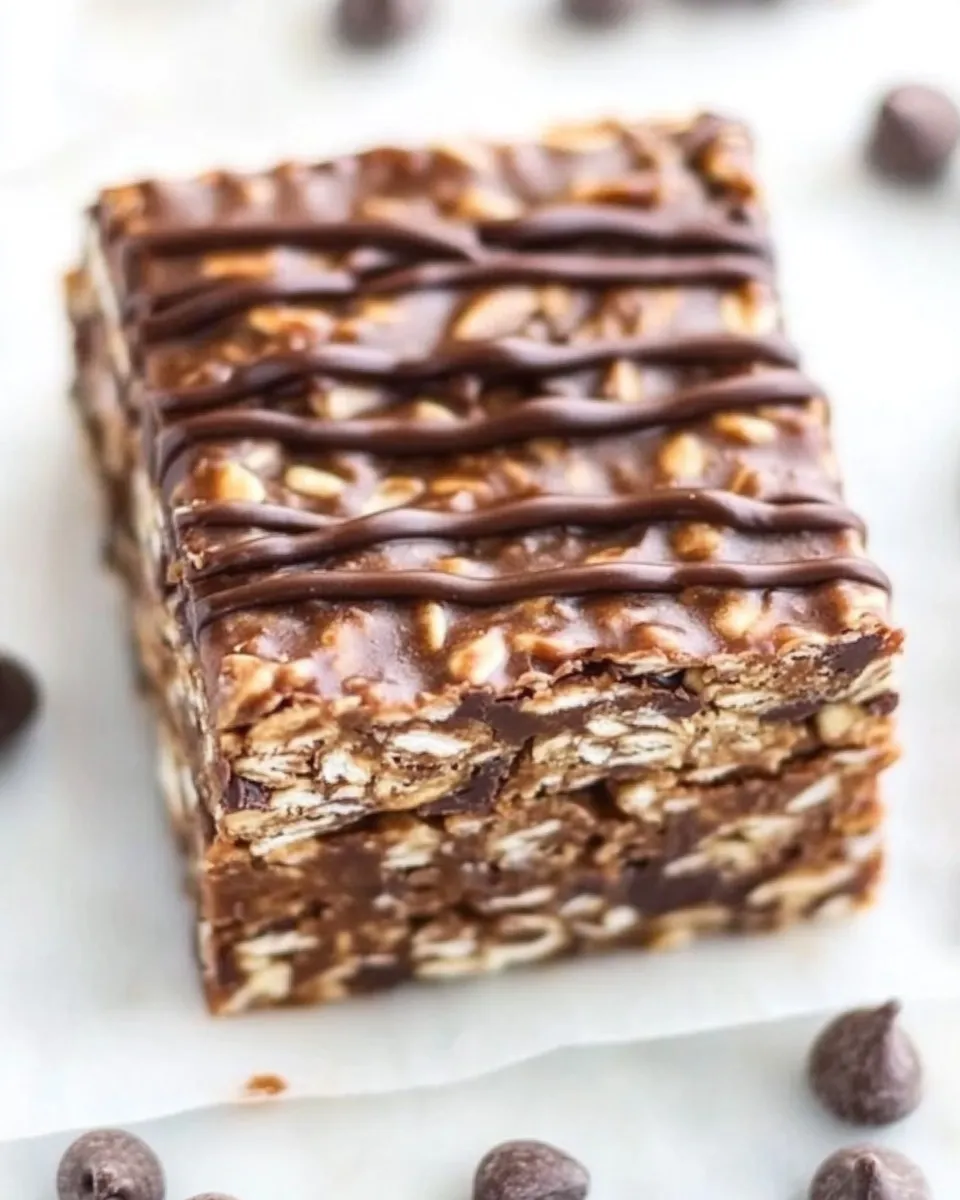
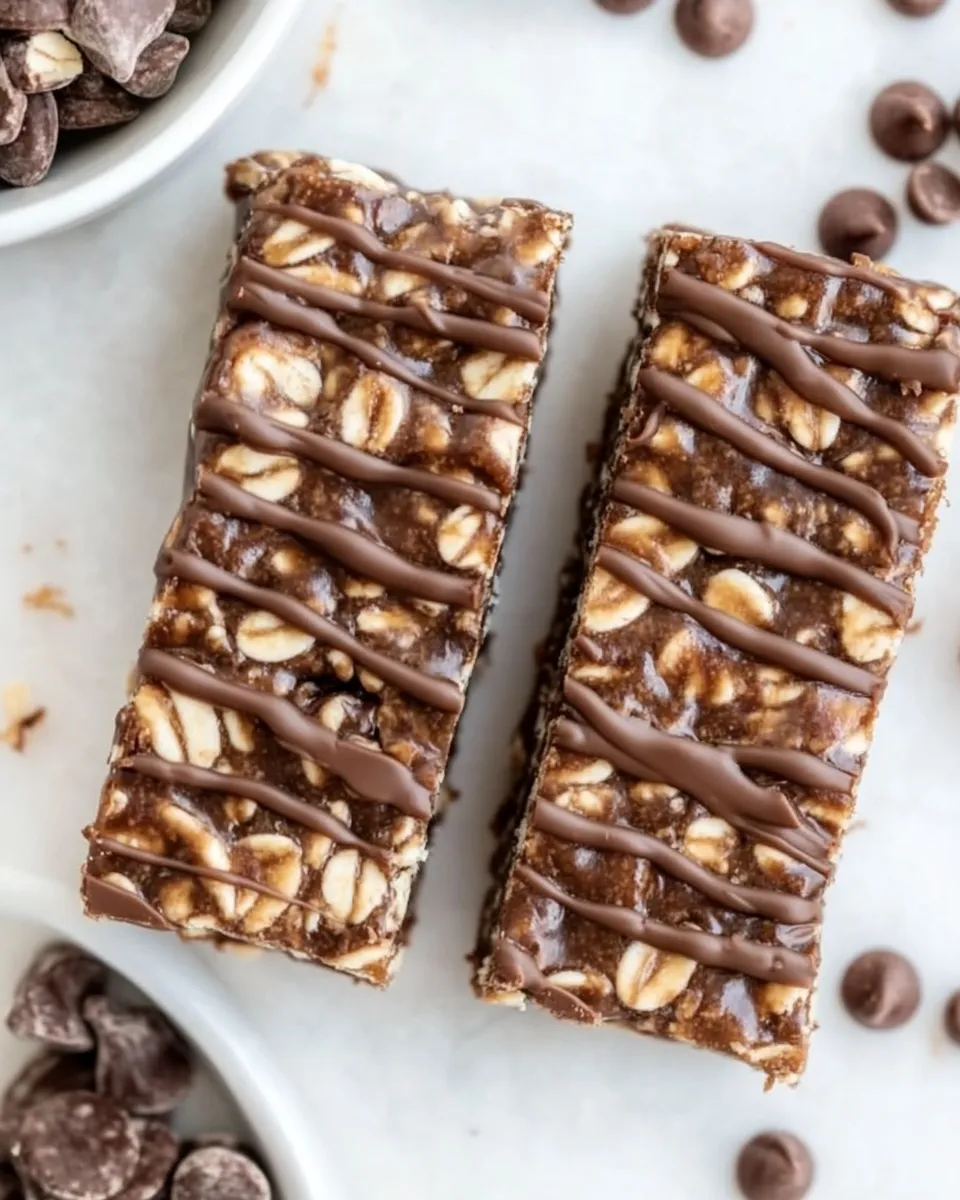
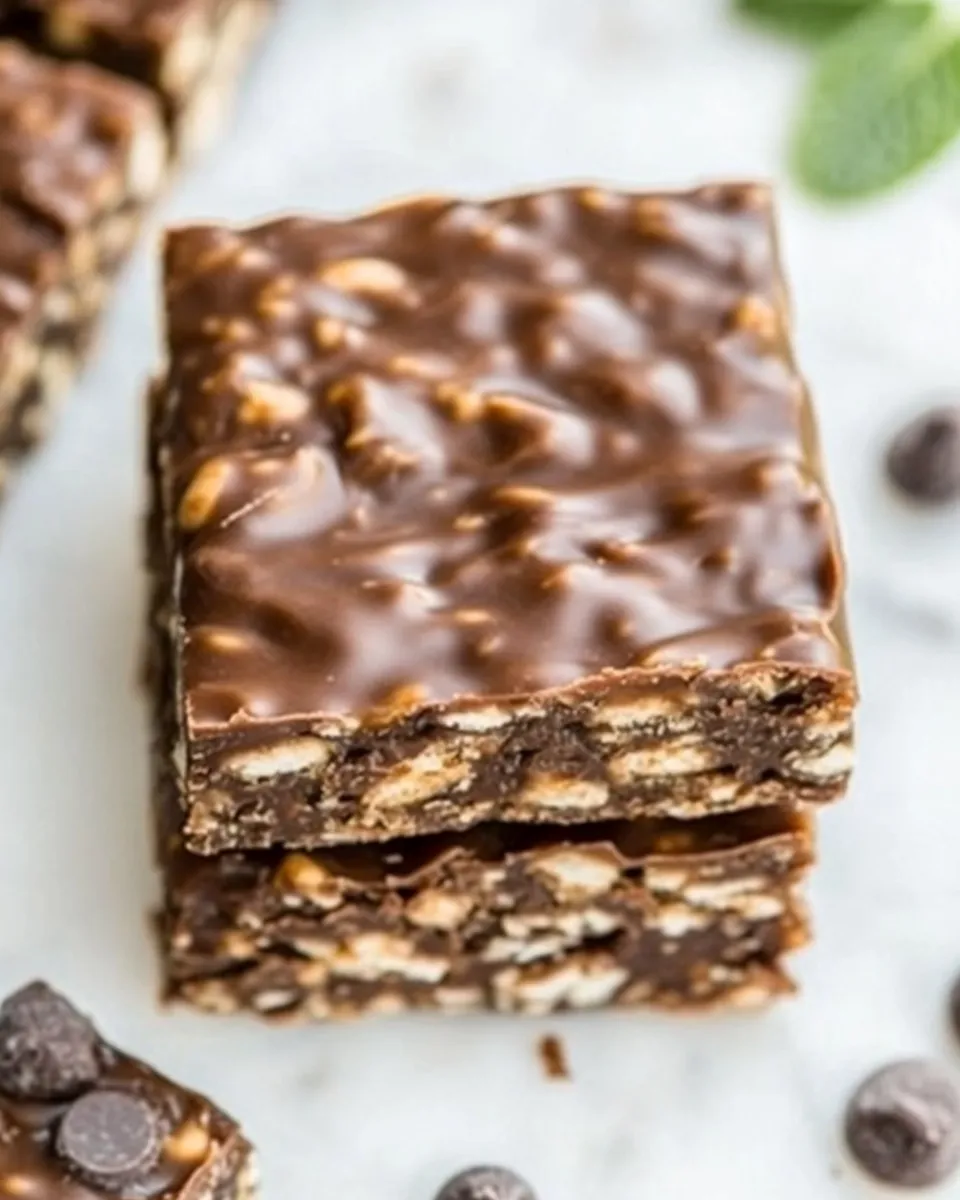
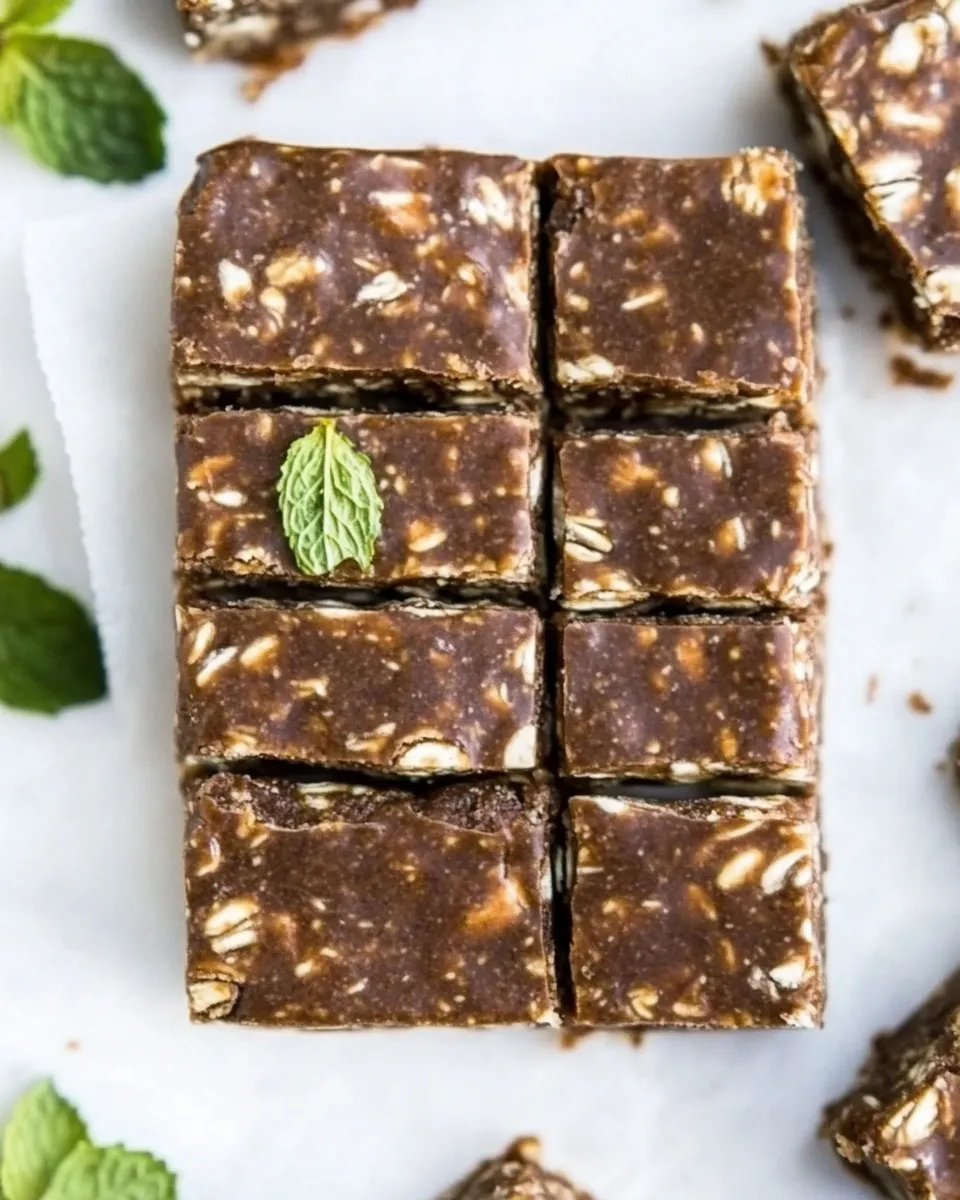
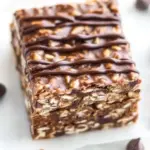
If you want a portable, no-bake snack that tastes like a cross between a brownie and peppermint patty, these Mint Protein Bars are exactly that. They’re quick to throw together, satisfy the chocolate-mint craving, and give a concentrated hit of protein and whole-grain energy. No oven required. You press, chill, cut, and go.
They’re the kind of recipe I reach for when I need something that travels well: gym bag, lunchbox, or a desk drawer. The texture sits between chewy and slightly crisp thanks to the rolled oats and crispy rice cereal. A little cocoa keeps them rich without being cloying, and the peppermint extract turns them into a tidy after-workout treat or a focused, slow snack.
These bars are practical. The ingredient list is short and pantry-friendly. You don’t need specialty chocolate chips or tempering skills; a whisk and an 8×8 pan are all you need. Below is everything I include, how to make them step by step, and the swaps and troubleshooting tips I learned from testing multiple batches.
What Goes In
Ingredients
- 2 cups rolled oats — the base; gives structure and a chewy crumb.
- 1 cup crispy rice cereal — adds light crunch and keeps the bars from being too dense.
- 1/4 cup cocoa powder — provides chocolate flavor and color without extra fat.
- 3/4 cup protein powder — protein boost and dry binder; choose your preferred type (see notes).
- 1/2 cup almond butter or any nut or seed butter — binds and adds healthy fats and richness.
- 1/2 cup maple syrup or honey/agave — sweetener and the wet binder that lets the mixture hold together.
- 1 teaspoon peppermint extract — concentrated mint flavor; a little goes a long way.
- 1 tablespoon water* — optional; used only if the mixture is too dry to press into the pan.
Mint Protein Bars — Do This Next
- Line an 8 x 8-inch pan with parchment paper and set aside.
- In a large bowl, add 2 cups rolled oats, 1 cup crispy rice cereal, 1/4 cup cocoa powder, and 3/4 cup protein powder. Stir to combine evenly.
- In a microwave-safe bowl or small saucepan, combine 1/2 cup almond butter and 1/2 cup maple syrup. Heat gently, stirring, until the mixture is smooth and pourable (microwave in short bursts, stirring between, or warm over low heat). Remove from heat.
- Stir 1 teaspoon peppermint extract into the warm almond-butter mixture and let it cool for 1–2 minutes.
- Pour the wet mixture into the dry ingredients and stir until the mixture is evenly coated. If the mixture remains too crumbly to hold together, add up to 1 tablespoon water gradually (start with small amounts) until it is thick enough to be pressed into the pan.
- Transfer the mixture into the prepared pan and press firmly and evenly into an even layer using the back of a spoon, a spatula, or clean hands.
- Refrigerate for about 30 minutes, or until firm. Lift the parchment to remove the block from the pan and cut into bars.
Why Mint Protein Bars is Worth Your Time
They’re fast. From start to finish you’re looking at under an hour, with most of that time passive chilling. If you keep the pantry staples on hand—oats, protein powder, nut butter, and a sweetener—you can assemble a batch in 10–15 minutes.
They balance nutrition and pleasure. The protein powder and nut butter make them a filling option after a workout or as a satisfying snack between meetings. The mint and cocoa deliver the dessert-like flavor so you don’t feel like you’re sacrificing enjoyment for health.
Finally, they are remarkably versatile. You can tailor sweetness, protein type, and fat content to your needs. That means you can make them higher-protein, lower-sugar, or allergy-friendly without altering the method.
Ingredient Flex Options
These bars are forgiving. Below are practical swaps that keep texture and flavor intact.
- Nut or seed butter: Almond butter is the original here, but any creamy nut or seed butter works—peanut butter, cashew, sunflower seed butter for nut-free needs.
- Sweetener: Maple syrup is the recipe call; honey or agave work in the same volume. If you use a liquid sugar substitute, proceed with caution—texture may change.
- Protein powder: Whey, casein, pea, soy, or blended plant proteins all work. Texture will vary: plant powders can be drier, so you may need the optional tablespoon of water or a touch more nut butter.
- Cereal: Crispy rice gives lift. If unavailable, puffed millet or flakes can work but watch texture.
- Peppermint extract: Intense and concentrated. If you prefer a subtler mint note, use 1/2 teaspoon and taste the wet mix before combining.
Must-Have Equipment
- 8 x 8-inch baking pan (or anything similar in volume)
- Parchment paper for easy removal
- Large mixing bowl and a small saucepan or microwave-safe bowl
- Measuring cups and spoons
- Spatula or sturdy spoon and something flat (back of a spoon, bench scraper, or glass) to press the bars evenly
- Refrigerator space for chilling
Mistakes That Ruin Mint Protein Bars
Watch for these common pitfalls so your batch comes out as intended.
- Overheating the nut butter: If you boil or scorch it, you’ll get a grainy or bitter result. Heat gently until smooth and pourable.
- Too much peppermint: Peppermint extract is powerful. Start with the recipe amount—1 teaspoon—and reduce on your first try if you dislike very bright mint.
- Not pressing firmly: If you don’t compress the mixture into a compact layer, the bars will crumble. Firm, even pressure is the difference between a tidy bar and a loose cluster.
- Skipping the fridge: These are densest and easiest to slice after chilling. Cutting them while warm creates a sticky, misshapen bar.
- Incorrect protein powder choice without adjusting moisture: Some powders absorb more liquid. If the mix looks dry, add the optional water 1 teaspoon at a time up to the 1 tablespoon.
Better-for-You Options
If you want to nudge these bars into the “healthier” lane without losing texture or flavor, focus on quality swaps rather than complicated additions.
- Choose unsweetened nut butter: It reduces added sugar and lets the maple syrup do the sweetening control work.
- Use a minimally processed protein powder: Clean-label options with fewer additives often blend more naturally and reduce the need for extra sweeteners.
- Whole-food sweeteners: Sticking with maple or raw honey means you’re not introducing processed syrups. Both also add flavor complexity to the bars.
- Make them nut-free: Sunflower seed butter replaces almond butter while keeping fats and texture similar.
What I Learned Testing
I tested three major variables: pressing technique, peppermint level, and protein powder type. Pressing matters more than you might expect. A heavy, even press compacts the oats and cereal and creates a bar that slices cleanly. I use the bottom of a measuring cup or a flat spatula for a firmer outcome.
Peppermint extract can easily overpower. One teaspoon is usually perfect for people who like a clear mint note. If you share with kids or those who prefer subtler mint, halve it. Also, add the extract to the warmed nut-butter mixture and let it cool 1–2 minutes; that step helps the oil in the extract integrate instead of staying sharp on the palate.
Protein powders behave differently. Whey blends tend to make a slightly softer, denser bar. Plant-based powders sometimes dry the mix out, so the optional tablespoon water becomes handy. When testing, I kept the protein amount the same (3/4 cup) and adjusted moisture rather than the powder weight to preserve protein content per bar.
Storage & Reheat Guide
These bars are best kept refrigerated. Store them in an airtight container lined with parchment or stacked with parchment between layers to prevent sticking. They keep well in the fridge for up to one week.
For longer storage, wrap individual bars in parchment and freeze in a sealed bag for up to three months. Thaw in the fridge or at room temperature for 15–30 minutes before eating. There’s no real benefit to reheating—these are designed to be eaten cold or at room temperature.
Common Questions
- Can I use whey protein? Yes. Whey blends mix smoothly and give a slightly softer crumb. If you use plant protein, you may need the optional water.
- Are these vegan? They can be. Use a plant-based protein powder and maple syrup or agave instead of honey.
- How do I make them firmer? Press the mixture more firmly into the pan and chill longer. Reducing the nut butter slightly will firm them, but texture will change.
- Can I add chocolate chips? You can, but if you do, fold them into the mixture quickly after it cools a little so they don’t melt completely.
- What size bars does this yield? In an 8×8 pan, cutting into 12 small bars or 9 larger squares works well—adjust portioning to your needs.
The Last Word
Mint Protein Bars are a reliable recipe to keep in rotation when you want something fast, portable, and satisfying. They’re flexible enough for dietary tweaks but structured enough that you’ll get the same enjoyable texture and the same chocolate-mint payoff every time. Keep the ingredients simple, follow the pressing and chilling steps, and you’ll have a stack of neat bars ready for the week.
Make a batch tonight and keep them in the fridge for those moments when you want a small, thoughtful pick-me-up that also supports your protein goals. They’re fuss-free, transportable, and surprisingly indulgent for how little effort they take.
Mint Protein Bars
Ingredients
Ingredients
- 2 cupsrolled oats
- 1 cupcrispy rice cereal
- 1/4 cupcocoa powder
- 3/4 cupprotein powder
- 1/2 cupalmond butteror any nut or seed butter
- 1/2 cupmaple syrupor honey/agave
- 1 teaspoonpeppermint extract
- 1 tablespoonwater* See notes
Instructions
Instructions
- Line an 8 x 8-inch pan with parchment paper and set aside.
- In a large bowl, add 2 cups rolled oats, 1 cup crispy rice cereal, 1/4 cup cocoa powder, and 3/4 cup protein powder. Stir to combine evenly.
- In a microwave-safe bowl or small saucepan, combine 1/2 cup almond butter and 1/2 cup maple syrup. Heat gently, stirring, until the mixture is smooth and pourable (microwave in short bursts, stirring between, or warm over low heat). Remove from heat.
- Stir 1 teaspoon peppermint extract into the warm almond-butter mixture and let it cool for 1–2 minutes.
- Pour the wet mixture into the dry ingredients and stir until the mixture is evenly coated. If the mixture remains too crumbly to hold together, add up to 1 tablespoon water gradually (start with small amounts) until it is thick enough to be pressed into the pan.
- Transfer the mixture into the prepared pan and press firmly and evenly into an even layer using the back of a spoon, a spatula, or clean hands.
- Refrigerate for about 30 minutes, or until firm. Lift the parchment to remove the block from the pan and cut into bars.
Equipment
- 8 x 8-inch pan
- Parchment Paper
- Large Bowl
- microwave-safe bowl or small saucepan
- Spatula or spoon
- Refrigerator
Notes
Leftovers: Keep in the fridge, covered, for up to 2 weeks. Freeze for up to 6 months.