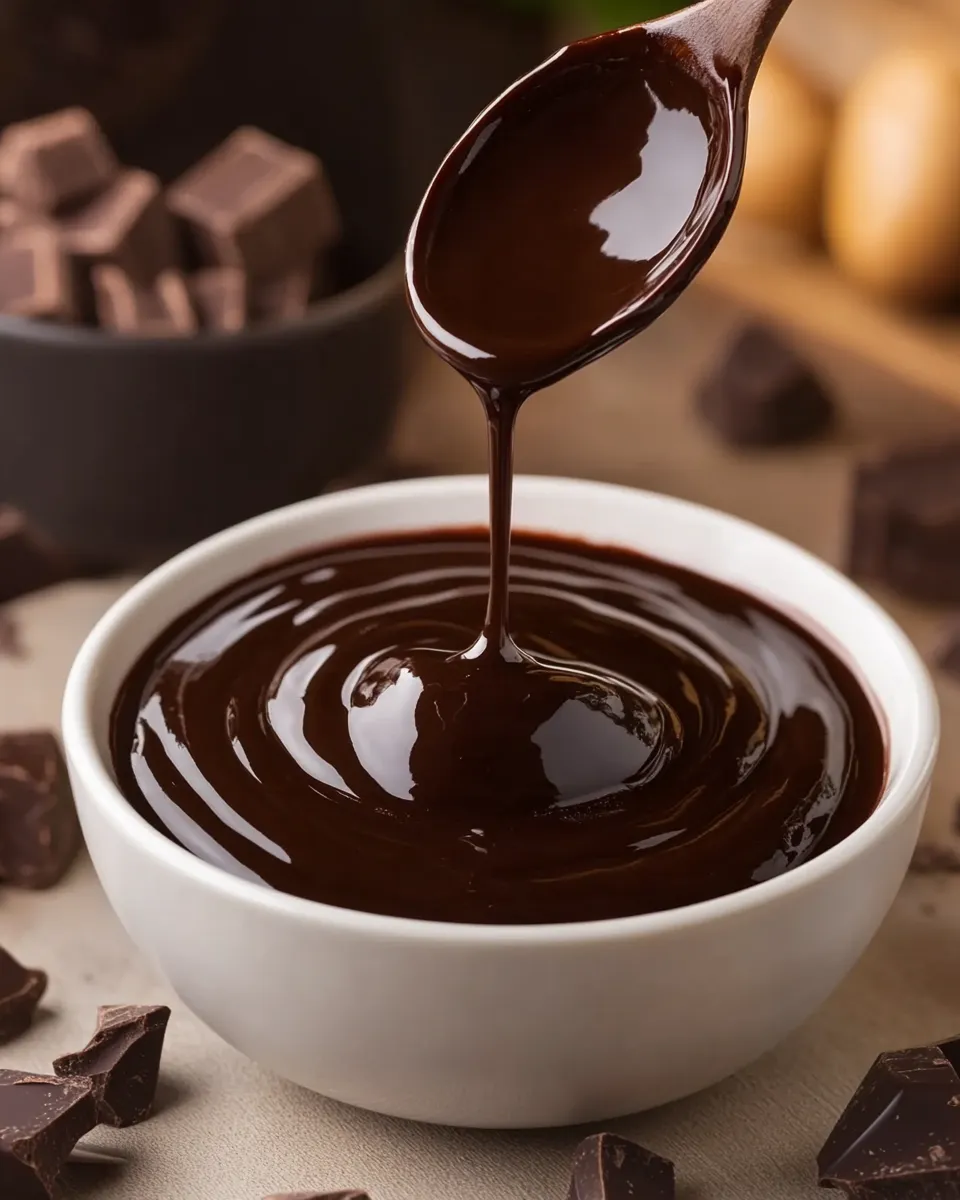
I make this syrup when I want a chocolate hit without the sugar rush. It’s glossy, pourable, and flexible: a drizzle over yogurt, a lift for unsweetened oat milk, or the finishing kiss on low-sugar ice cream. The texture is everything — silky, not gritty — and this method keeps it that way.
It’s straightforward to pull together on a weekday evening. The process asks for a little attention at the stovetop and a short chill in the fridge, and then you have a jar that makes humble things feel indulgent. I’ll walk you through the exact ingredients, the steps, and what to do if it behaves unexpectedly.
No marketing fluff here — just practical notes from my kitchen. I test this recipe for reliability and repeatability. If you want a syrup that tastes like the real thing, but without added table sugar, this is the one I reach for most often.
What to Buy

Ingredients
- 1/2 cup cocoa powder — Use unsweetened cocoa for the deep chocolate backbone; sift if it’s lumpy.
- 1 cup allulose — This is the sweetener in the recipe; it dissolves well and gives body without crystallizing harshly.
- 1/8 teaspoon salt — A pinch of salt sharpens the chocolate flavor and balances sweetness.
- 1/2 cup water, room temperature — Room-temperature water helps dissolve the dry mix evenly before heating.
- 1 teaspoon vanilla extract — Stirred in off the heat to preserve its aroma; don’t skip it.
Stepwise Method: Sugar Free Chocolate Syrup
- In a small bowl, whisk together 1/2 cup cocoa powder, 1 cup allulose, and 1/8 teaspoon salt until evenly combined and lump-free.
- Transfer the dry mixture to a small saucepan. Add 1/2 cup room-temperature water and whisk until the mixture is smooth and no dry streaks remain.
- Place the saucepan over medium heat and stir occasionally as the mixture warms. Continue heating until it reaches a gentle boil (small bubbles around the edges).
- Once it begins to boil, reduce the heat to low and simmer for 1–2 minutes, stirring frequently to prevent sticking or burning.
- Remove the saucepan from the heat and immediately whisk in 1 teaspoon vanilla extract until fully incorporated.
- Let the syrup cool completely to room temperature, then transfer it to a shallow container or jar and refrigerate for at least 1 hour to thicken.
Why Sugar Free Chocolate Syrup is Worth Your Time
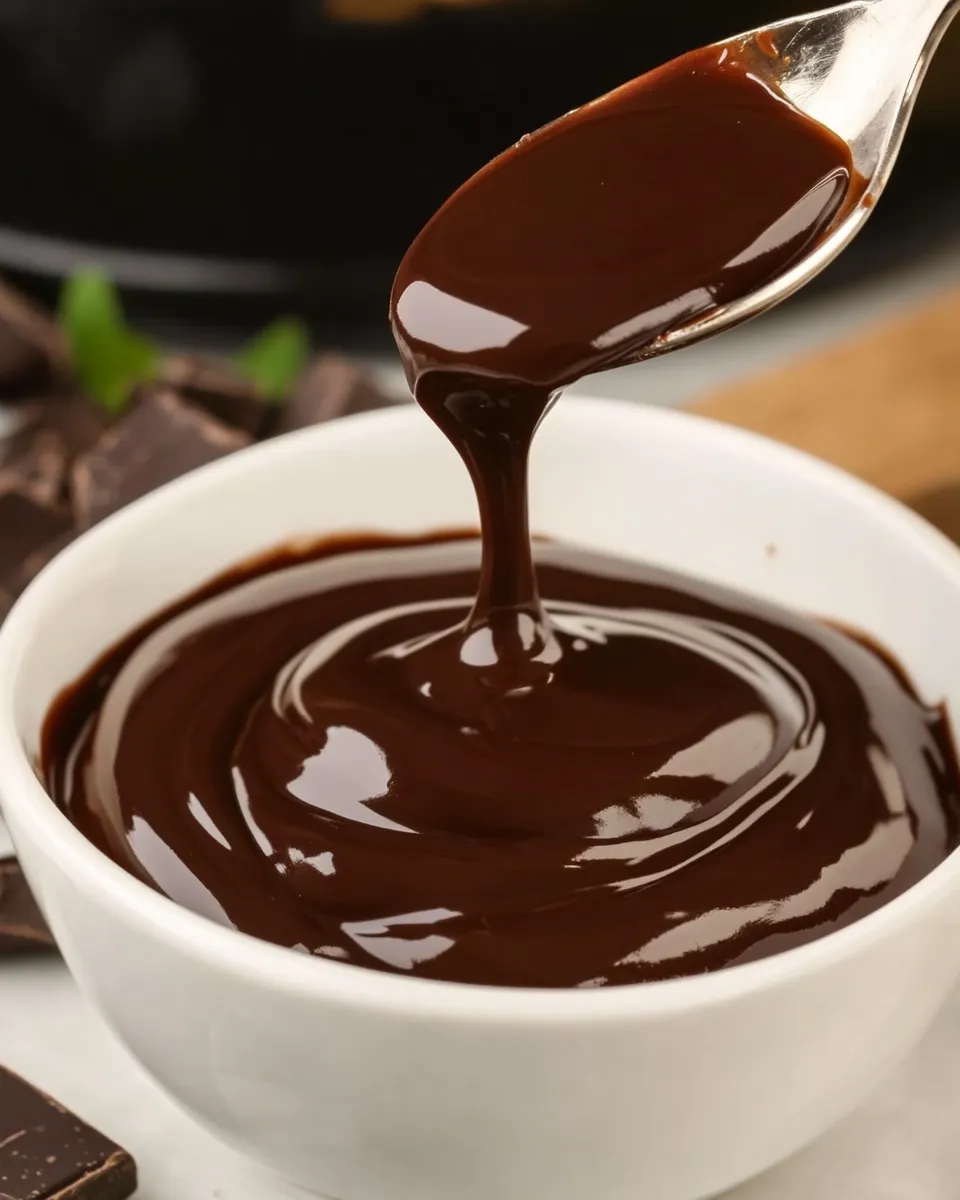
Because it behaves like regular chocolate syrup in most uses. It pours, it melts into warm milk, and it clings to the sides of a bowl the way a good syrup should. You get the taste of cocoa without the added sugar load, and the texture is surprisingly close to what you expect from store-bought syrups.
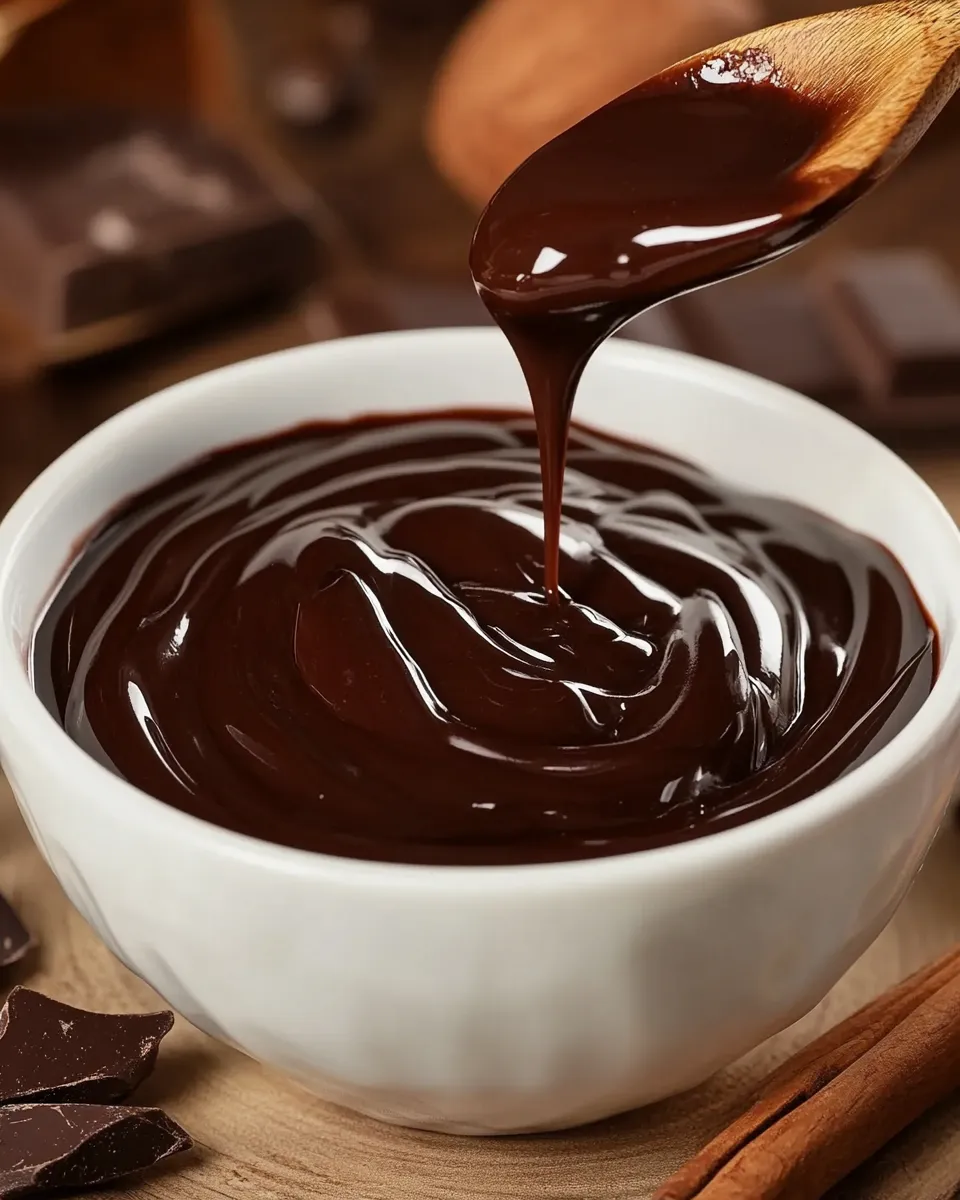
Allulose is key here; it provides bulk and mouthfeel in a way many calorie-free sweeteners don’t. The short simmer melds flavors and creates a glossy finish while the final chill firms the syrup to a satisfying viscosity. It’s quick to make and scales easily if you need more.
And finally, control. When you make this, you decide how chocolatey, how sweet, and how long it will keep. That matters when you’re tweaking for coffee drinks, desserts, or weekday breakfasts.
Flavor-Forward Alternatives
Easy add-ins
- Add a pinch of instant espresso powder to deepen the chocolate flavor without turning it coffee-forward.
- Stir in a few drops of almond or peppermint extract instead of — or alongside — the vanilla for a different profile.
- For a spicy kick, a pinch of ground cinnamon or a little cayenne will give warmth and complexity.
Texture and sweetness tweaks
- If you want it slightly thicker, simmer the syrup the full 2 minutes or skim a little off the water and make the syrup a touch denser before chilling.
- If you prefer a thinner syrup for drizzling, dilute with a tablespoon or two of warm water before using.
Cook’s Kit
- Small mixing bowl — to whisk the dry ingredients lump-free.
- Fine whisk — helps eliminate cocoa clumps quickly.
- Small saucepan — ideally with a heavy bottom to prevent scorching.
- Heatproof spatula or spoon — for stirring during the simmer.
- Shallow jar or container with lid — cools the syrup faster and makes storage easy.
Things That Go Wrong
- Grainy texture: If the cocoa or sweetener isn’t whisked thoroughly before heating, you’ll trap lumps. Whisk dry ingredients until uniform, then whisk again after adding water.
- Burning or sticking: A thin saucepan or high heat will scorch the syrup. Use medium heat, watch the pan, and reduce to low once it boils. Stir frequently during the simmer.
- Too thin after chilling: That usually means it didn’t simmer long enough to create body. Simmer the next batch for the full 2 minutes and ensure it cools fully in the fridge for at least an hour.
- Too sweet or not sweet enough: Allulose is the specified sweetener. If you change sweeteners, sweetness perception shifts. Adjust carefully and taste before you finish chilling.
How to Make It Lighter
If by “lighter” you mean lower-calorie, this recipe already removes table sugar. If you want a lighter mouthfeel rather than fewer calories, dilute the syrup with warm water or unsweetened milk when using it. Start with a tablespoon of liquid per tablespoon of syrup and adjust to preference.
For a lighter flavor profile, reduce the cocoa by a tablespoon (the syrup will be less intense) or add a splash more vanilla to give perceived sweetness and aroma without extra sweetener.
Author’s Commentary
I return to this recipe because it solves a small, everyday problem: how to get chocolate without a sugar hangover. I use it mostly on plain Greek yogurt and in late-afternoon lattes. The jar in my fridge sees regular action and rarely lasts more than two weeks.
Small technique notes from my trials: whisk the dry mix well. Treat the simmer as non-negotiable; it’s where the syrup gains body. And always add vanilla off the heat. Heat diminishes that delicate aroma.
Storing Tips & Timelines
Store the syrup in a clean jar with a tight-fitting lid in the refrigerator. It thickens as it cools — that’s normal. Use within 10–14 days for best flavor and quality. If it crystallizes or changes texture, you can warm a small amount gently and whisk to smooth it again.
Freezing isn’t ideal because the texture changes on thawing, but you can freeze small portions in an ice-cube tray for single-use packets; thaw gently in warm water or microwave briefly at low power.
Common Questions
- Can I use a different sweetener? You can experiment, but the recipe is tuned for allulose, which behaves more like sugar in texture. Other sweeteners may affect mouthfeel and the way the syrup sets.
- Why simmer at low heat? The brief simmer concentrates flavors and gives the syrup structure. Low heat prevents scorching and keeps the syrup smooth.
- Why add vanilla off the heat? Heat degrades the aroma. Stirring it in after the pan is off preserves that fragrant lift.
- Can I make a bigger batch? Yes. Double the ingredients and use a slightly larger saucepan, but watch the simmer carefully — larger volumes retain heat differently.
Hungry for More?
If you liked this sugar-free syrup, try stirring a spoon into plain yogurt with fresh berries, fold it into whipped cream for a light topping, or swirl it into oatmeal. For coffee lovers, add a tablespoon to a hot mug with steamed milk for a quick mocha.
Keep a small jar on hand — it’s the fastest way to upgrade a simple snack into something that feels deliberate and a little indulgent. If you want more low-sugar sauces and dessert ideas, I post variations that suit different sweeteners and dietary needs on the blog. Happy cooking — and enjoy that chocolate fix, without the extra sugar.
Sugar Free Chocolate Syrup
Ingredients
Ingredients
- 1/2 cupcocoa powder
- 1 cupallulose
- 1/8 teaspoonsalt
- 1/2 cupwaterroom temperature
- 1 teaspoonvanilla extract
Instructions
Instructions
- In a small bowl, whisk together 1/2 cup cocoa powder, 1 cup allulose, and 1/8 teaspoon salt until evenly combined and lump-free.
- Transfer the dry mixture to a small saucepan. Add 1/2 cup room-temperature water and whisk until the mixture is smooth and no dry streaks remain.
- Place the saucepan over medium heat and stir occasionally as the mixture warms. Continue heating until it reaches a gentle boil (small bubbles around the edges).
- Once it begins to boil, reduce the heat to low and simmer for 1–2 minutes, stirring frequently to prevent sticking or burning.
- Remove the saucepan from the heat and immediately whisk in 1 teaspoon vanilla extract until fully incorporated.
- Let the syrup cool completely to room temperature, then transfer it to a shallow container or jar and refrigerate for at least 1 hour to thicken.
Equipment
- Small Bowl
- Whisk
- Small Saucepan
- shallow container or jar
Notes
Serving size is 3 tablespoons.
TO STORE
: Chocolate sauce can be stored in the refrigerator, in a sealed jar or container. It will keep well for up to 2 weeks. Remove the sauce from the refrigerator 15 minutes before using it.
TO FREEZE
: Place leftover chocolate sauce in a shallow container and store it in the freezer for up to 6 months.