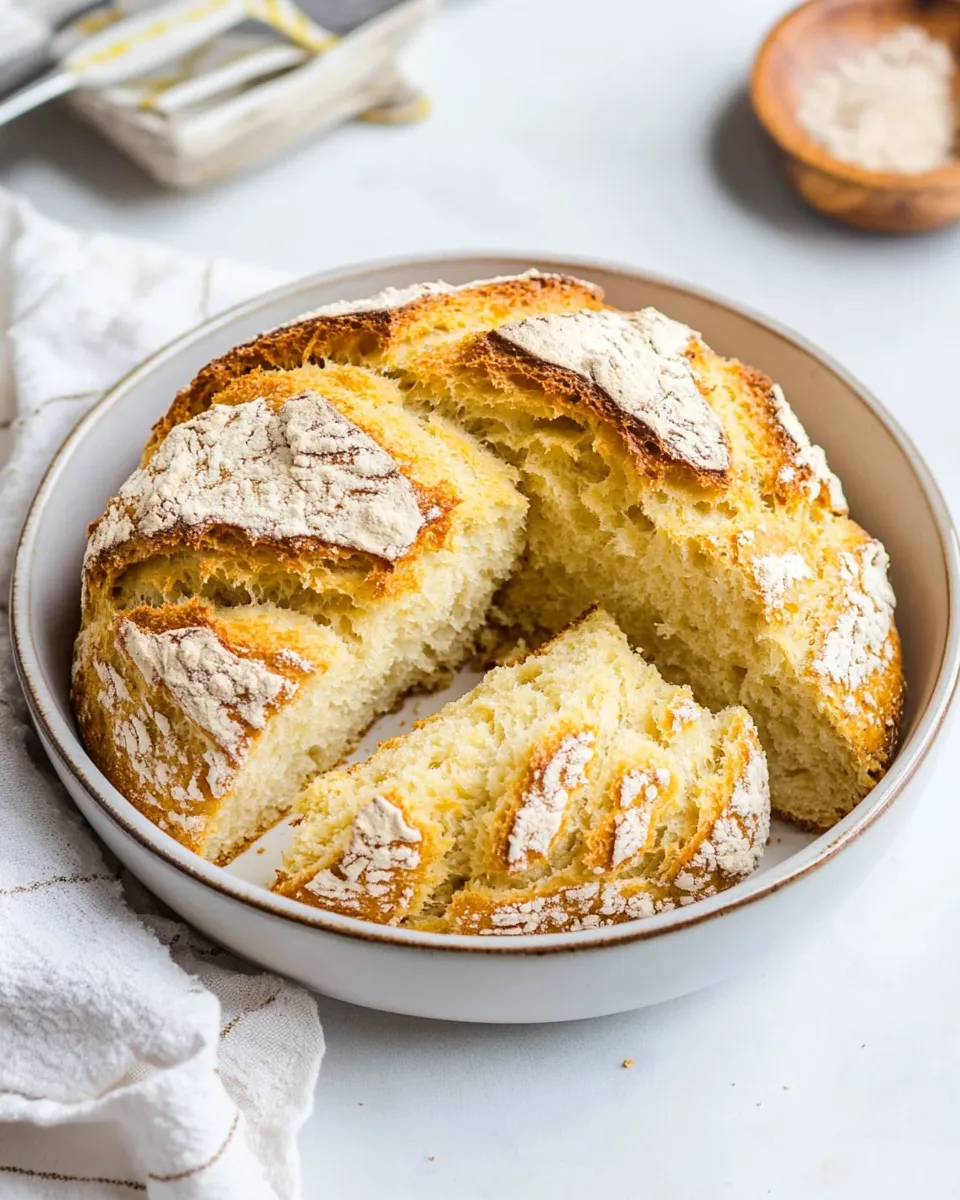
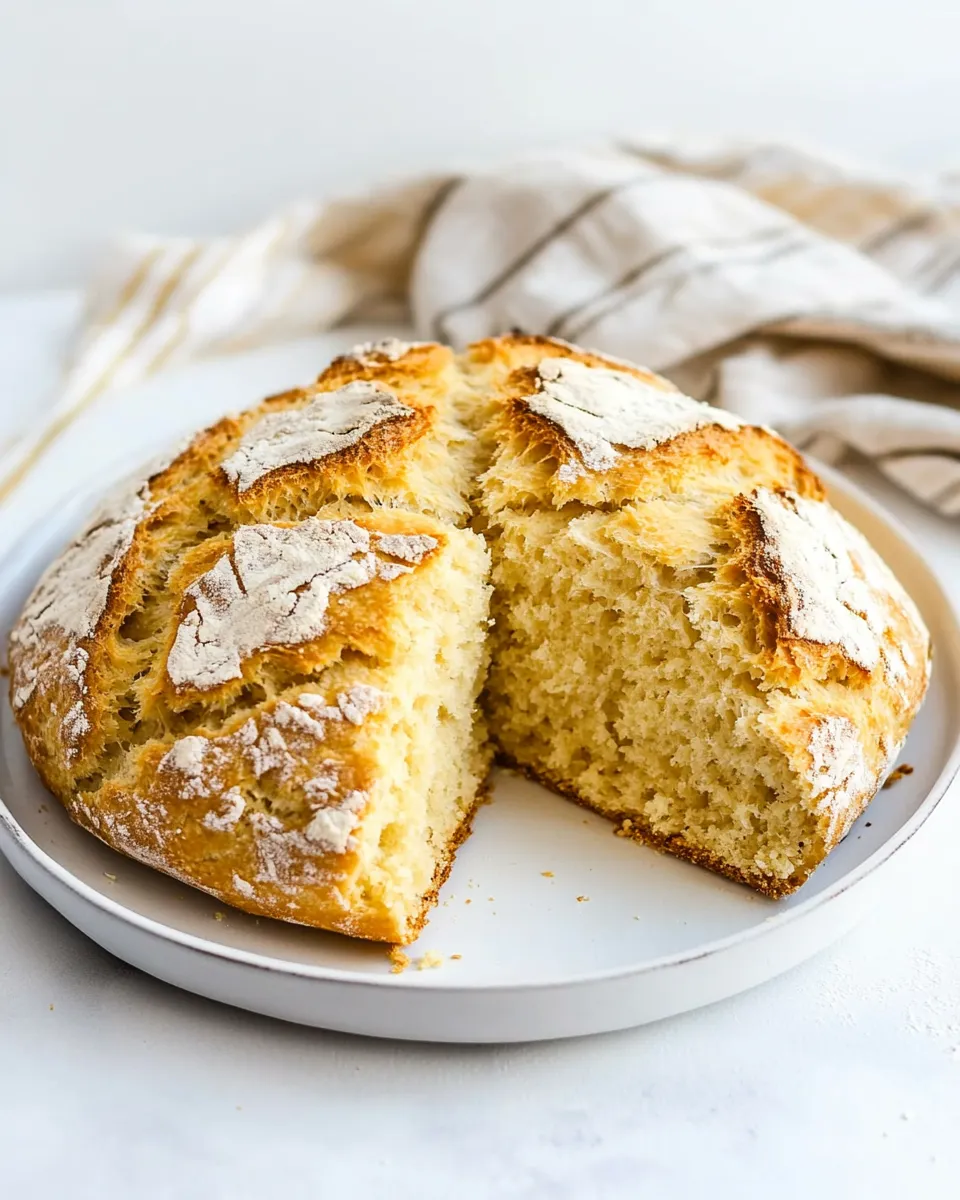
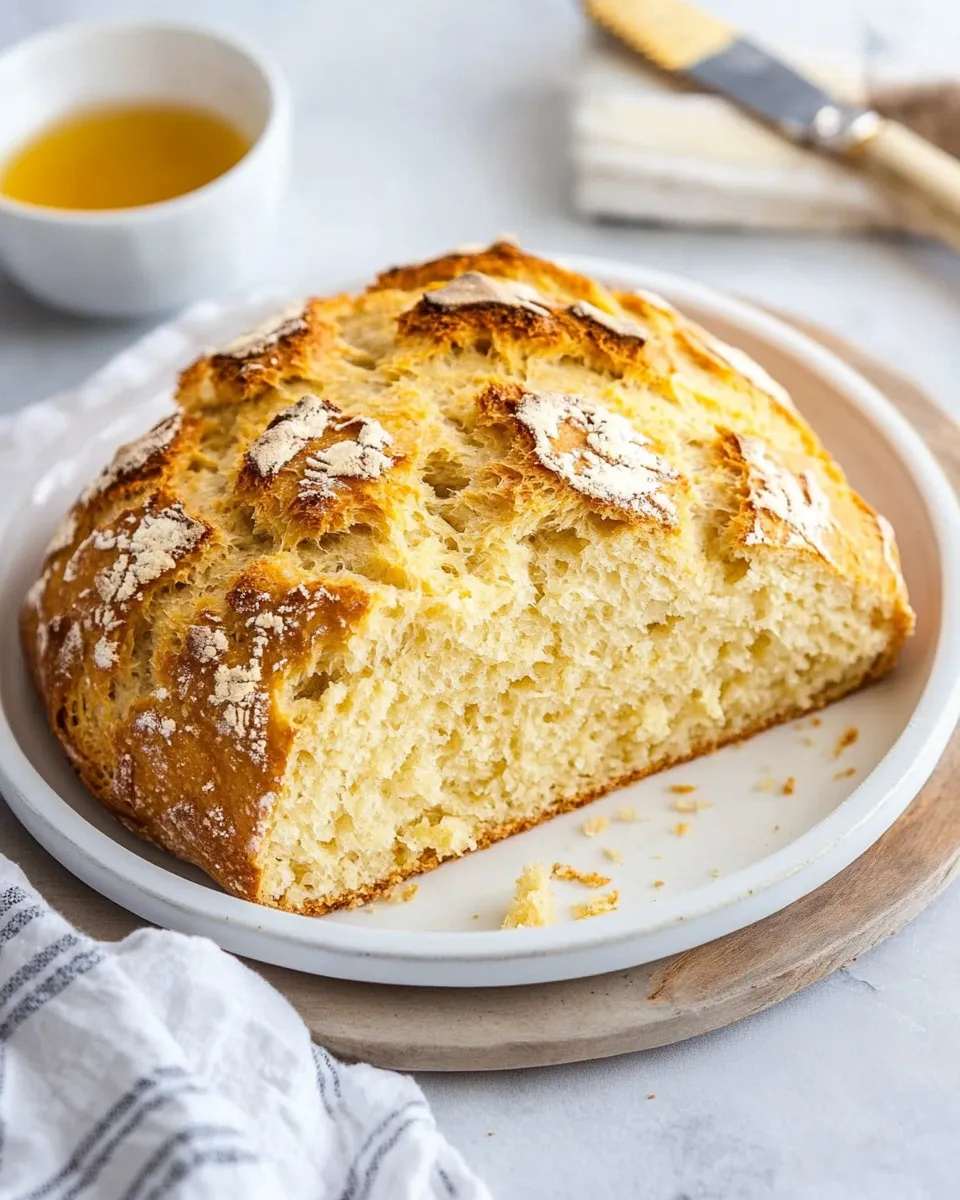
There’s a reason Irish soda bread shows up whenever someone wants bread without fuss. No yeast to proof, no kneading marathon, and a loaf that comes together in under an hour. This version is straightforward and faithful to the classic: flour, buttermilk, a little fat, egg, and the baking soda that does all the rising. If you’re after a reliable loaf with a crisp crust and tender crumb, this is it.
I use a cast-iron skillet because it gives an even, golden crust and keeps the base from getting soggy. It also makes the whole process forgiving: the skillet holds heat so the oven spring happens predictably. Follow the steps below exactly for consistent results, and I’ll walk you through small adjustments and common pitfalls so you can bake this loaf confidently.
Ingredient Breakdown
Ingredients
- 4 cups all-purpose flour — Structure; measure by spooning into the cup and leveling for an accurate loaf.
- 2 teaspoons kosher salt* — Flavor and control of fermentation-like balance; use kosher salt by volume as stated.
- 1 teaspoon baking soda — The leavening agent that reacts with the buttermilk to give lift.
- 1 Tablespoon granulated sugar — A touch of sweetness to balance flavor and encourage browning.
- 1 and 3/4 cups buttermilk — Acidic liquid that reacts with the baking soda; adds tenderness and tang.
- 2 tablespoons melted butter — Fat for richness and a softer crumb; some brushes the skillet as well.
- 1 egg — Binder and adds a little richness and color to the crumb.
Irish Soda Bread — Do This Next
- Preheat the oven to 400°F. If your butter is not already melted, melt the 2 tablespoons of butter. Lightly butter a 10-inch cast-iron skillet (or similar baking dish) using a small amount of the melted butter; reserve the rest for the dough.
- In a large bowl, whisk together 4 cups all-purpose flour, 2 teaspoons kosher salt, 1 teaspoon baking soda, and 1 tablespoon granulated sugar.
- In a separate bowl, whisk together 1 and 3/4 cups buttermilk, 1 egg, and the remaining melted butter.
- Pour the wet mixture into the dry mixture. Use a rubber spatula to stir until just combined into a shaggy, slightly sticky dough. Do not overmix.
- Turn the dough out onto a lightly floured surface (use a little of the measured flour to dust the surface). Gently fold and shape the dough into a round loaf by bringing the edges toward the center a few times. If the dough is very sticky, lightly dust your hands with a little flour.
- Transfer the shaped dough to the prepared skillet. Using a sharp knife, score a deep X about 1/2 inch into the top of the loaf.
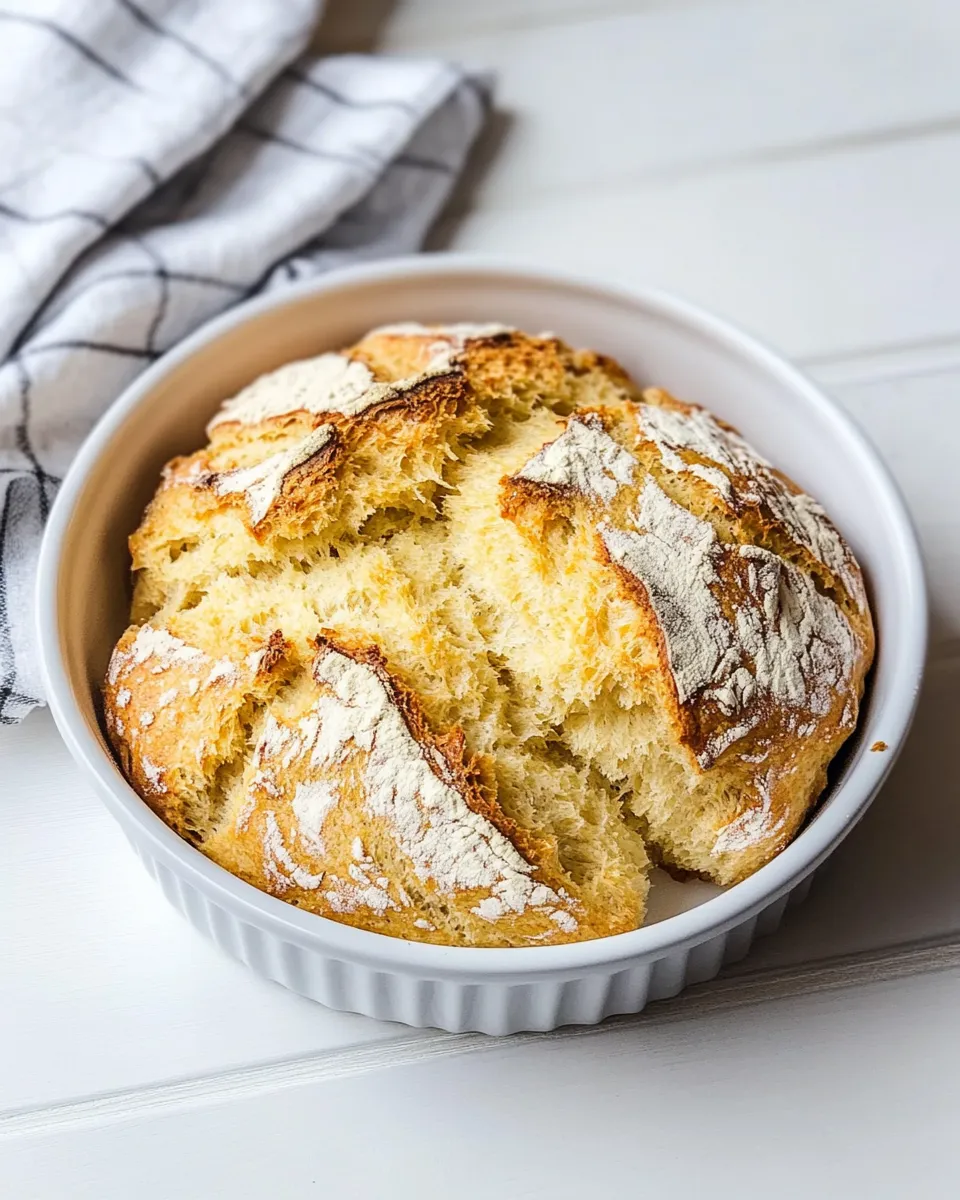
- Bake for 35–40 minutes, until the loaf is golden brown. To check doneness, tap the bottom of the loaf — it should sound hollow.
- Allow the bread to cool slightly in the skillet for a few minutes, then remove and cool briefly more before slicing.
Why It Works Every Time
This recipe wins because it keeps chemistry simple. Baking soda is the active leavener; it needs an acid to react with, which is exactly what buttermilk provides. The reaction gives a quick, steady rise—there’s no need to wait for yeast. That’s why timing matters: mix just until combined so you don’t overdevelop gluten and end up with a tough loaf.
The small amount of melted butter and the egg add tenderness and a little richness without weighing the dough down. The X scored on top is more than decorative: it gives the loaf room to expand in a predictable way and promotes an even crust. Finally, the cast-iron skillet is not required, but it holds heat and creates a crisp base and edges; that thermal stability improves the final texture.
Flavor-Forward Alternatives
If you want to nudge the loaf toward a different flavor profile without changing measurements, keep the structure intact and make small, taste-driven adjustments. Stir in dried fruit or seeds to taste after combining wet and dry if you like a sweeter or nuttier note; add citrus zest or a splash of honey to the wet mix for a subtle lift. These should be added sparingly so they don’t alter the hydration dramatically—work by feel, not by exact measurements in this case.
For a savory tilt, serve slices with sharp cheese, a smear of mustard, or butter flavoured with herbs. Those serving choices let you experiment without changing the reliable base recipe.
Setup & Equipment
Essential: a 10-inch cast-iron skillet or similar ovenproof baking dish, a large mixing bowl, a small bowl for wet ingredients, rubber spatula, measuring cups and spoons, and a sharp knife for scoring. A kitchen scale is helpful if you prefer weighing flour precisely, but the recipe works using standard cup measures when you measure carefully.
Optional but useful: a bench scraper to handle the dough on the floured surface, an oven thermometer to confirm the 400°F if your oven runs hot or cool, and a cooling rack for finishing the loaf.
Don’t Do This
Don’t overmix. Once the wet and dry come together, stop. Overworking develops gluten and turns a tender soda loaf into something chewy.
Don’t skip the scoring. That deep X gives the loaf an escape hatch as it bakes. Skipping it can force the steam to burst in unpredictable spots and cause an uneven loaf.
Don’t ignore your leavening. If the baking soda is old, the loaf won’t rise properly. Replace baking soda every six months, or test a small pinch in vinegar—if it fizzes, it’s active.
Don’t bake in a cold oven. Soda bread needs that immediate heat to trigger the chemical reaction and set the crust. Preheat fully to 400°F before putting the skillet in.
How to Make It Lighter
Soda bread will never be as airy as a yeasted loaf, but you can make the crumb noticeably lighter. The most important step is gentle handling: mix until just combined and fold only enough times to form a cohesive round. Overmixing tightens the structure.
Make sure your buttermilk is cool or room temperature—extreme temperatures can affect how the dough comes together. Also, score the loaf deeply (about 1/2 inch) so it can expand upwards without compressing the center. Finally, bake on the middle rack for even heat; if the top browns too fast, tent lightly with foil for the last 5–10 minutes while the interior finishes baking.
Little Things that Matter
Measure flour accurately. Spoon the flour into the measuring cup and level it off rather than scooping directly from the bag, which compacts flour and gives you too much. A little too much flour tightens the dough and produces a denser loaf.
Use a sharp knife for a clean, deep X. A serrated or dull edge can drag and tear the dough rather than making a clean incision for good oven spring.
Keep an eye on the oven during the last 10 minutes. Every oven has its own temperament; once the loaf turns golden brown, do the hollow-tap check on the bottom of the loaf. The crisp crust and hollow sound are the best doneness indicators.
Prep Ahead & Store
Soda bread is best eaten the day it’s made. If you want to prep ahead, you can shape the dough and refrigerate it in the skillet (covered) for a few hours before baking; return it to room temperature while the oven preheats. Refrigerating longer will change the reaction between baking soda and buttermilk, so it’s not recommended to hold it overnight.
To store: cool completely, then wrap at room temperature for up to 2 days. For longer storage, slice and freeze in a sealed bag for up to 3 months. Reheat slices in a toaster or under a broiler for a couple of minutes to refresh the crust before serving.
Irish Soda Bread Q&A
Q: Can I use regular milk instead of buttermilk? A: Regular milk won’t react with baking soda the same way. If you don’t have buttermilk, make a quick substitute by adding 1 tablespoon of lemon juice or vinegar to 1 and 3/4 cups milk and let it sit for 5–10 minutes, but buttermilk is preferred for the classic flavor and texture.
Q: Can I use a loaf pan instead of a skillet? A: Yes. A loaf pan will work but expect a different crust: less surface browning on the sides and base. Baking time may vary slightly—start checking at 30 minutes and use the hollow-tap method.
Q: Why is my dough so sticky? A: Hydration in this recipe produces a slightly sticky dough. Dust your hands and work surface lightly with flour and fold gently. If the dough is extremely wet (beyond slightly sticky), you may have measured flour inaccurately—add a spoonful of flour, fold lightly, and shape.
Q: Why did the loaf crack in odd places? A: Either the X wasn’t deep enough, the dough was too dry, or the oven temperature was uneven. Next time, score deeply and ensure the oven is fully preheated to 400°F.
Hungry for More?
If you enjoyed this straightforward loaf, try serving it with cultured butter, sharp cheddar, or hearty stews. Soda bread is forgiving and pairs beautifully with both sweet and savory toppings. Bookmark this post and keep the recipe on hand—the next time you want home-baked bread without the wait, you’ll be glad it’s so easy to make.
The Best Irish Soda Bread
Ingredients
Ingredients
- 4 cupsall-purpose flour
- 2 teaspoonskosher salt*
- 1 teaspoonbaking soda
- 1 Tablespoongranulated sugar
- 1 and 3/4 cupsbuttermilk
- 2 tablespoonsmelted butter
- 1 egg
Instructions
Instructions
- Preheat the oven to 400°F. If your butter is not already melted, melt the 2 tablespoons of butter. Lightly butter a 10-inch cast-iron skillet (or similar baking dish) using a small amount of the melted butter; reserve the rest for the dough.
- In a large bowl, whisk together 4 cups all-purpose flour, 2 teaspoons kosher salt, 1 teaspoon baking soda, and 1 tablespoon granulated sugar.
- In a separate bowl, whisk together 1 and 3/4 cups buttermilk, 1 egg, and the remaining melted butter.
- Pour the wet mixture into the dry mixture. Use a rubber spatula to stir until just combined into a shaggy, slightly sticky dough. Do not overmix.
- Turn the dough out onto a lightly floured surface (use a little of the measured flour to dust the surface). Gently fold and shape the dough into a round loaf by bringing the edges toward the center a few times. If the dough is very sticky, lightly dust your hands with a little flour.
- Transfer the shaped dough to the prepared skillet. Using a sharp knife, score a deep X about 1/2 inch into the top of the loaf.
- Bake for 35–40 minutes, until the loaf is golden brown. To check doneness, tap the bottom of the loaf — it should sound hollow.
- Allow the bread to cool slightly in the skillet for a few minutes, then remove and cool briefly more before slicing.
Equipment
- Oven
- 10-inch cast-iron skillet (or similar baking dish)
- Mixing bowls
- Rubber spatula
- Sharp Knife
- Measuring cups and spoons