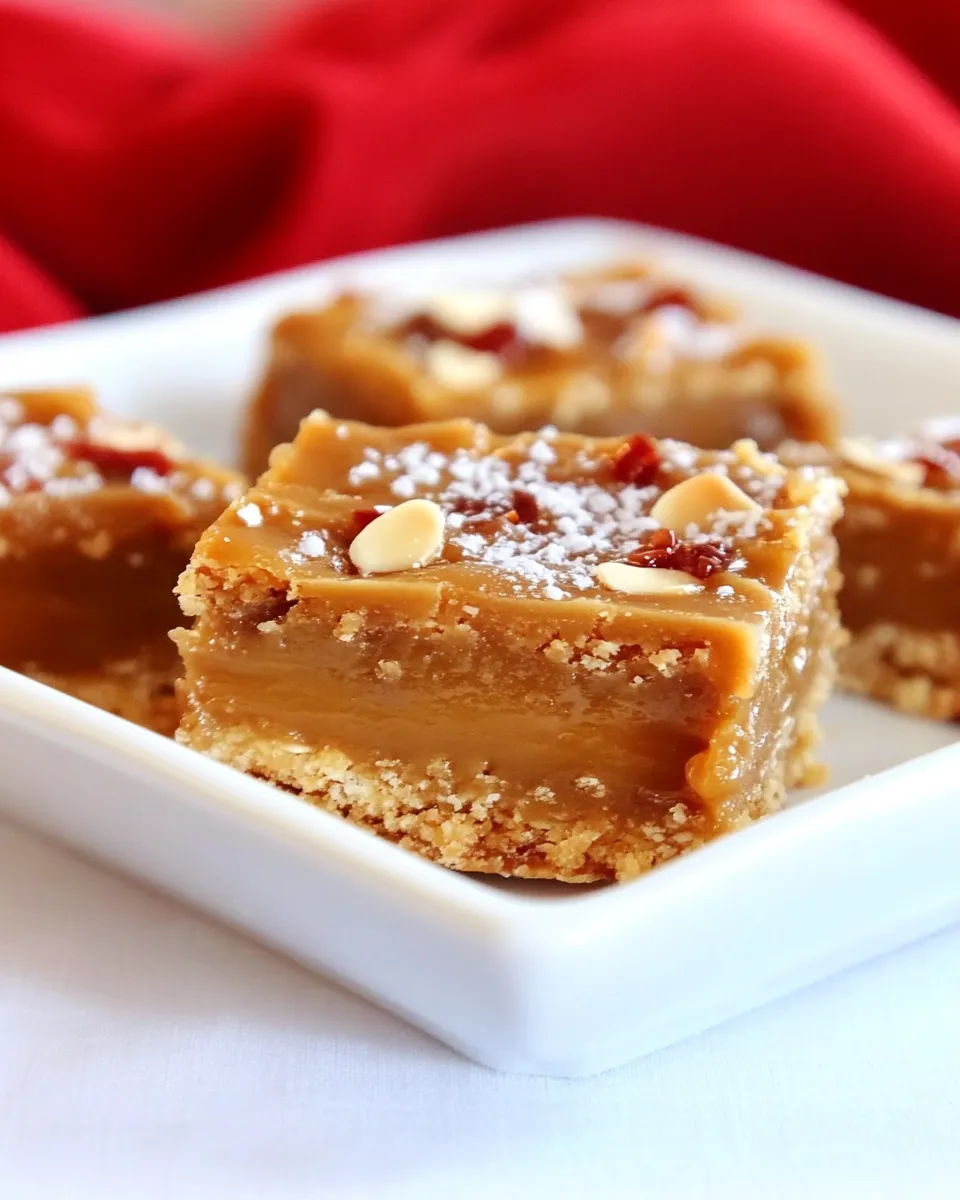
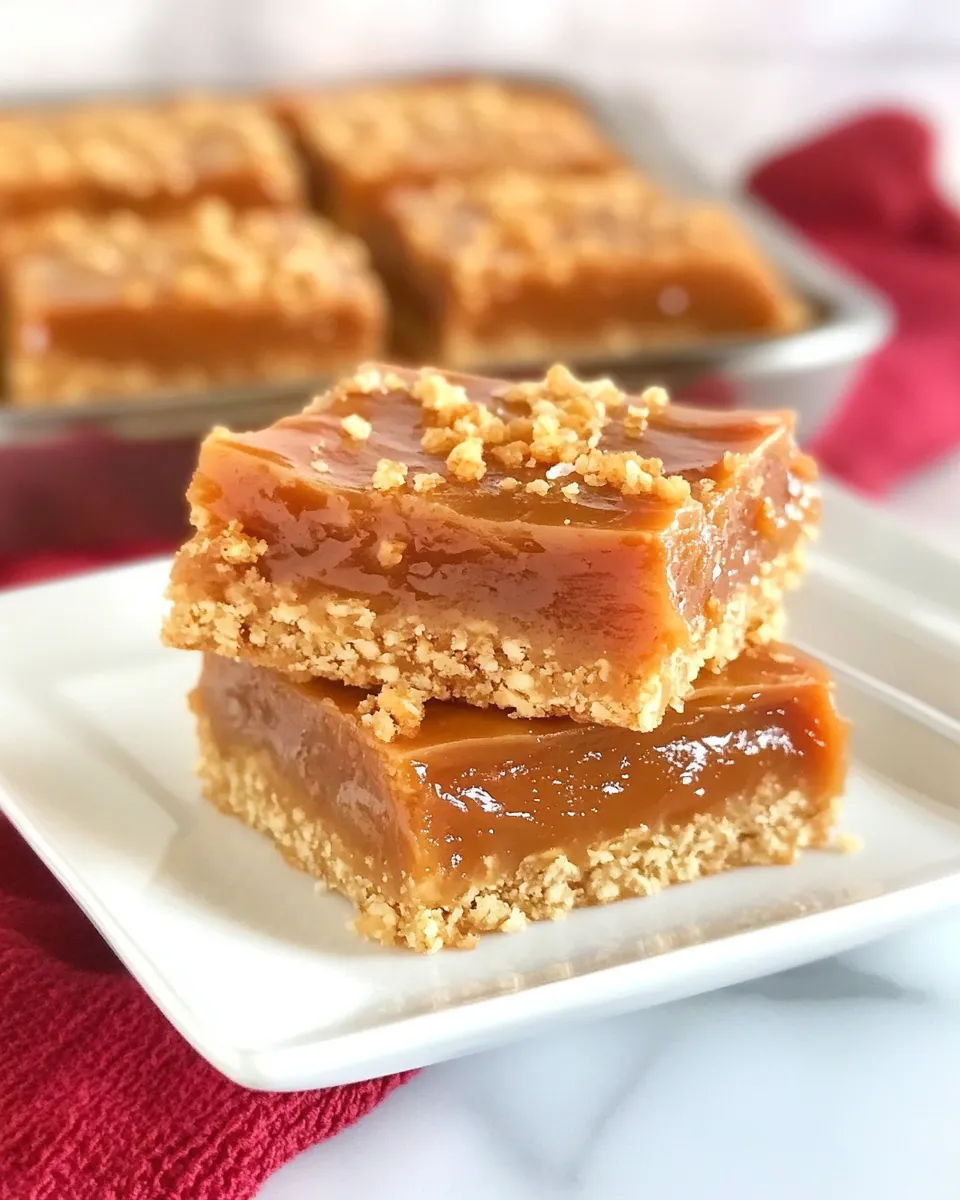
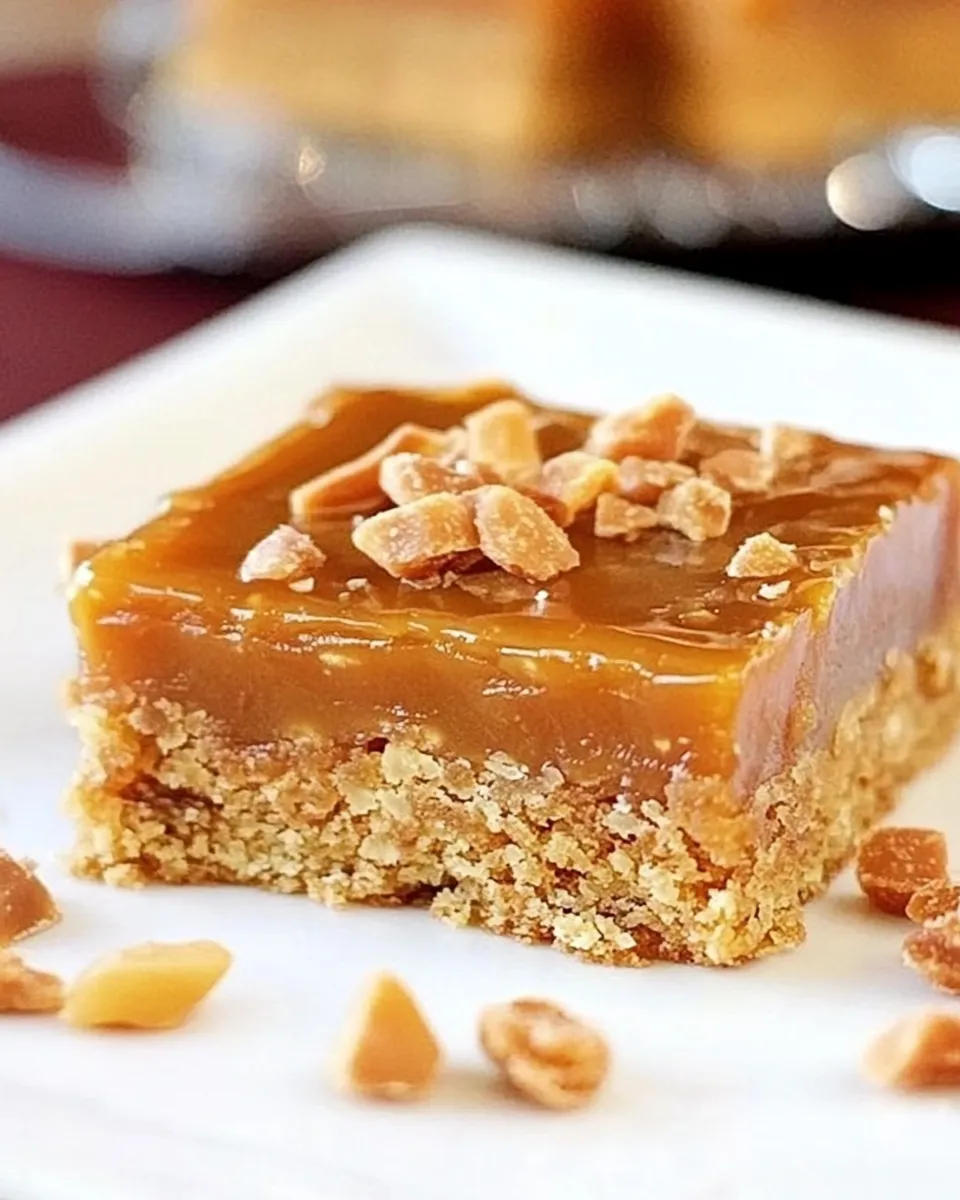
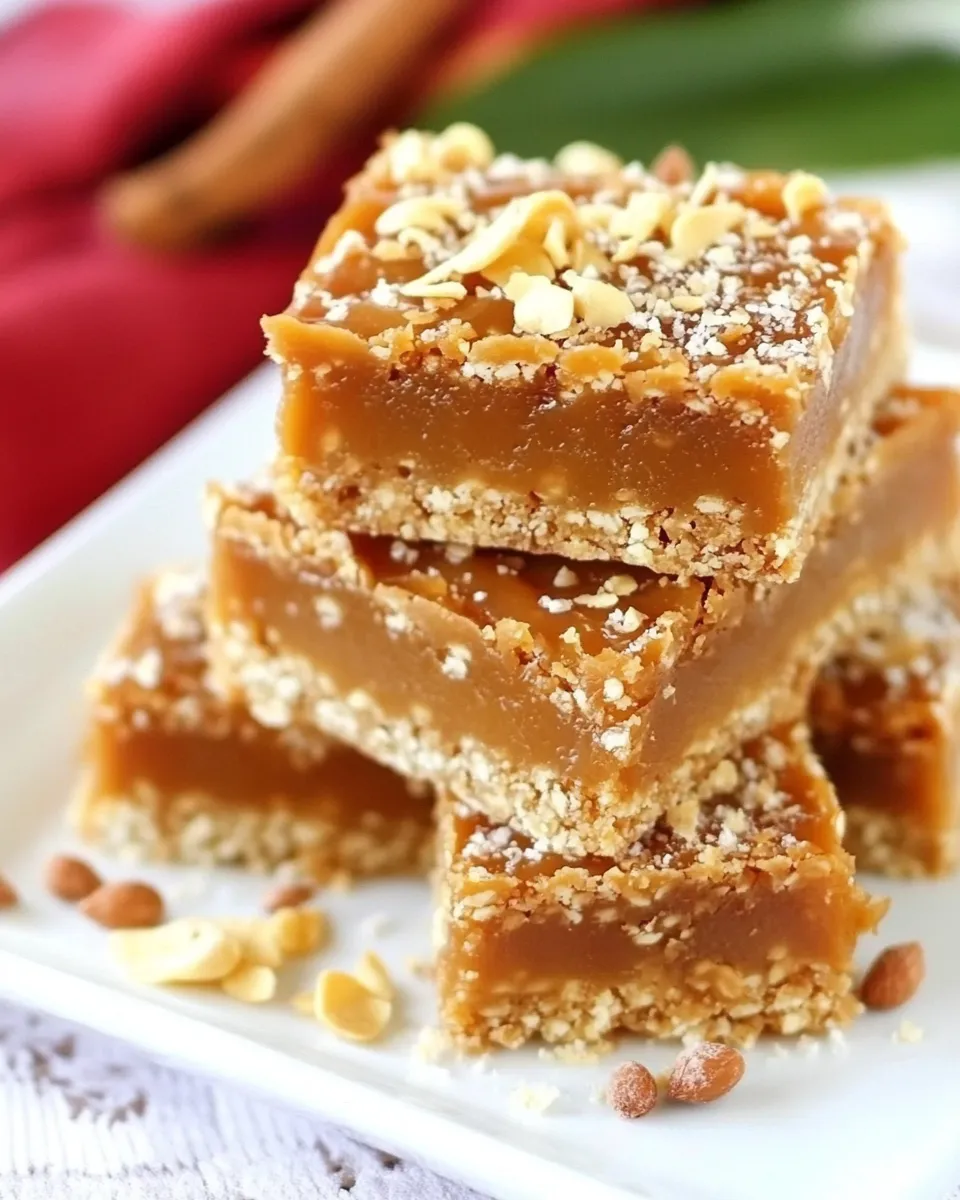
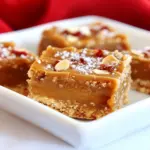
These bars are one of those reliable desserts that travel well, vanish even faster, and only ask for a handful of pantry staples. They’re buttery, oat-forward, and finished with a generous layer of dulce de leche sandwiched under a grated shortbread-like top. No tempering, no fuss. Just solid technique and good timing.
I make them when I want something that feels a little special but won’t demand the whole afternoon. The dough is quick to bring together in a food processor, and the grated topping gives a rustic, crackly finish that looks far more complicated than it is. You’ll learn a few small tricks in the process that make a big difference in texture.
Below you’ll find a clear shopping list, the exact ingredient notes, step-by-step instructions, and plenty of practical tips for adapting, storing, and troubleshooting. Make them for a picnic, a potluck, or a weekday sweet tooth—these bars handle it all.
What to Buy
Buy the ingredients that play the biggest roles: a good-quality can of dulce de leche, cold butter, and rolled oats. The oats give texture; the butter gives structure and flavor; the dulce de leche is the star. If you can, choose unsalted butter so you control the salt level.
Measure on a scale when you can. The recipe provides both cups and grams for the two most important dry ingredients—flour and oats—so grab a set of measuring cups or a kitchen scale depending on how precise you want to be.
Ingredients
- 1 1/2 cups 180 grams all purpose flour — provides structure for the crust and top; use spoon-and-level method if measuring by cups.
- 1 1/2 cups 135 grams rolled oats — adds chew and a pleasant tooth; old-fashioned oats are best, not instant.
- 1 cup 200 grams brown sugar — brings moisture and a caramel note; packed lightly into the cup if using cups.
- pinch of salt — balances sweetness and enhances flavor; use fine salt for even distribution.
- 1 cup 226 grams diced cold butter — key for a tender, shortbread-like crumb; keep it cold and diced for easy pulsing.
- 1 can, 380 grams dulce de leche, room temperature — the filling; room temperature makes it easy to spread and pour.
Dulce de Leche Bars — Do This Next
- Preheat the oven to 350°F (175°C). Line an 11 x 7-inch baking pan with parchment paper, leaving an overhang for easy removal, and set the pan aside.
- In a food processor combine the all-purpose flour, rolled oats, brown sugar, a pinch of salt, and the diced cold butter. Pulse until the mixture forms a coarse dough that holds together when pressed.
- Remove 1/2 cup of the dough mixture. Shape that reserved portion into a flat oval disc, wrap it in plastic wrap, and place it in the freezer until firm.
- Press the remaining dough evenly and firmly into the bottom of the prepared baking pan to form the crust.
- Bake the crust in the preheated oven for 20 minutes.
- While the crust bakes, open the can of dulce de leche and transfer it to a small saucepan. Warm it gently over low heat, stirring constantly, until smooth and pourable; do not boil.
- With the oven still on, remove the pan from the oven and immediately pour the warm dulce de leche evenly over the hot crust.
- Grate the frozen reserved dough over the dulce de leche to create an even topping. If the reserved dough is not hard enough to grate, crumble it with your fingers and distribute evenly.
- Return the pan to the oven and bake for an additional 30 minutes, or until the top is golden brown and the edges are bubbly.
- Remove the pan from the oven and allow the bars to cool completely in the pan before lifting them out on the parchment and cutting into bars.
Top Reasons to Make Dulce de Leche Bars
- They’re fast to assemble. The food processor does most of the work, and active hands-on time is short.
- The flavor is reliably crowd-pleasing. Sweet, caramel-forward dulce de leche with a buttery oat base appeals to almost everyone.
- They travel well. Wrapped or in a tin, the bars hold up and stay chewy, which makes them ideal for potlucks and bake sales.
- Minimal equipment. You need a food processor and a small saucepan—no stand mixer required.
- Make-ahead friendly. You can bake them a day or two in advance and still have them taste fresh.
Dairy-Free/Gluten-Free Swaps
If you need to adapt these bars, the main levers are butter and the grain components. Keep in mind swaps affect texture, so expect slight differences.
- Dairy-free butter substitute: use a firm vegan stick butter that performs like cold butter for pastry. Chill it well before dicing and pulsing.
- Gluten-free flour: a 1:1 gluten-free all-purpose flour blend can replace the all-purpose flour. Choose a blend with xanthan gum or add a small binder if your blend lacks one.
- Certified gluten-free oats: if you require gluten-free, use oats labeled certified gluten-free to avoid cross-contamination.
- Dulce de leche alternatives: use a commercial caramel spread that lists only dairy ingredients if you are keeping the dairy substitution partial; be aware true dulce de leche is milk-based and not dairy-free.
Toolbox for This Recipe
- Food processor — for quickly combining flour, oats, sugar, and butter into a coarse dough.
- 11 x 7-inch baking pan — for proper shape and thickness of bars.
- Parchment paper — makes removal and cleanup effortless.
- Small saucepan — to warm the dulce de leche gently.
- Box grater or microplane — for grating the frozen reserved dough; if it’s too soft, your fingers will do the job.
- Kitchen scale (optional) — for precise measurements, especially of flour and oats.
Avoid These Mistakes
- Don’t let the butter warm up. Soft butter makes the dough greasy and prevents a proper shortbread texture.
- Don’t skip chilling the reserved dough. The frozen piece is what makes the grated, crumbly top possible.
- Don’t rush warming the dulce de leche. Heat it low and stir constantly to get a smooth, pourable consistency without scorching.
- Don’t cut the bars hot. Cutting while warm causes messy slices; wait until they’re completely cooled and set.
- Avoid over-packing the crust. Press it firmly, but don’t compact it to death—you want some air for tenderness.
Seasonal Flavor Boosts
- Autumn: stir 1/2 teaspoon ground cinnamon or a pinch of nutmeg into the dough for a warming note.
- Holiday: sprinkle flaked sea salt on top right after the bars come out of the oven to balance the sweetness and add a festive crunch.
- Summer: add toasted chopped pecans or almonds on top of the dulce de leche before grating the reserved dough for extra texture and a nutty finish.
- Winter citrus: grate a little orange zest into the dough for a bright counterpoint to the caramel flavor.
Pro Perspective
I bake bars like this a lot, and a couple of professional habits make them reliably excellent. First: treat the butter like an ingredient that must be kept cold. It’s the difference between a tender bar and a dense bar. Second: warm the dulce de leche gently—this step is about texture, not time.
Timing and Texture
Bake the crust the full 20 minutes to set a sturdy base; underbaking will let the filling sink in. After you add the dulce de leche and the grated topping, watch the last 10 minutes closely. You want a golden top and bubbly edges without burning the sugars.
Keep It Fresh: Storage Guide
These bars keep well, but their texture will change slightly over time. Stored in an airtight container at room temperature, they’re best within 2 days. For longer storage, refrigerate or freeze.
- Room temperature: up to 2 days in an airtight container; let them sit at room temperature before serving if chilled.
- Refrigerator: up to 5 days; refrigerating will firm the dulce de leche and make the bars chewier.
- Freezer: wrap tightly in plastic and place in a freezer bag for up to 3 months. Thaw in the refrigerator overnight, then bring to room temperature before serving.
Common Qs About Dulce de Leche Bars
- Q: Can I make dulce de leche from sweetened condensed milk instead of buying a can?
A: Yes, you can make dulce de leche by slowly simmering sweetened condensed milk or using a pressure cooker method, but this recipe uses a ready-made 380 g can for convenience and consistency. If making your own, ensure it’s smooth and room temperature before using. - Q: My top didn’t grate cleanly—what happened?
A: The reserved dough likely wasn’t cold enough. Freeze it until firm; for a quicker fix, grate and then chill the pan briefly before returning to the oven. - Q: The filling sank into the crust—why?
A: The crust needs the full 20-minute bake to set properly. If it’s underbaked, the warm dulce de leche will seep in. Make sure the oven reaches 350°F (175°C) before baking and bake the crust the full time. - Q: Can I double the recipe?
A: Yes—use a larger baking pan and adjust baking times accordingly. A 9 x 13-inch pan is a common option, but watch the layers so the filling doesn’t become too thin. - Q: Any tips for clean slicing?
A: Chill the bars until the filling firms up, then use a large sharp knife wiped between cuts. A warm knife can help if the filling is very set—dip it in hot water, dry, and slice.
That’s a Wrap
These Dulce de Leche Bars are straightforward, forgiving, and very rewarding. The technique centers on cold butter, a brief crust bake, and a gentle warming of the filling. Follow those beats and you’ll have a tray of bars that look homemade, taste decadent, and disappear fast.
Treat them as a template: once you master the rhythm, you can add citrus zest, nuts, or a sprinkle of flaky salt to suit the occasion. Make a batch this week—you’ll be glad you did.
Dulce de Leche Bars
Ingredients
Ingredients
- 1 1/2 cups 180 grams all purpose flour
- 1 1/2 cups 135 grams rolled oats
- 1 cup 200 grams brown sugar
- pinch of salt
- 1 cup 226 grams diced cold butter
- 1 can 380 grams dulce de leche, room temperature
Instructions
Instructions
- Preheat the oven to 350°F (175°C). Line an 11 x 7-inch baking pan with parchment paper, leaving an overhang for easy removal, and set the pan aside.
- In a food processor combine the all-purpose flour, rolled oats, brown sugar, a pinch of salt, and the diced cold butter. Pulse until the mixture forms a coarse dough that holds together when pressed.
- Remove 1/2 cup of the dough mixture. Shape that reserved portion into a flat oval disc, wrap it in plastic wrap, and place it in the freezer until firm.
- Press the remaining dough evenly and firmly into the bottom of the prepared baking pan to form the crust.
- Bake the crust in the preheated oven for 20 minutes.
- While the crust bakes, open the can of dulce de leche and transfer it to a small saucepan. Warm it gently over low heat, stirring constantly, until smooth and pourable; do not boil.
- With the oven still on, remove the pan from the oven and immediately pour the warm dulce de leche evenly over the hot crust.
- Grate the frozen reserved dough over the dulce de leche to create an even topping. If the reserved dough is not hard enough to grate, crumble it with your fingers and distribute evenly.
- Return the pan to the oven and bake for an additional 30 minutes, or until the top is golden brown and the edges are bubbly.
- Remove the pan from the oven and allow the bars to cool completely in the pan before lifting them out on the parchment and cutting into bars.
Equipment
- Oven
- 11 x 7-inch baking pan
- Parchment Paper
- Food Processor
- Small Saucepan
- freezer
- Grater