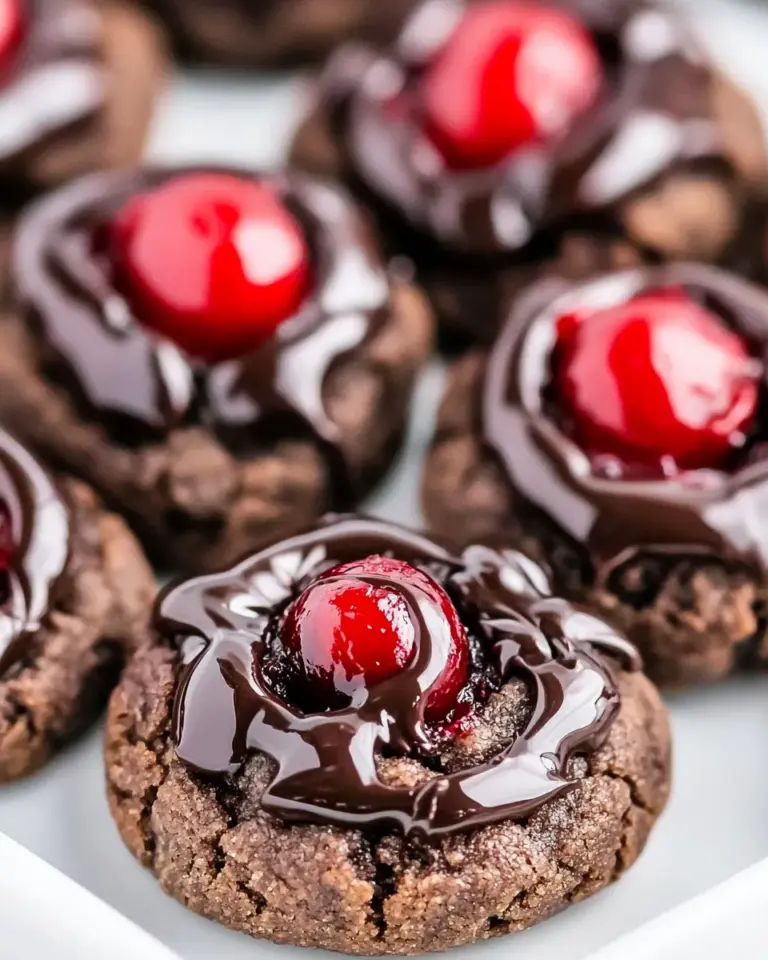
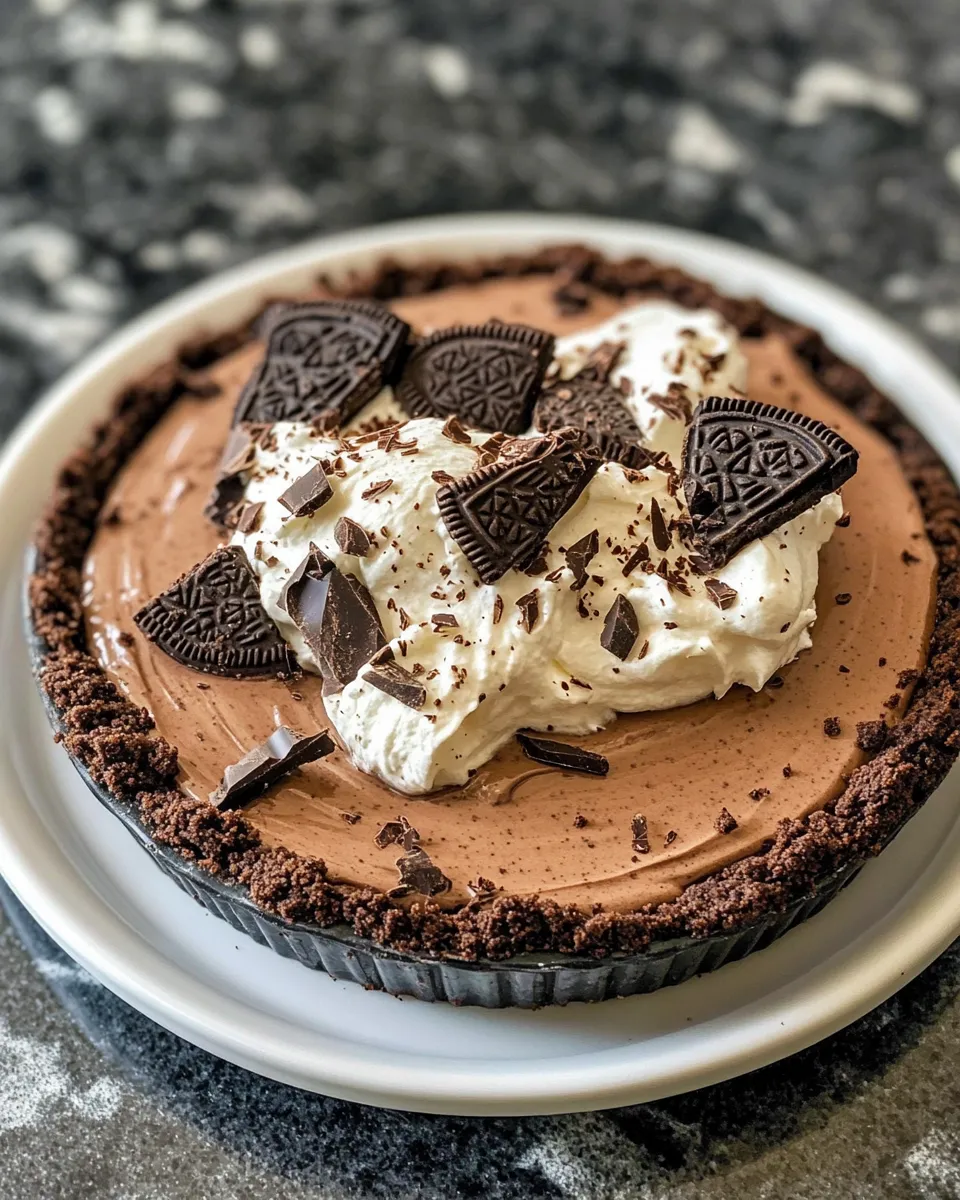
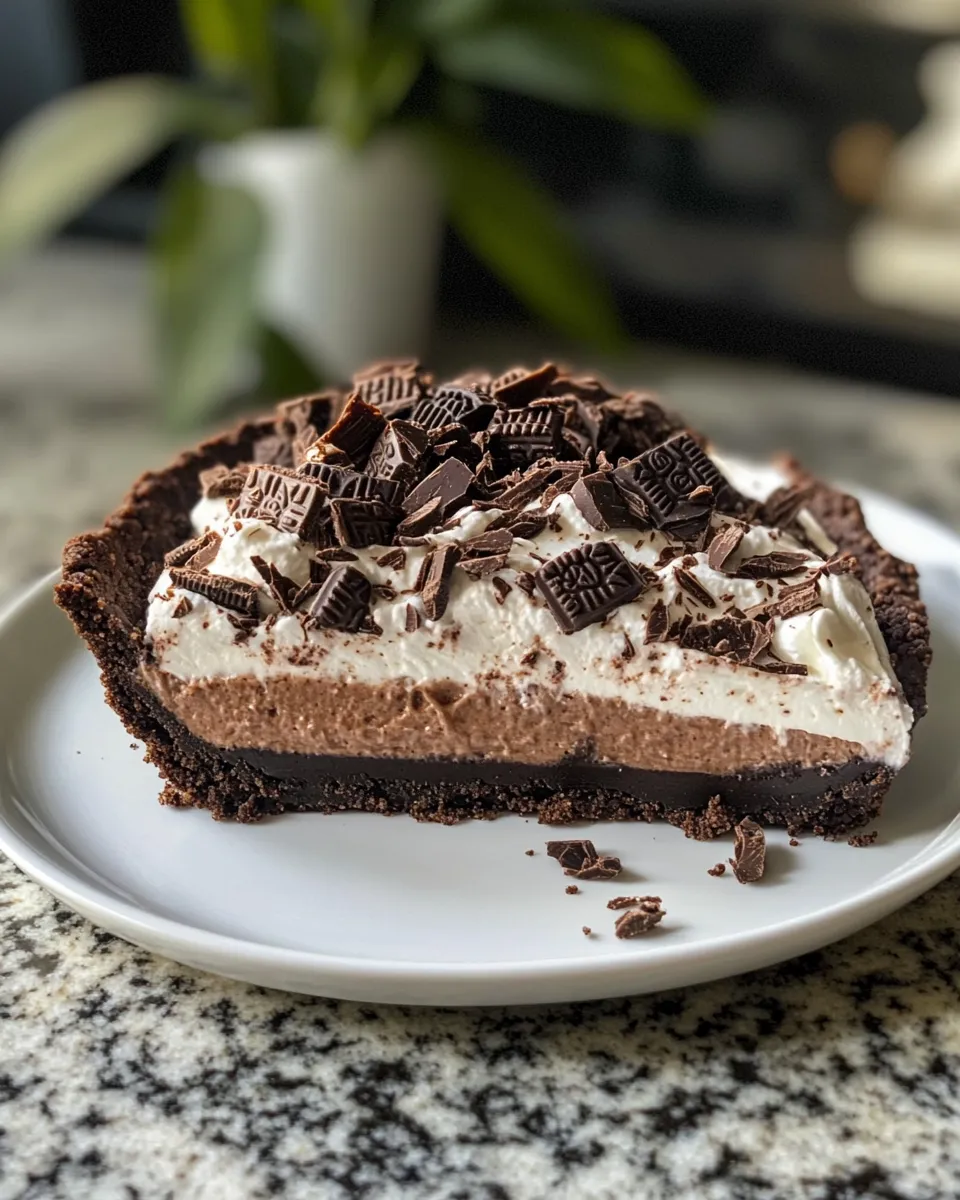
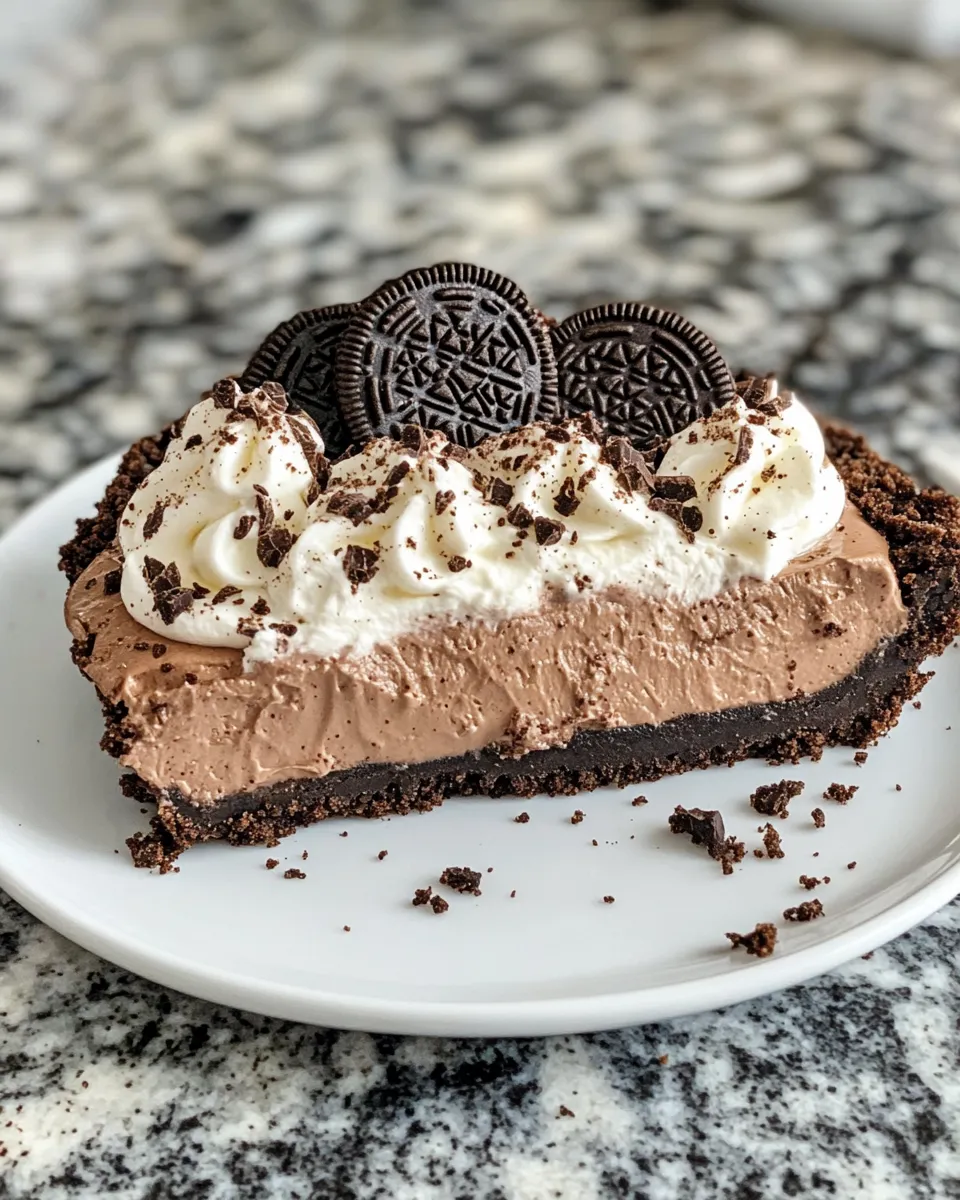
There’s something undeniably indulgent about a dessert that combines a rich, creamy chocolate filling with a delightfully crunchy crust. The Chocolate Silk Pie with Oreo Crust is one such treat that effortlessly brings together the best of textures and flavors, making it an irresistible centerpiece for any gathering. This pie features a luscious chocolate filling that’s silky smooth and deeply chocolaty, resting on a crunchy Oreo cookie crust that adds a playful twist to a classic dessert. Whether you’re celebrating a special occasion or just craving a decadent slice of chocolate heaven, this pie is sure to satisfy your sweet tooth.
The Upside of Chocolate Silk Pie with Oreo Crust
This pie isn’t just about looking good and tasting amazing; it’s also incredibly satisfying to make. The Oreo crust adds a familiar, nostalgic crunch that pairs perfectly with the creamy, melt-in-your-mouth chocolate filling. The ingredients are simple yet come together to create a dessert that feels elevated and special. Plus, the pie can be made ahead of time, allowing flavors to meld and making your dessert prep stress-free. If you love desserts that deliver both texture and deep flavor, this Chocolate Silk Pie with Oreo Crust will quickly become a go-to favorite.
What You’ll Gather
- 24 Oreo cookies, crushed (make sure to remove any non-halal fillings if necessary)
- 1/2 cup unsalted butter, melted
- 1 cup semi-sweet chocolate chips
- 1/2 cup granulated sugar
- 1 cup heavy cream
- 4 large eggs
- 1 teaspoon vanilla extract
Tools & Equipment Needed
- 9-inch pie dish – for shaping your pie crust
- Food processor or rolling pin and plastic bag – to crush the Oreo cookies finely
- Mixing bowls – to combine ingredients
- Double boiler or microwave-safe bowl – to melt chocolate gently
- Electric mixer or whisk – to beat eggs and cream
- Spatula – for smooth folding and transferring mixture
- Measuring cups and spoons – for accurate ingredient amounts
Chocolate Silk Pie with Oreo Crust: From Prep to Plate
Step 1: Prepare the Oreo Crust
Start by crushing your 24 Oreo cookies until they become fine crumbs. You can use a food processor for quick results or place cookies in a sealed plastic bag and crush them with a rolling pin. In a medium bowl, toss the cookie crumbs with the melted butter until the mixture resembles wet sand. Press this mixture firmly and evenly into the bottom and up the sides of your 9-inch pie dish to form the crust. Place it in the refrigerator to set while you prepare the filling.
Step 2: Melt the Chocolate
In a double boiler or microwave-safe bowl, melt the semi-sweet chocolate chips in short bursts, stirring frequently to avoid scorching. Once smooth, set aside to cool slightly. This step is crucial for that rich, silky texture in your filling.
Step 3: Whip the Cream
In a large mixing bowl, whip the heavy cream until soft peaks form. Be careful not to overwhip; you want it light and fluffy, which will add airiness to the filling.
Step 4: Beat the Eggs and Sugar
In a separate bowl, whisk together the eggs and granulated sugar until the mixture is pale and thick. This will help create the smooth silkiness that defines this pie.
Step 5: Combine Ingredients
Slowly add the melted chocolate and vanilla extract to the egg mixture, stirring continuously to blend. Then gently fold in the whipped cream until fully incorporated. The folding technique is key here – it keeps the mixture light and airy rather than dense.
Step 6: Assemble the Pie
Pour the chocolate filling into the prepared Oreo crust, smoothing the top with a spatula. Cover the pie with plastic wrap and chill it in the refrigerator for at least 4 hours, preferably overnight, so the filling can set properly.
Step 7: Serve and Enjoy
When ready to serve, garnish your Chocolate Silk Pie with Oreo Crust with extra cookie crumbs, whipped cream, or even chocolate shavings for an elegant finish. Slice and enjoy the perfect balance of creamy chocolate and crunchy crust!
Seasonal Spins
- Top with fresh raspberries or strawberries during summer for a bright, fruity contrast.
- Sprinkle a hint of cinnamon or chili powder into the chocolate filling for a warm, spicy kick in fall.
- For winter celebrations, add peppermint extract to the filling and garnish with crushed candy canes.
- Serve mini versions in tartlet pans for easy, bite-sized holiday treats.
Frequent Missteps to Avoid
- Overbeating the cream – this can cause it to turn into butter and ruin the texture of the filling.
- Melting the chocolate too quickly or at too high a temperature – this can cause it to seize and become grainy.
- Not chilling the pie long enough – the filling needs time to set to achieve that signature silky texture.
- Pressing the Oreo crust too thin – a thicker crust holds up better and balances the richness of the filling.
Save It for Later
Store your pie in the refrigerator, covered tightly with plastic wrap, for up to 3 days. If you want to freeze it, wrap it securely and freeze for up to 1 month. Thaw in the fridge overnight before serving to maintain the creamy texture.
Questions People Ask
Can I use a different type of cookie for the crust?
Absolutely! While Oreo cookies add a distinctive flavor and crunch, you can substitute with any chocolate wafer cookies or graham crackers if you prefer. Just make sure to crush them finely and mix well with melted butter to hold the crust together.
Is it necessary to use raw eggs in the filling?
The eggs are gently cooked within the filling during the mixing process, but if you’re concerned about consuming raw eggs, you can use pasteurized eggs or egg substitutes designed for baking to ensure safety without compromising texture.
How can I make the pie more chocolatey?
For an extra chocolate boost, try using a combination of semi-sweet and dark chocolate chips or add a tablespoon of cocoa powder to the filling. Just be sure to adjust the sweetness if you add unsweetened cocoa.
Can I make this pie ahead of time?
Definitely! This pie actually tastes better after it has chilled for several hours or overnight as the flavors meld and the filling firms up perfectly. Just cover and refrigerate until ready to serve.
Save & Share
Love this Chocolate Silk Pie with Oreo Crust? Save it to your favorite recipe collection and share it with friends and family. Whether you post your pie photos or gift slices to neighbors, this dessert is sure to spread smiles and chocolate delight.
Enjoy every bite of this luscious, silky, and crunchy chocolate masterpiece — a dessert that’s as fun to make as it is to eat!
Share on Pinterest
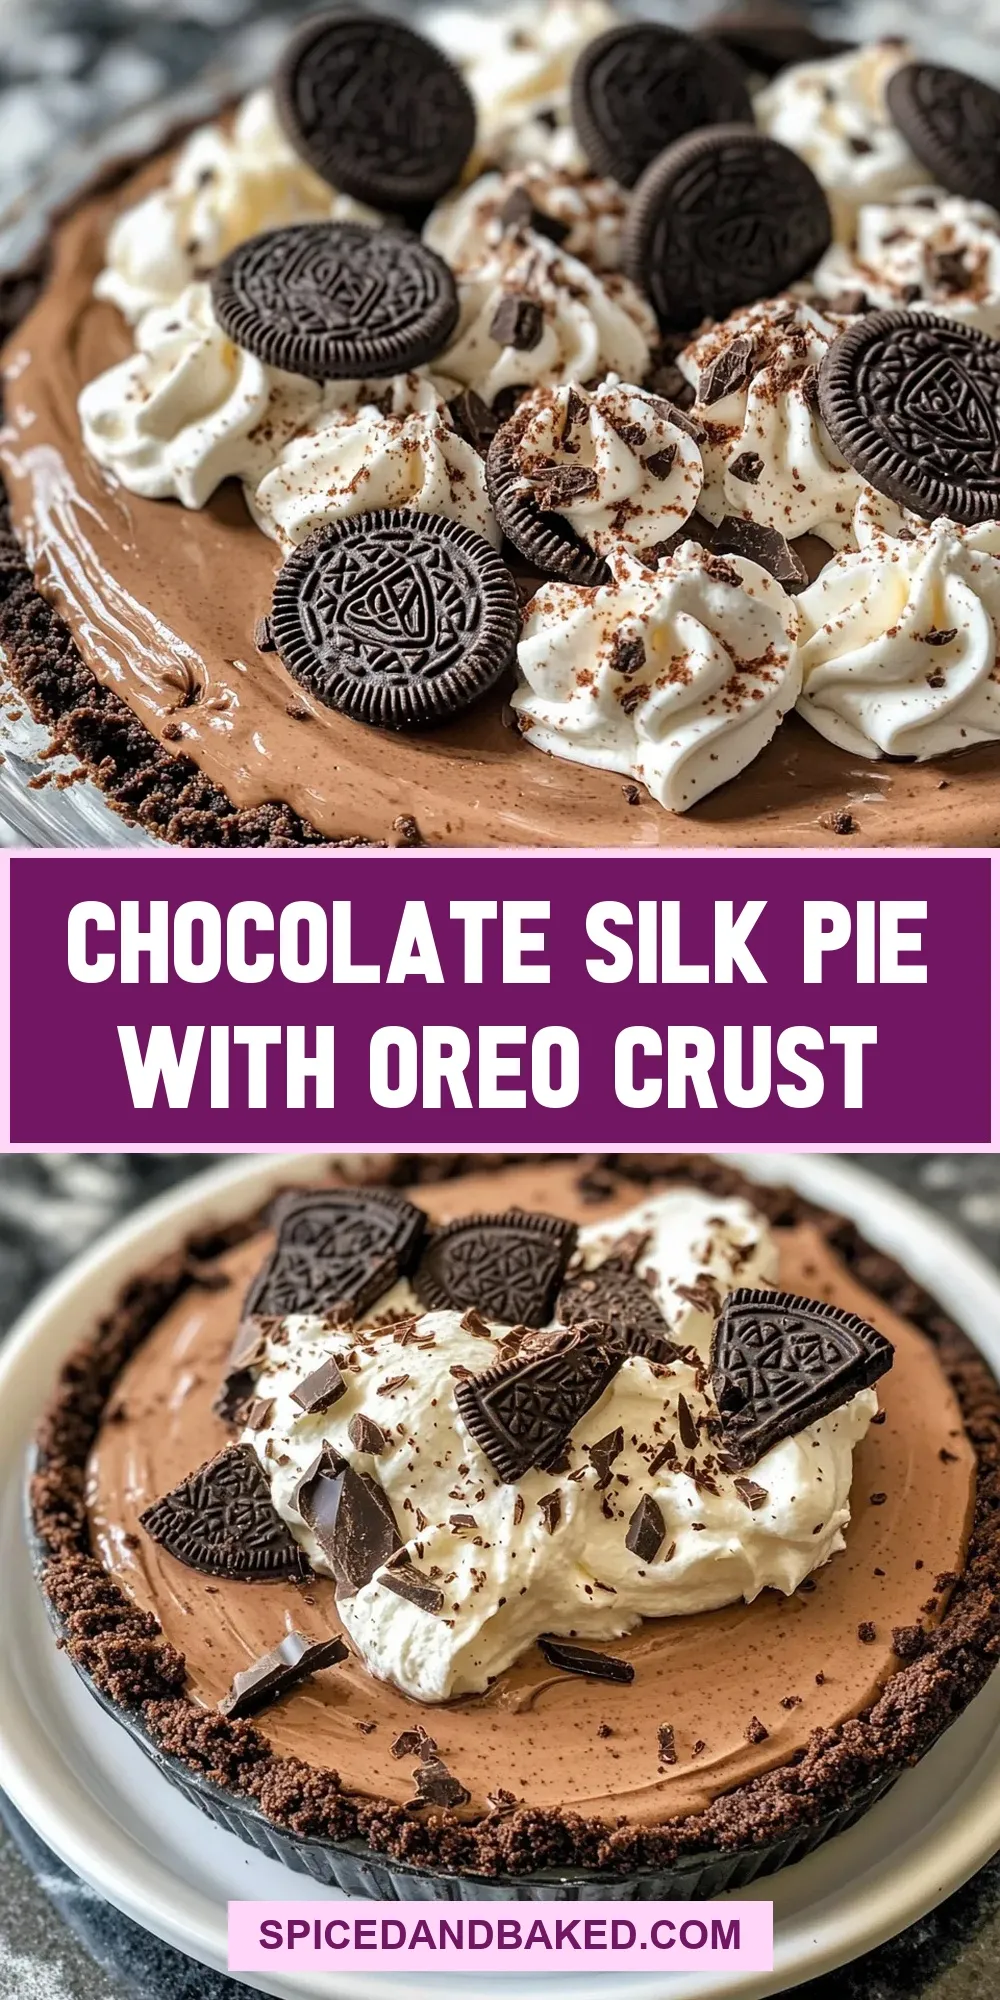

Chocolate Silk Pie with Oreo Crust
Ingredients
- 24 Oreo cookies crushed (make sure to remove any non-halal fillings if necessary)
- 1/2 cup unsalted butter melted
- 1 cup semi-sweet chocolate chips
- 1/2 cup granulated sugar
- 1 cup heavy cream
- 4 large eggs
- 1 teaspoon vanilla extract
Instructions
Prepare the Oreo Crust
- Crush 24 Oreo cookies finely using a food processor or place in a sealed plastic bag and crush with a rolling pin.
- Toss the cookie crumbs with melted unsalted butter until the mixture resembles wet sand.
- Press the mixture firmly and evenly into the bottom and up the sides of a 9-inch pie dish to form the crust.
- Place the crust in the refrigerator to set while preparing the filling.
Make the Filling
- Melt the semi-sweet chocolate chips in a double boiler or microwave-safe bowl in short bursts, stirring frequently until smooth. Set aside to cool slightly.
- Whip the heavy cream in a large mixing bowl until soft peaks form, being careful not to overwhip.
- In a separate bowl, whisk together the eggs and granulated sugar until pale and thick.
- Slowly add the melted chocolate and vanilla extract to the egg mixture, stirring continuously to blend.
- Gently fold in the whipped cream until fully incorporated, keeping the mixture light and airy.
Assemble the Pie
- Pour the chocolate filling into the prepared Oreo crust and smooth the top with a spatula.
- Cover the pie with plastic wrap and chill in the refrigerator for at least 4 hours, preferably overnight, to allow the filling to set properly.
Serve
- Garnish with extra cookie crumbs, whipped cream, or chocolate shavings if desired. Slice and enjoy!
Equipment
- 9-inch pie dish
- Food processor or rolling pin and plastic bag
- Mixing bowls
- Double boiler or microwave-safe bowl
- Electric mixer or whisk
- Spatula
- Measuring cups and spoons
Notes
- Do not overbeat the cream to avoid turning it into butter and ruining the filling texture.
- Melt chocolate slowly to prevent it from seizing or becoming grainy.
- Chill the pie for several hours or overnight for the best silky texture.
- Press the Oreo crust thick enough to hold the filling and balance richness.
- You can substitute the Oreo cookies with other chocolate wafer cookies or graham crackers for the crust.