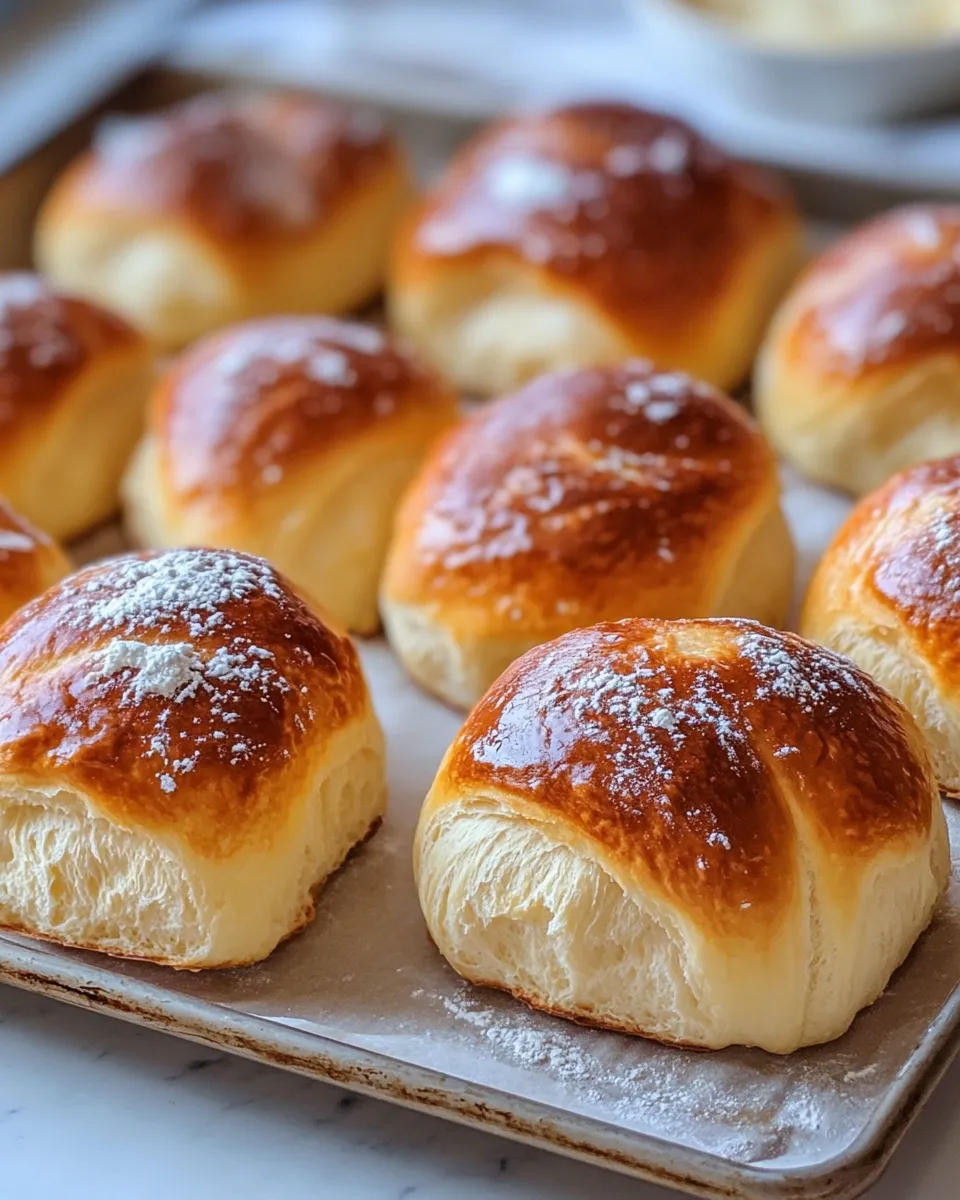
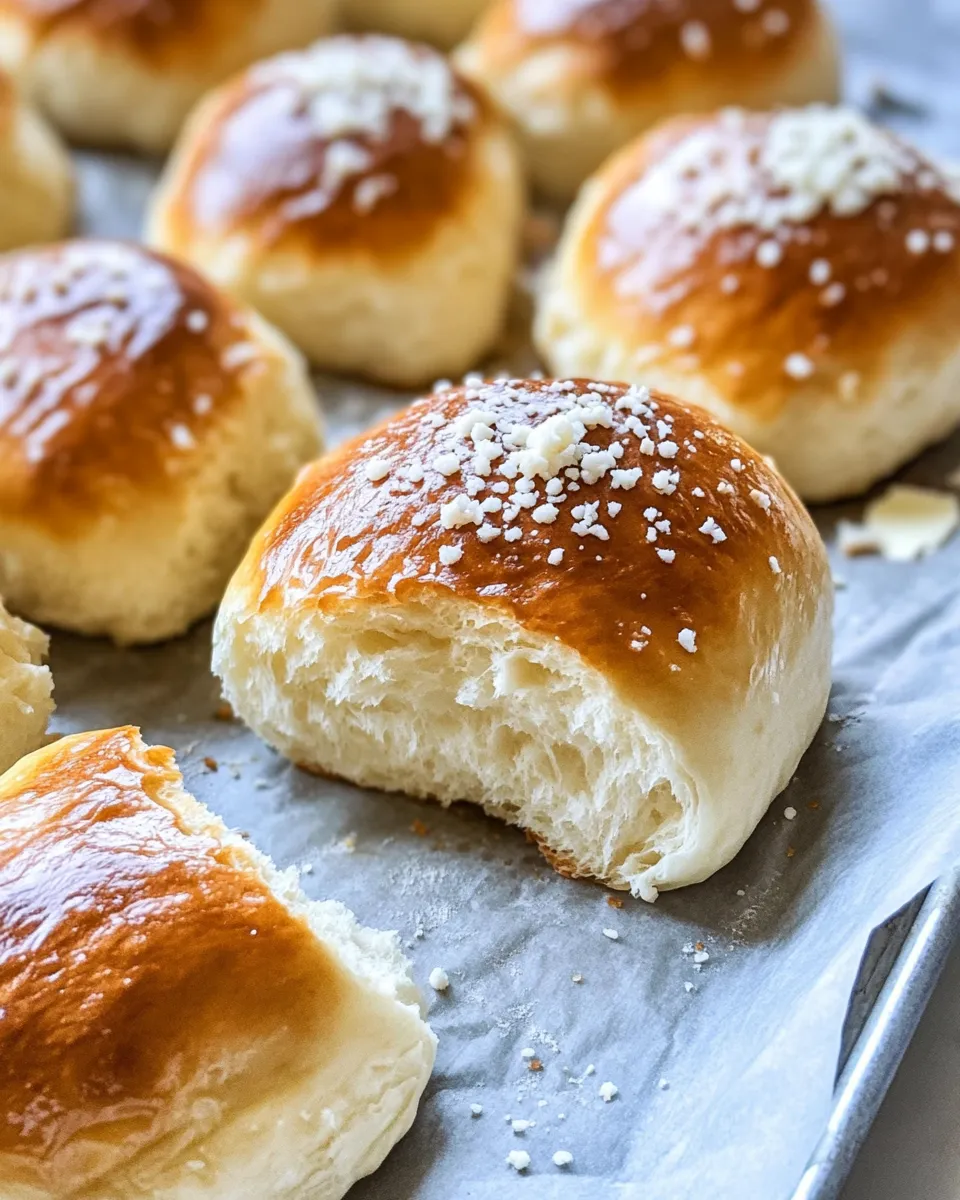
These brioche buns are tender, buttery, and structured enough to hold a hearty filling without falling apart. The method combines yeast activation, a straightforward dough, and a simple layering of butter that gives the crumb lift and richness commonly associated with brioche—without requiring complicated laminating steps.
I write this from a practical standpoint: follow the timing and the sequence, keep an eye on dough texture rather than strict flour counts, and the results will reward you. I’ll walk you through ingredients, every step, and the common pitfalls so you can bake with confidence.
This recipe uses basic pantry staples and a little patience. Read the steps once, set out your ingredients, and let the dough tell you when it’s ready—then enjoy warm buns brushed with a glossy egg wash and a sprinkling of seeds.
The Essentials
What you need to know at a glance before you begin:
- Yeast activation: 1 tablespoon active dry yeast is proofed in 1 cup lukewarm water with 1 tablespoon sugar and takes 5–10 minutes to become frothy.
- Liquid balance: Total liquids include 1 cup water, 1 cup lukewarm milk, 1/2 cup vegetable oil, and 2 egg whites added to the dough; yolks are reserved for the egg wash.
- Flour range: Start with 4 cups of all-purpose flour and be prepared to use up to 6 cups total—add gradually until the dough forms a soft, slightly sticky ball.
- Rises and baking: First rise is about 1–2 hours until doubled; shaped buns proof 30–45 minutes; bake at 375°F (190°C) for 20–25 minutes until deep golden brown.
- Butter layering: Total 6 tablespoons unsalted butter, spread in stages to build layers and richness in the crumb.
Ingredients
- 1 cup water (lukewarm) — activates the yeast; should feel warm but not hot.
- 2 tablespoons sugar (granulated) — food for the yeast and light sweetness for the dough.
- 1 tablespoon active dry yeast — leavens the dough; proof to ensure it’s active.
- 1 cup milk (lukewarm) — adds tenderness and flavor; lukewarm helps fermentation.
- ½ cup vegetable oil — keeps the crumb soft and improves shelf life.
- 2 large eggs (separated, at room temperature) — whites go into the dough for structure; yolks reserved for the egg wash.
- 1 teaspoon salt — balances flavor and strengthens gluten.
- 4-6 cups all-purpose flour — added gradually; final amount depends on humidity and how you measure flour.
- 6 tablespoon butter (unsalted, softened) — layered into the dough for richness and tender layers.
- 1 teaspoon vanilla paste — mixed into the egg wash for aroma and color.
- 1 tablespoon sesame seeds — optional topping for flavor and texture.
- 1 tablespoon poppy seeds — optional topping; use either seed or a mix as desired.
Brioche Buns: Step-by-Step Guide
- Activate the yeast: In the bowl of a stand mixer (or a large bowl if mixing by hand) combine 1 cup lukewarm water, 1 tablespoon of the granulated sugar, and 1 tablespoon active dry yeast. Stir once, then let sit 5–10 minutes until the mixture is frothy.
- Add the remaining wet ingredients: To the frothy yeast mixture add the remaining 1 tablespoon sugar, 1 cup lukewarm milk, 1/2 cup vegetable oil, the 2 egg whites (reserve the yolks), and 1 teaspoon salt. Whisk briefly to combine.
- Begin the dough: Add 2 cups of the all-purpose flour to the bowl and mix on low with a dough hook (or stir by hand) for a couple minutes. Continue adding the remaining flour 1 cup at a time, mixing after each addition, until the dough comes together into a soft, slightly sticky ball. You will likely use about 4 cups but may need up to 6 cups total.
- Knead until elastic: Knead the dough in the mixer on low-medium for 5–8 minutes (or knead by hand on a lightly floured surface) until the dough is smooth, elastic, slightly sticky, and springs back when poked.
- First rise: Lightly oil a large bowl, transfer the dough into the oiled bowl, turn once to coat, cover with plastic wrap or a clean towel, and let rise in a warm, draft-free place until doubled in size, about 1–2 hours.
- Prepare for shaping and the oven: Preheat the oven to 375°F (190°C). Line two baking sheets with parchment paper. Lightly oil your work surface with some of the vegetable oil.
- Deflate and flatten: Punch the risen dough down to release the air. Transfer it to the oiled work surface and, using your fingers (or a rolling pin), spread the dough into a rectangle roughly 20 x 16 inches. If the dough sticks, oil your hands lightly.
- Layer with butter: Spread 3 tablespoons of the softened unsalted butter evenly over the dough surface. Fold the dough into thirds (like a letter). Gently press or spread the folded dough back into a rectangle, then spread 2 tablespoons butter over the new surface and fold into thirds again. Press or spread once more, then spread the remaining 1 tablespoon butter over the surface and fold into thirds one last time. After the final fold, press or spread the dough to a rectangle about 12 x 8 inches.
- Cut and shape buns: Using a pizza cutter or sharp knife, cut the dough into 8 long strips (each about 1½ inches wide). For each strip, fold it in half, twist the doubled strip, bring the two ends together, and pinch to seal to form a knotted/twisted bun. Place the buns on the prepared baking sheets with space between them (up to 6 buns will fit on one sheet—use the second sheet for any extras).
- Second rise: Cover the shaped buns loosely with plastic wrap or a clean towel and let them rise in a warm place until puffy, about 30–45 minutes.
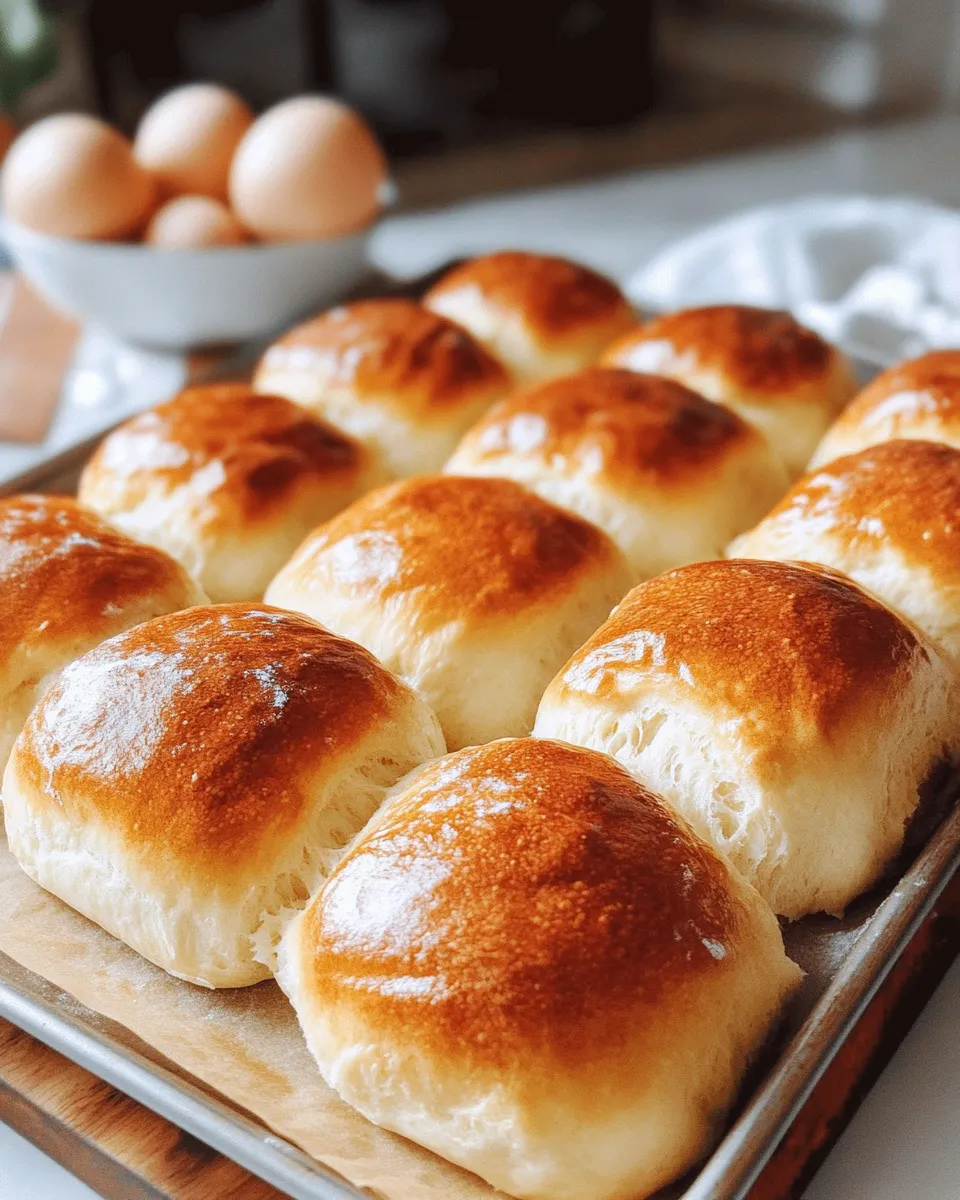
- Egg wash and seeds: Whisk the reserved 2 egg yolks together with 1 teaspoon vanilla paste. Generously brush the tops of the risen buns with the yolk-vanilla mixture. Sprinkle the buns with sesame seeds and/or poppy seeds from the listed amounts as desired.
- Bake and cool: Bake the buns in the preheated oven 20–25 minutes, rotating the sheets halfway through if baking two at once, until the buns are deep golden brown. Let the buns cool on the baking sheet for 5 minutes, then transfer to a wire rack to cool completely.
What You’ll Love About This Recipe
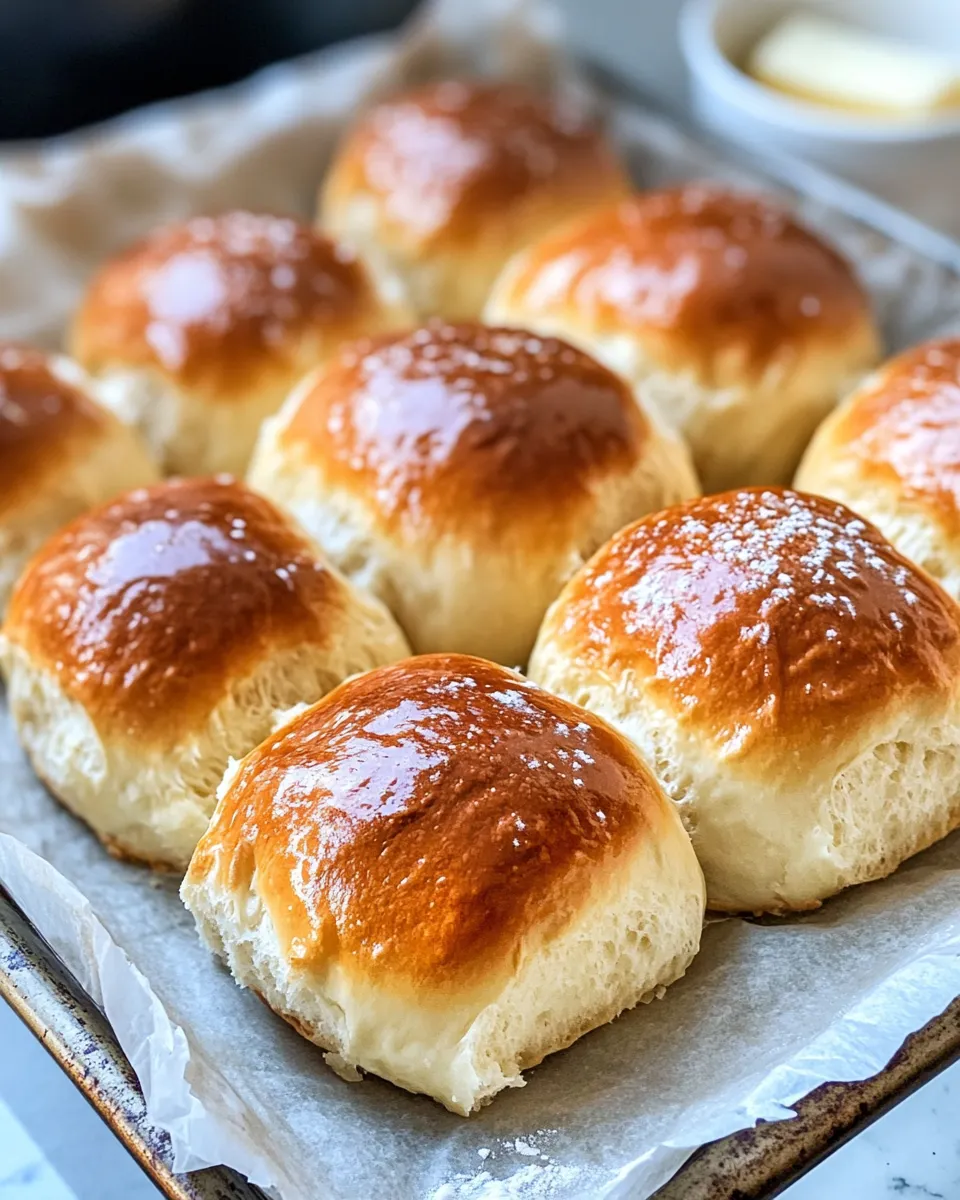
These buns deliver a soft, buttery crumb without requiring an advanced laminating technique. The staged butter layering adds richness and subtle layers while remaining approachable. They brown beautifully with the yolk-vanilla wash and take seeds well for a bakery-style finish.
They hold up to robust fillings—think pulled meats, fried chicken, or a hearty breakfast sandwich—while staying tender and slightly pull-apart when fresh. The method scales: if you want more buns, double the recipe and bake in batches.
International Equivalents
Brioche is a classic French enriched bread; these buns are a simplified, bun-shaped version of that tradition. In other countries you might find similar enriched rolls called milk buns (East Asia), butter rolls (Central/Northern Europe), or enriched sandwich buns. The technique—soft dough, butter enrichment, egg wash—is common across those variations, with minor changes in fat type or sweetness.
Equipment & Tools
- Stand mixer with dough hook (optional) — speeds kneading and reduces effort.
- Large mixing bowl — for yeast activation and mixing if doing by hand.
- Baking sheets and parchment paper — for even baking and easy cleanup.
- Rolling pin or your hands — to flatten the dough to the specified rectangles.
- Pizza cutter or sharp knife — for clean, even strips.
- Pastry brush — to apply the egg yolk and vanilla wash.
- Wire rack — to cool the buns properly after baking.
- Plastic wrap or clean towels — for covering dough during rises.
Mistakes That Ruin Brioche Buns
- Using water that’s too hot to activate the yeast — kills the yeast and prevents rise. Lukewarm (comfortable to the touch) is key.
- Adding all the flour at once — leads to a dense, dry dough. Add gradually and watch texture; dough should be slightly sticky.
- Under- or over-kneading — under-kneaded dough won’t develop strength and will be gummy; over-kneaded dough can become tough. Aim for 5–8 minutes in a mixer or until smooth and elastic.
- Skipping the butter layering or using melted butter — prevents the intended layers and texture. Use softened butter and spread as instructed.
- Proofing in a cold, drafty spot — proof times will be much longer and may produce poor rise. Choose a warm, draft-free place.
- Overbaking or underbaking — buns should be deep golden brown and sound hollow when tapped; follow the 20–25 minute guideline and check color.
Better-for-You Options
- Reduce sugar slightly: The recipe uses 2 tablespoons sugar total. If you prefer less sweetness, you can reduce it, but keep at least 1 tablespoon to feed the yeast.
- Swap oil type: The recipe calls for vegetable oil. For a different fat profile, swap with light olive oil or a neutral oil you prefer—flavor will vary.
- Milk alternatives: Use an unsweetened plant milk warmed to lukewarm if you need a dairy-free option; it will change the flavor slightly but keep structure similar.
Notes from the Test Kitchen

A few practical observations from baking these buns that save time and frustration:
- Measure flour by volume carefully. If your flour is packed, spoon it into the measuring cup and level it. Because the recipe allows 4–6 cups, add gradually and stop when the dough is slightly sticky but manageable.
- Temperature and humidity affect how much flour you’ll need. In humid environments you may need less flour; in dry climates, add a bit more until the dough pulls away from the bowl.
- Butter should be soft but not oily. If it’s too cold it won’t spread; if it’s too warm it will absorb into the dough and defeat the layering effect.
- If your shaped buns spread too much during the second rise, the dough was likely too warm or too slack—chill briefly, or add a touch more flour next time.
- When brushing with the yolk-vanilla wash, be generous for color and gloss, but avoid pooling wash between buns which can caramelize unevenly on the baking sheet.
Refrigerate, Freeze, Reheat
Storage tips:
- Refrigerate: Store cooled buns in an airtight container at room temperature for up to 2 days; refrigeration will dry them out faster, so avoid unless necessary.
- Freeze: Fully cool the buns, then wrap individually in plastic wrap and place in a freezer bag for up to 2 months. Thaw at room temperature and reheat briefly.
- Reheat: For best texture, reheat in a 325°F (160°C) oven for 8–10 minutes from room temperature to revive crust and warmth. For a quick option, microwave for 15–20 seconds, then finish in a toaster oven for a crisp exterior.
Your Top Questions
- Can I use whole eggs instead of separating? Yes—if you don’t want to separate eggs, you can mix whole eggs into the dough and reserve a bit for brushing. Expect slightly different crumb and color. The recipe is written with whites in the dough and yolks reserved to maximize gloss.
- What if my dough is too sticky to handle? Oil your hands and work surface lightly rather than adding large amounts of flour; adding too much flour will dry the buns.
- Can I make the dough ahead? You can refrigerate the dough after the first rise to slow fermentation. Bring it back to room temperature before shaping and proceed with the butter layering and shaping steps.
- How do I know when the buns are done? They should be deep golden brown on top and sound slightly hollow when tapped on the bottom. Internal temperature for enriched breads is usually around 190–200°F (88–93°C) if you use an instant-read thermometer.
Let’s Eat
Serve these brioche buns warm, split and slathered with butter, made into sandwiches, or alongside breakfast eggs. They’re happiest the day they’re baked, but they also revive beautifully with a few minutes in the oven. Follow the steps, respect the dough’s feel, and you’ll have bakery-style brioche buns at home.

Brioche Buns
Ingredients
Ingredients
- 1 cupwater lukewarm
- 2 tablespoonsugar granulated
- 1 tablespoonactive dry yeast
- 1 cupmilk lukewarm
- 1/2 cupvegetable oil
- 2 largeeggs separated, at room temperature
- 1 teaspoonsalt
- 4-6 cupsall-purpose flour
- 6 tablespoonbutter unsalted, softened
- 1 teaspoonvanilla paste
- 1 tablespoonsesame seeds
- 1 tablespoonpoppy seeds
Instructions
Instructions
- Activate the yeast: In the bowl of a stand mixer (or a large bowl if mixing by hand) combine 1 cup lukewarm water, 1 tablespoon of the granulated sugar, and 1 tablespoon active dry yeast. Stir once, then let sit 5–10 minutes until the mixture is frothy.
- Add the remaining wet ingredients: To the frothy yeast mixture add the remaining 1 tablespoon sugar, 1 cup lukewarm milk, 1/2 cup vegetable oil, the 2 egg whites (reserve the yolks), and 1 teaspoon salt. Whisk briefly to combine.
- Begin the dough: Add 2 cups of the all-purpose flour to the bowl and mix on low with a dough hook (or stir by hand) for a couple minutes. Continue adding the remaining flour 1 cup at a time, mixing after each addition, until the dough comes together into a soft, slightly sticky ball. You will likely use about 4 cups but may need up to 6 cups total.
- Knead until elastic: Knead the dough in the mixer on low-medium for 5–8 minutes (or knead by hand on a lightly floured surface) until the dough is smooth, elastic, slightly sticky, and springs back when poked.
- First rise: Lightly oil a large bowl, transfer the dough into the oiled bowl, turn once to coat, cover with plastic wrap or a clean towel, and let rise in a warm, draft-free place until doubled in size, about 1–2 hours.
- Prepare for shaping and the oven: Preheat the oven to 375°F (190°C). Line two baking sheets with parchment paper. Lightly oil your work surface with some of the vegetable oil.
- Deflate and flatten: Punch the risen dough down to release the air. Transfer it to the oiled work surface and, using your fingers (or a rolling pin), spread the dough into a rectangle roughly 20 x 16 inches. If the dough sticks, oil your hands lightly.
- Layer with butter: Spread 3 tablespoons of the softened unsalted butter evenly over the dough surface. Fold the dough into thirds (like a letter). Gently press or spread the folded dough back into a rectangle, then spread 2 tablespoons butter over the new surface and fold into thirds again. Press or spread once more, then spread the remaining 1 tablespoon butter over the surface and fold into thirds one last time. After the final fold, press or spread the dough to a rectangle about 12 x 8 inches.
- Cut and shape buns: Using a pizza cutter or sharp knife, cut the dough into 8 long strips (each about 1½ inches wide). For each strip, fold it in half, twist the doubled strip, bring the two ends together, and pinch to seal to form a knotted/twisted bun. Place the buns on the prepared baking sheets with space between them (up to 6 buns will fit on one sheet—use the second sheet for any extras).
- Second rise: Cover the shaped buns loosely with plastic wrap or a clean towel and let them rise in a warm place until puffy, about 30–45 minutes.
- Egg wash and seeds: Whisk the reserved 2 egg yolks together with 1 teaspoon vanilla paste. Generously brush the tops of the risen buns with the yolk-vanilla mixture. Sprinkle the buns with sesame seeds and/or poppy seeds from the listed amounts as desired.
- Bake and cool: Bake the buns in the preheated oven 20–25 minutes, rotating the sheets halfway through if baking two at once, until the buns are deep golden brown. Let the buns cool on the baking sheet for 5 minutes, then transfer to a wire rack to cool completely.
Equipment
- KitchenAid Artisan 5 Quart Stand Mixer
- Aluminum Baking Sheet (2 pack)
- Basting and Pastry Brush
Notes
Always check the expiration date on your yeast and make sure it hasn’t expired. All your yeast products whether it’s in a jar or a package should be stamped with a “Best if Used by” date.
Dough thrives in a warm, draft-free environment. If your oven has a “proof” function, then use it. The “proof” function preheats the oven to 100 F degrees, causing a warm, but not hot environment for your dough to rise nicely. If your oven doesn’t have this “proof” function, I would still use the oven. What I usually do is preheat the oven to 200F degrees, or whatever the lowest setting is for it. Once it reaches that temperature, turn off the oven, then place the dough in there to rise. This will speed up the proofing process tremendously.
The amount of flour you use in these buns totally depends on your environment. It could vary greatly, 4 to 6 cups. I live in a very dry environment, so for me I always have to use less flour than a recipe specifies. If you live in a humid environment, more flour is required.
Note that the dough is so soft, you don’t even have to roll it with a rolling pin, you can just use your fingers to spread out the dough.
Brioche buns truly are best enjoyed the day you make them, but if you do have some leftover buns, they will last up to3 daysat room temperature. I usually just place them in a ziploc bag.
These brioche buns can actually be frozen and will last in the freezer for up to3 months. Just make sure they are completely cooled to room temperature. Once cooled wrap them in plastic wrap individually then place them in a ziploc bag and freeze.