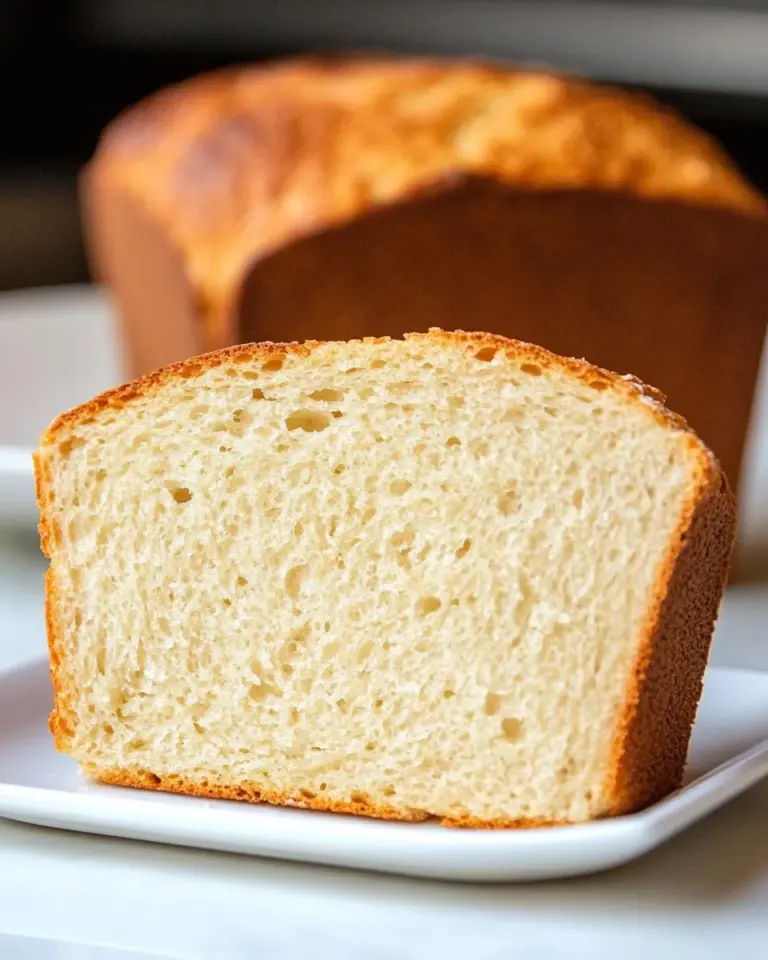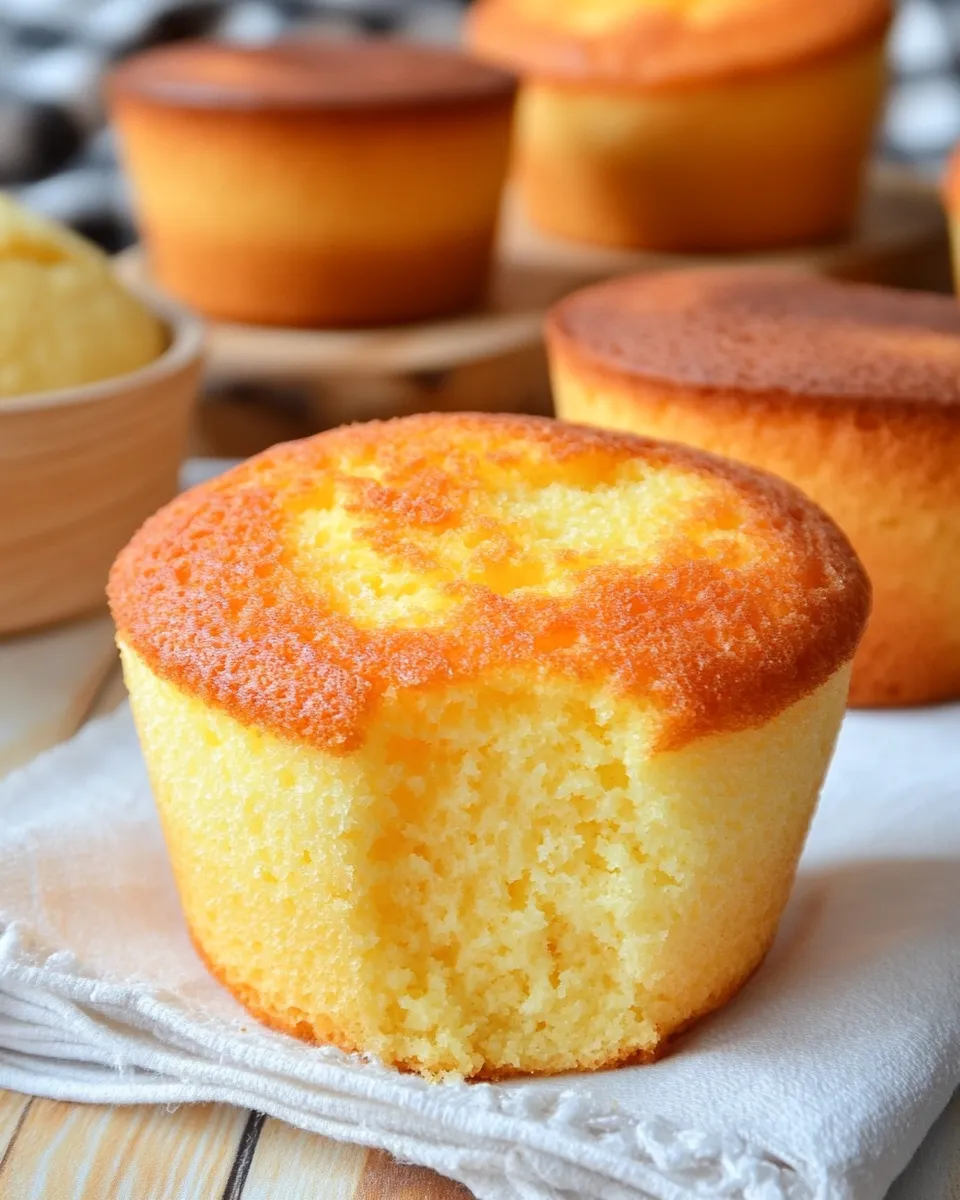
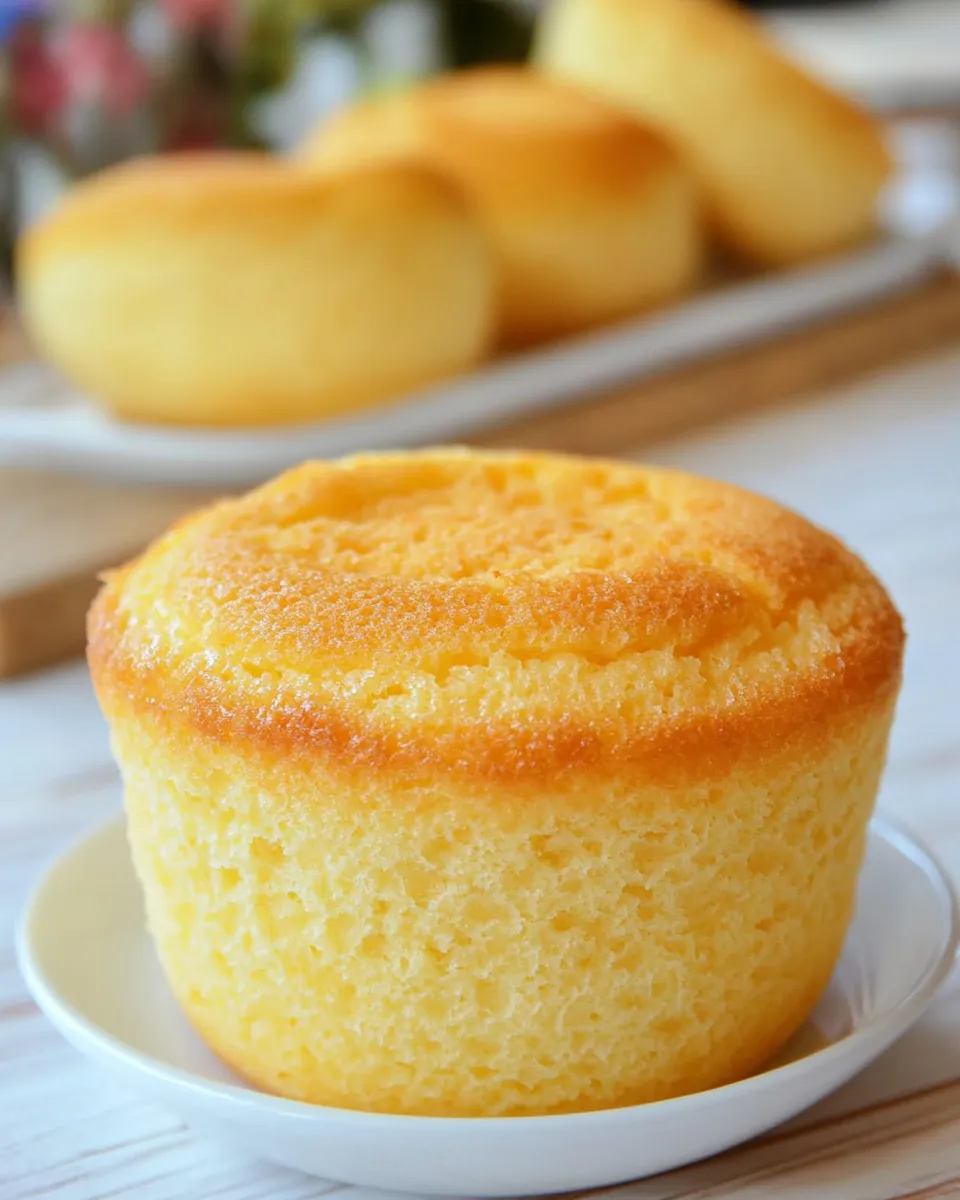
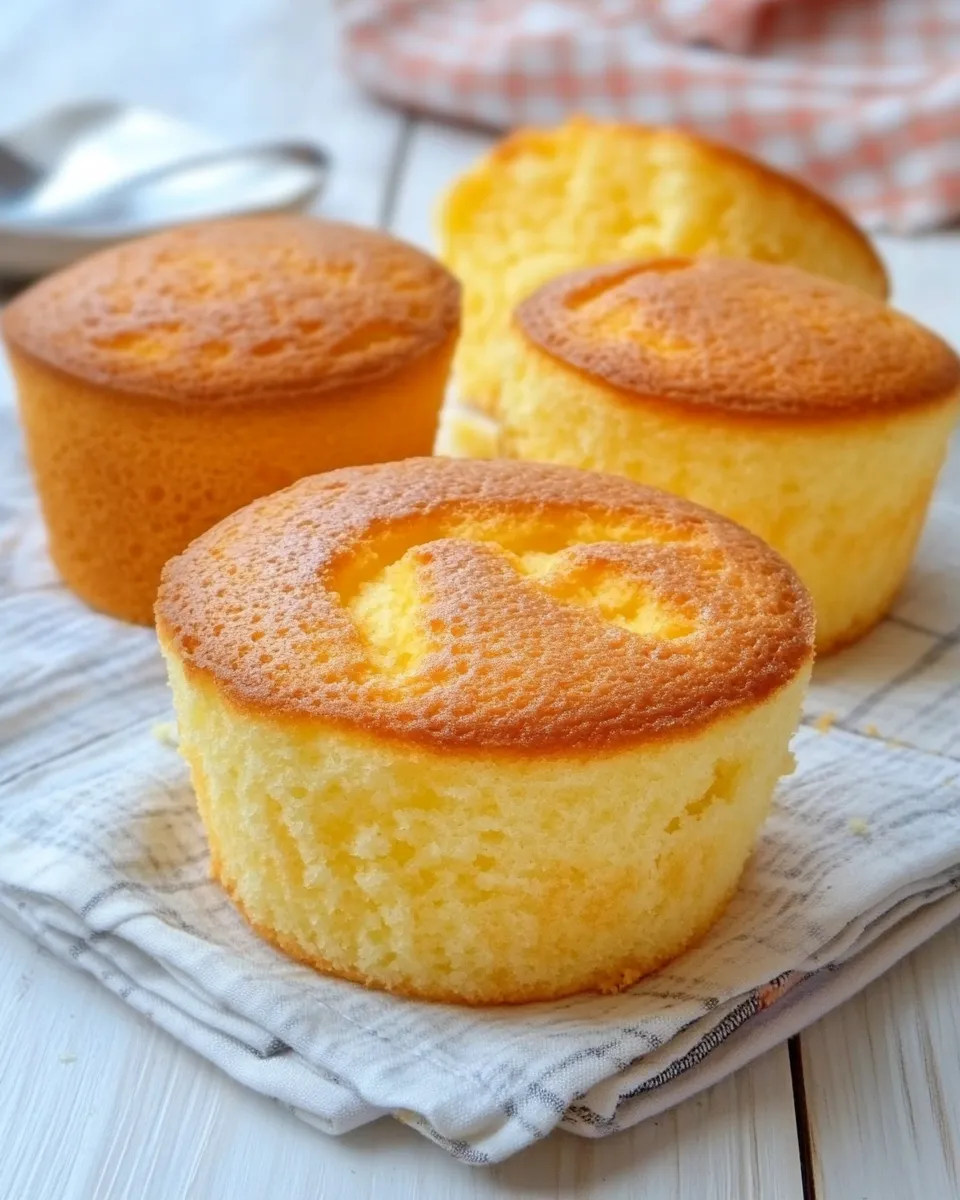
These French cupcakes — essentially individual brioches — are a small, buttery celebration. They have a tender crumb, a glossy golden top, and enough richness to feel special without being fussy. I make them when I want something a little indulgent for breakfast, a tea tray, or a hostess gift that always lands well.
The method asks for a two-stage rise with an overnight chill. That pause is purposeful: it deepens flavor and makes shaping much easier. Read the steps once to understand the timing, then follow them; the technique is forgiving as long as you respect temperatures and the yeast activity.
I’ll walk you through the ingredients, the exact directions, smart swaps, troubleshooting, storage, and a few small tweaks to fit these to your schedule or diet. No fluff — just practical notes and the exact steps you need to get reliable, beautiful brioches.
Ingredient Notes
Before you begin, a quick look at what each component does and why the process treats them the way it does. This dough is enriched: eggs, milk, butter and a short fermentation give flavor and that soft, tender crumb. Fresh yeast offers a predictable rise if it’s active; the warm milk wakes it gently. Chilling after the first rise firms the dough and enhances flavor through slow fermentation.
Temperature matters more than precision in this recipe. Keep butter soft but not melted. Warm the milk until it’s just warm to the touch. Give the dough time to relax if it feels too tight when shaping. Below you’ll find the exact ingredient list and short tips for each item.
Ingredients
- 350 g flour — the structure of the brioche; use bread or all-purpose flour depending on protein content available.
- 10 g fresh yeast — the leavening; fresh yeast gives a gentle, reliable rise when dissolved in warm milk.
- 4 large eggs — enrich the dough and add color; one is reserved for glazing (use the yolk).
- 50 ml milk — dissolves the yeast and contributes to tenderness; warm it until just warm to the touch.
- 20 g sugar — feeds the yeast and adds a hint of sweetness; balanced for brioche.\
- 200 g soft butter — folded in gradually to create that signature rich, layered crumb; should be soft but not oily.
Directions: French Cupcakes (Brioche)
- Sift the 350 g flour into the bowl of a stand mixer fitted with the dough hook. Set the bowl aside.
- Reserve 1 of the 4 eggs for glazing: put that egg aside refrigerated (you will use its yolk later). Crack the remaining 3 eggs into a small bowl and lightly beat them.
- Warm the 50 ml milk gently until just warm to the touch (do not boil). In a separate small bowl, crumble the 10 g fresh yeast, add the 20 g sugar, pour in the warm milk, stir to dissolve, and leave for about 10 minutes until the mixture becomes slightly foamy.
- Pour the 3 beaten eggs into the bowl with the sifted flour.
- Start the mixer on low speed and slowly add the milk–yeast–sugar mixture to the flour and eggs. Continue mixing on low to form a rough dough, then increase to medium-low and knead for about 10 minutes until the dough is elastic and fairly smooth.
- Cut the 200 g soft butter into small pieces. With the mixer running on low, add the butter pieces one at a time, waiting until each piece is fully incorporated before adding the next.
- After all the butter has been added, knead the dough on medium-low for about 10 more minutes, until the dough is soft, elastic, and pulls away from the sides of the bowl.
- Transfer the dough to a clean bowl, cover it, and leave it at a moderate room temperature until it doubles in volume.
- Gently press the risen dough to deflate it, cover with cling film, and refrigerate for 12–24 hours.
- The next day, remove the dough from the refrigerator. It will be firmer and easier to shape; let it sit briefly if needed to become workable.
- Grease the baking pans well with butter and line the sides with baking paper so the paper extends about 10 cm above the rim.
- Divide and shape the chilled dough into individual cupcake/brioche shapes and place them in the prepared pans.
- Cover the shaped dough and leave to rise again at room temperature for about 2 hours, or until roughly doubled in volume.
- Preheat the oven to 200 °C (390 °F). Separate the reserved egg: remove and beat the yolk (discard or reserve the white). Lightly brush the risen brioche with the beaten yolk and score the tops with a sharp knife if desired.
- Bake at 200 °C for 15 minutes, then reduce the oven temperature to 170 °C (340 °F) and continue baking for another 30 minutes.
- Remove the baked brioche from the oven and let cool in the pan for 5 minutes. Then lift the loaf out using the baking paper and leave the paper around it until it is completely cool. Enjoy.
Why This Recipe Is Reliable
This method breaks the work into clear, manageable stages: mix and develop gluten, enrich with butter, bulk ferment, rest in the fridge, shape, and final proof. Each stage serves a purpose: gluten development for structure; gradual butter incorporation for even distribution and a silky crumb; cold fermentation for flavor; and the final rise for oven spring. Following the sequence ensures consistent results.
The volumes and weights are modest and predictable. Using fresh yeast dissolved in warm milk gives a reliable and controlled activation step; if your environment is cooler or warmer, the timings (first rise, final proof) are the flexible elements — look for dough doubling rather than strictly timed clocks.
Easy Ingredient Swaps
- Flour — swap to a high-protein bread flour for a chewier crumb, or use a blend of all-purpose and a little pastry flour to lighten it. Avoid whole wheat at more than 25% without adjusting hydration; whole wheat absorbs more water.
- Fresh yeast — you can use instant dry yeast instead. Use roughly 1/3 of the fresh yeast weight (about 3–4 g instant), and mix it straight into the flour rather than dissolving. Adjust timing if the rise is quicker.
- Milk — whole milk gives the best richness; but low-fat milk works if needed. For dairy-free, use unsweetened almond or oat milk, but note crumb and flavor will be slightly different.
- Butter — European-style butter (higher fat) gives the best flavor. If you only have block butter that’s cold, soften it to a spreadable consistency but don’t melt it.
Kitchen Gear Checklist
- Stand mixer with dough hook — recommended for consistent kneading and the extended butter incorporation.
- Mixing bowls — one for hydrating the yeast and another for kneading or holding dough if you don’t use a mixer bowl.
- Kitchen scale — ingredients are by weight; a scale ensures accuracy.
- Baking pans with high sides or muffin tins with paper extending above the edge — the recipe asks to line paper extending about 10 cm above the rim, so prepare tall paper liners or small straight-sided tins.
- Plastic wrap or cling film — to cover the dough during refrigerating and proofing.
- Sharp knife for scoring and a pastry brush for glazing.
- Thermometer (optional) — to check milk temperature if you want precision; it should be warm to the touch (about 35–40 °C / 95–105 °F).
Troubleshooting Tips
If the dough doesn’t rise:
- Check yeast activity — the milk–yeast–sugar mixture should be slightly foamy after 10 minutes. If not, your yeast may be old or the milk too hot/cold. Start again with fresh yeast and milk at the right temperature.
- Ambient temperature — a cool room slows the rise. Find a slightly warmer spot (oven off with the light on, near a warm appliance) but avoid hot spots that could soften butter too much.
If the dough is too sticky to shape:
- Chill it briefly — the recipe calls for refrigeration. Cooler dough is easier to handle. Lightly flour your hands but avoid adding too much flour, which will dry the final crumb.
If the tops brown too quickly in the oven:
- Shield them with foil partway through baking, or reduce the oven temperature slightly. Ensure your oven is calibrated; many ovens run hot.
If the interior is underbaked while the crust looks done:
- Lower the oven after the initial heat burst as instructed. Give the loaves the full bake time and check internal temperature if available — around 88–93 °C (190–200 °F) for enriched breads.
Fit It to Your Goals
Need breakfast on the go? Shape smaller brioches and reduce the bake time slightly; check for a light golden color and baked-through interior. Want to make this ahead for company? The dough is perfect for shaping the night before, refrigerating, then proofing and baking the next morning for a fresh tray.
For more decadent treats, fill the centers with pastry cream or a spoon of jam after a slight cooling, or brush with a simple sugar syrup for extra shine. To keep them lighter, reduce sugar slightly but keep enough for yeast activation — sugar also contributes to color and taste.
If You’re Curious
Brioche is a classic French enriched bread; this recipe scales the idea down into individual “cupcakes” that bake like small loaves. The cold fermentation stage is a baker’s hack for flavor development: enzymes in the dough break down starches into sugars, deepening aroma and taste. That 12–24 hour chill is worth the wait.
Scoring the tops is optional but gives a traditional look and allows controlled expansion. A quick egg wash adds color and sheen and helps the bread achieve a signature golden top.
Keep-It-Fresh Plan
Room temperature: store cooled brioches in an airtight container or wrapped lightly in foil for up to 2 days. They stay best on day one; by day two they will begin to lose some tenderness.
Refrigeration: keeps them for up to 5 days but can dry them out. If you must refrigerate, wrap them tightly to retain moisture.
Freezing: wrap individual brioches in plastic wrap and place in a freezer bag; freeze for up to 2 months. Thaw at room temperature and refresh in a 160–170 °C oven for 5–10 minutes to revive the crust and crumb.
Reheating: warm gently in a low oven (150–160 °C) for 5–10 minutes. Avoid microwaving for long; it makes enriched breads chewy or gummy.
FAQ
- Can I use dry yeast instead of fresh? — Yes. Use about 3–4 g instant yeast. Mix it into the flour and expect slightly different timing; the dough may rise faster.
- What if my butter is too cold? — Softening to a spreadable consistency is ideal. If too cold, cut into smaller pieces and allow a few minutes at room temperature. Never melt the butter.
- Do I have to refrigerate the dough overnight? — The chill develops flavor and aids shaping, but you can shorten to a few hours at room temperature if pressed for time; expect a milder flavor and a slightly stickier dough.
- How do I know when the shaped brioches are ready to bake? — They should look visibly puffy and roughly doubled from their shaped size. A gentle poke should slowly spring back.
- Can I add inclusions like chocolate chips or raisins? — Yes. Fold them in gently during shaping. Keep additions modest so the dough maintains structure.
That’s a Wrap
Follow the steps, respect temperatures, and give the dough time — and you’ll be rewarded with tender, buttery individual brioches that look and taste like a small French patisserie item. These are worth planning for: the overnight rest and the glaze are small investments for consistently great results.
Bake a batch, share with friends, and keep a few frozen for easy breakfasts. If something doesn’t go as planned, check the troubleshooting notes and try again — enriched dough improves with practice. Enjoy the process and the buttery reward at the end.

French Cupcakes (Brioche) Recipe
Ingredients
Ingredients
- 350 gflour
- 10 gfresh yeast
- 4 large eggs
- 50 mlmilk
- 20 gsugar
- 200 gsoft butter
Instructions
Instructions
- Sift the 350 g flour into the bowl of a stand mixer fitted with the dough hook. Set the bowl aside.
- Reserve 1 of the 4 eggs for glazing: put that egg aside refrigerated (you will use its yolk later). Crack the remaining 3 eggs into a small bowl and lightly beat them.
- Warm the 50 ml milk gently until just warm to the touch (do not boil). In a separate small bowl, crumble the 10 g fresh yeast, add the 20 g sugar, pour in the warm milk, stir to dissolve, and leave for about 10 minutes until the mixture becomes slightly foamy.
- Pour the 3 beaten eggs into the bowl with the sifted flour.
- Start the mixer on low speed and slowly add the milk–yeast–sugar mixture to the flour and eggs. Continue mixing on low to form a rough dough, then increase to medium-low and knead for about 10 minutes until the dough is elastic and fairly smooth.
- Cut the 200 g soft butter into small pieces. With the mixer running on low, add the butter pieces one at a time, waiting until each piece is fully incorporated before adding the next.
- After all the butter has been added, knead the dough on medium-low for about 10 more minutes, until the dough is soft, elastic, and pulls away from the sides of the bowl.
- Transfer the dough to a clean bowl, cover it, and leave it at a moderate room temperature until it doubles in volume.
- Gently press the risen dough to deflate it, cover with cling film, and refrigerate for 12–24 hours.
- The next day, remove the dough from the refrigerator. It will be firmer and easier to shape; let it sit briefly if needed to become workable.
- Grease the baking pans well with butter and line the sides with baking paper so the paper extends about 10 cm above the rim.
- Divide and shape the chilled dough into individual cupcake/brioche shapes and place them in the prepared pans.
- Cover the shaped dough and leave to rise again at room temperature for about 2 hours, or until roughly doubled in volume.
- Preheat the oven to 200 °C (390 °F). Separate the reserved egg: remove and beat the yolk (discard or reserve the white). Lightly brush the risen brioche with the beaten yolk and score the tops with a sharp knife if desired.
- Bake at 200 °C for 15 minutes, then reduce the oven temperature to 170 °C (340 °F) and continue baking for another 30 minutes.
- Remove the baked brioche from the oven and let cool in the pan for 5 minutes. Then lift the loaf out using the baking paper and leave the paper around it until it is completely cool. Enjoy.
Equipment
- Stand Mixer with Dough Hook
- Mixing Bowl
- Small Bowl
- baking pans
- baking paper
- cling film
- Sharp Knife
- Oven