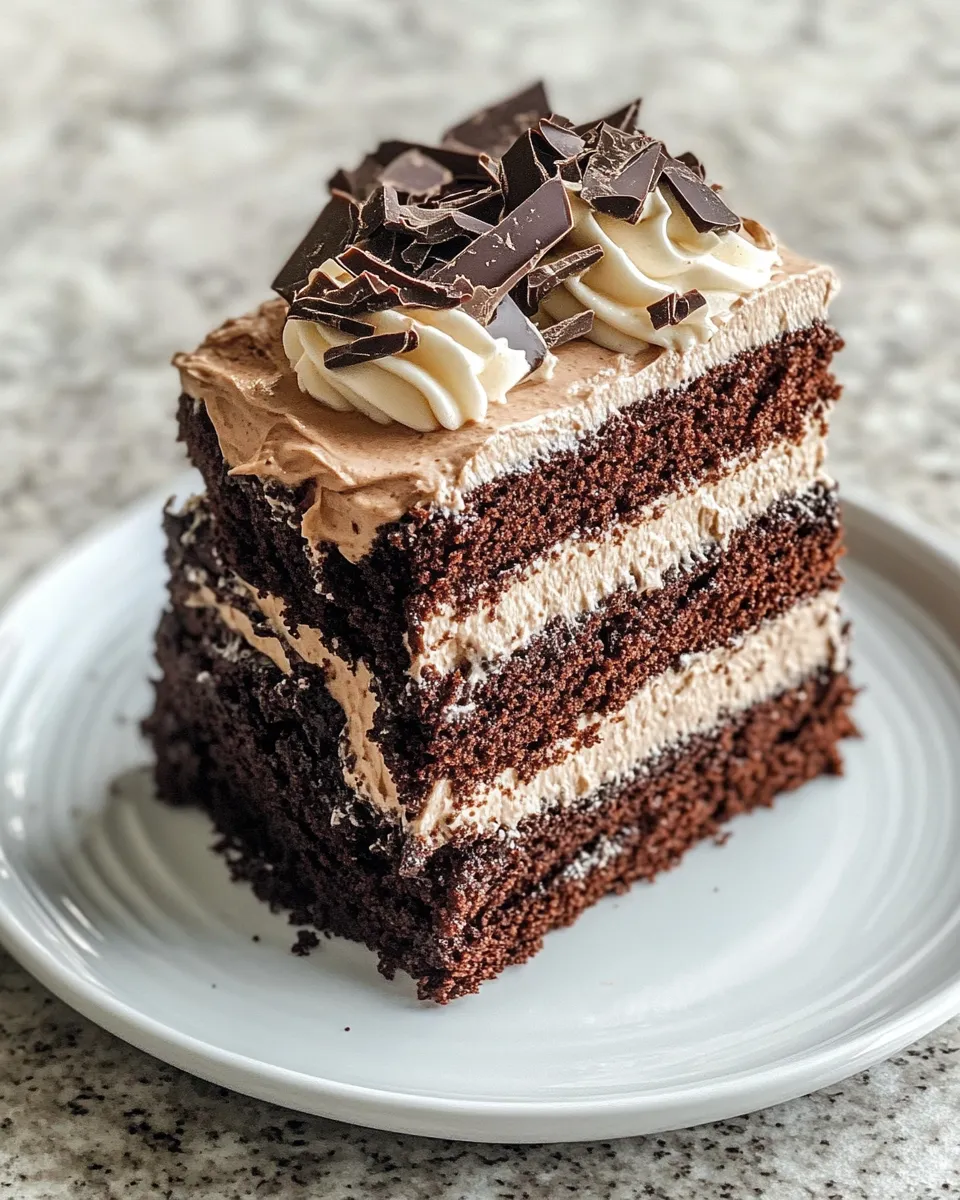
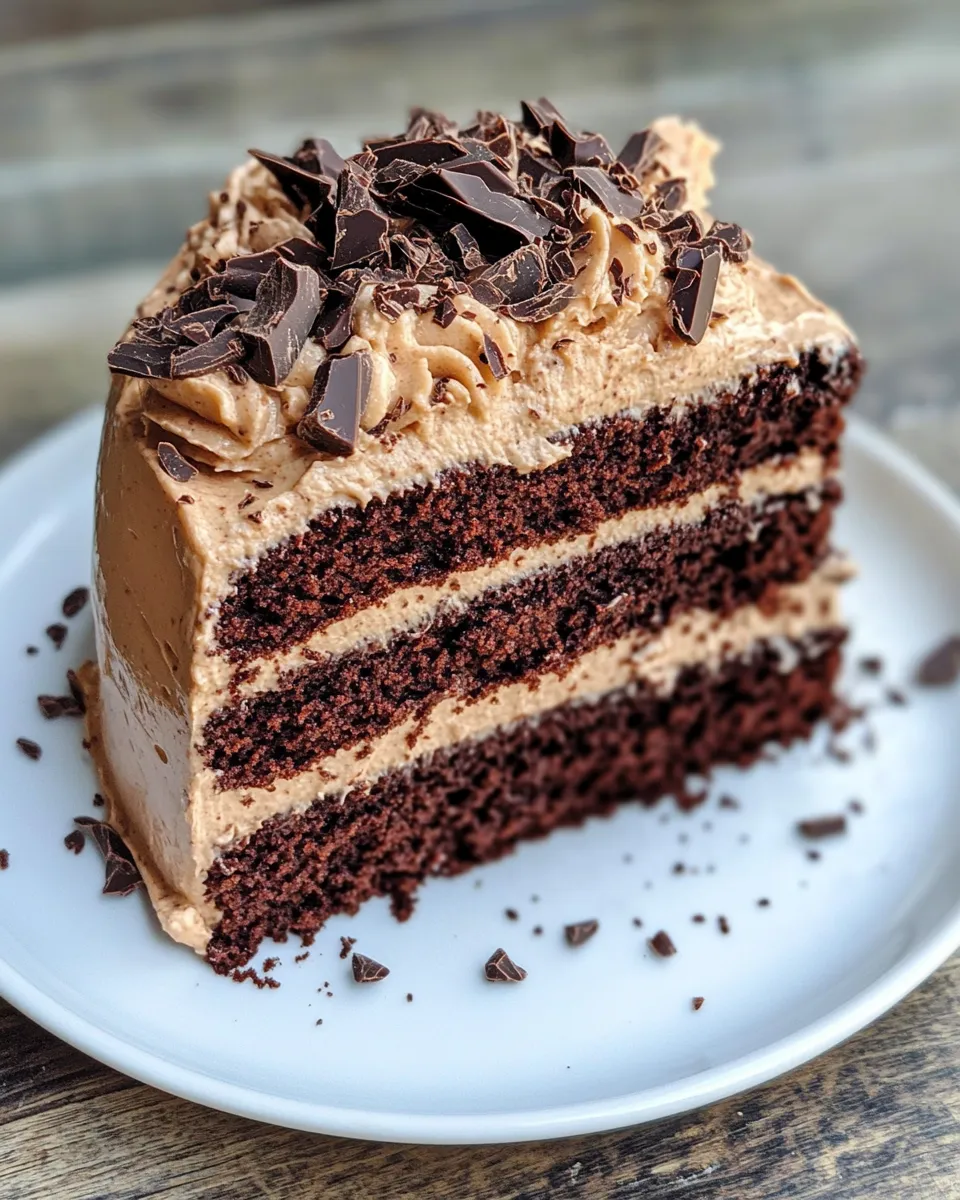
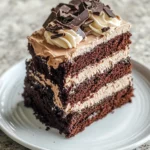
If you adore the rich, indulgent taste of chocolate and the bold, aromatic kick of espresso, then this Chocolate Espresso Layer Cake is destined to become your new favorite dessert. Layers of moist, chocolatey cake infused with real espresso come together beautifully, all wrapped up in a light and fluffy whipped cream frosting. It’s the perfect balance of deep cocoa flavor and coffee notes, ideal for special occasions or when you want to impress guests with a decadent treat. Plus, the stunning chocolate shavings on top add just the right touch of elegance and texture.
The Upside of Chocolate Espresso Layer Cake
This cake stands out not only because of its irresistible taste but also due to its versatility and ease of making. The espresso enhances the chocolate without overpowering it, creating a sophisticated flavor profile that coffee lovers and chocolate fans alike will appreciate. Whether you’re baking for a birthday, a dinner party, or simply craving a slice with your afternoon coffee, this cake hits all the right notes.
Moreover, the light whipped cream frosting keeps the cake from feeling too heavy, making it perfect for those who want a luscious dessert that doesn’t weigh you down. The recipe is straightforward, uses common ingredients, and can be assembled in under two hours, making it accessible even for novice bakers.
Gather These Ingredients
- 1 3/4 cups all-purpose flour
- 1 3/4 cups granulated sugar
- 3/4 cup unsweetened cocoa powder
- 1 1/2 teaspoons baking powder
- 1 1/2 teaspoons baking soda
- 1 teaspoon salt
- 2 large eggs
- 1 cup whole milk
- 1/2 cup vegetable oil
- 2 teaspoons pure vanilla extract
- 1 cup hot brewed espresso
- 1 1/2 cups heavy cream
- 1/2 cup powdered sugar
- 1 teaspoon pure vanilla extract (for the cream)
- Chocolate shavings (for garnish)
Appliances & Accessories
- Two 9-inch round cake pans – for perfectly even layers
- Electric mixer – to whip cream and mix batter smoothly
- Mixing bowls – preferably medium and large
- Measuring cups and spoons – to ensure accuracy
- Cooling rack – to cool cakes evenly
- Spatula – for folding and spreading the frosting
- Grater or vegetable peeler – to create chocolate shavings
Build Chocolate Espresso Layer Cake Step by Step
Step 1: Preheat and Prepare Pans
Preheat your oven to 350°F (175°C). Lightly grease two 9-inch round cake pans with vegetable oil or butter, then dust them with cocoa powder to prevent sticking. Set aside.
Step 2: Mix Dry Ingredients
In a large bowl, sift together the all-purpose flour, granulated sugar, cocoa powder, baking powder, baking soda, and salt. Whisk until well combined. This ensures an even distribution of leavening agents and cocoa.
Step 3: Combine Wet Ingredients
In a separate bowl, whisk the eggs. Add the whole milk, vegetable oil, and vanilla extract, mixing until smooth. Gradually stir in the hot brewed espresso – the warmth helps to bloom the cocoa flavor, enhancing the chocolatey richness of the cake.
Step 4: Incorporate Wet and Dry Mixtures
Slowly add the wet ingredients into the dry ingredients, stirring gently with a spatula or wooden spoon until just combined. Avoid overmixing, which can make the cake dense.
Step 5: Bake the Cake
Divide the batter evenly between the prepared pans. Bake for 30 to 35 minutes, or until a toothpick inserted in the center comes out clean. Allow the cakes to cool in the pans for 10 minutes, then transfer to a cooling rack to cool completely.
Step 6: Prepare the Whipped Cream Frosting
Pour the heavy cream into a chilled mixing bowl. Add the powdered sugar and vanilla extract. Using an electric mixer, whip the cream on medium-high speed until stiff peaks form, about 3 to 4 minutes. Be careful not to overwhip, or the cream will turn buttery.
Step 7: Assemble the Cake
Place one cake layer on your serving plate. Spread a generous layer of whipped cream over the top. Carefully place the second cake layer on top and frost the top and sides with the remaining whipped cream.
Step 8: Garnish and Serve
Use a grater or vegetable peeler to create chocolate shavings from a bar of dark chocolate. Sprinkle the shavings generously over the top of the cake for a beautiful finish. Chill the cake for at least an hour before slicing to allow the flavors to meld.
What to Use Instead
- Espresso: Replace with strong brewed coffee if you don’t have an espresso machine. Instant espresso powder can also work; dissolve 1 tablespoon in 1 cup hot water.
- Whole milk: Substitute with almond milk or oat milk for a dairy-free option, though the texture might vary slightly.
- Vegetable oil: You can use melted coconut oil or light olive oil as alternatives.
- Heavy cream: Use canned coconut cream, chilled and whipped, for a vegan-friendly frosting.
- Chocolate shavings: Finely chopped chocolate chips or curls made from chocolate bars work well too.
Mistakes Even Pros Make
- Overmixing the batter – this can lead to a dense, tough cake rather than a light, fluffy one.
- Not allowing the cake layers to cool completely before frosting – warm cake melts the whipped cream and causes a messy finish.
- Whipping the cream too long – it can turn grainy and eventually separate into butter.
- Using lukewarm espresso – using hot espresso is key to intensifying the chocolate flavor.
- Skipping the cocoa dusting in the pans – this helps prevent the cake from sticking and tearing.
Keep-It-Fresh Plan
To enjoy your Chocolate Espresso Layer Cake at its best, store it in the refrigerator covered loosely with plastic wrap or a cake dome to prevent it from drying out. The whipped cream frosting is delicate, so chilling is necessary to maintain its structure. Consume within 3 days for optimal freshness and flavor.
If you want to prepare ahead, bake the cake layers up to 2 days in advance and wrap them tightly in plastic wrap, then store them in the fridge. Whip and apply the cream frosting on the day you plan to serve.
Ask & Learn
Can I make this cake without an espresso machine?
Absolutely! You can use strong brewed coffee or dissolve instant espresso powder in hot water to mimic the espresso flavor. Just ensure it’s hot to bring out the best chocolate taste in the batter.
Is it necessary to use heavy cream for the frosting?
Heavy cream is ideal for this recipe because it whips into a light, stable frosting. However, if you prefer a dairy-free option, chilled canned coconut cream works well as a substitute and can be whipped similarly.
How do I prevent the whipped cream from deflating when frosting the cake?
Make sure your cake layers are completely cool before frosting. Also, whip the cream to stiff peaks but don’t overwhip. Use the frosting immediately after whipping and refrigerate the cake to keep the cream firm.
Can I freeze the Chocolate Espresso Layer Cake?
Yes! Wrap the cake tightly in plastic wrap and then foil to prevent freezer burn. Thaw it overnight in the refrigerator before serving. Note that the texture of the whipped cream may be slightly affected but still delicious.
Ready to Cook?
Gather your ingredients and preheat your oven — this Chocolate Espresso Layer Cake is sure to satisfy your chocolate and coffee cravings. With its moist layers and fluffy whipped cream frosting, it’s a showstopper that’s easier to make than you might think. Whether you’re serving it for a celebration or a cozy night in, this cake promises a deliciously rich experience every time.
Share on Pinterest

Chocolate Espresso Layer Cake
Ingredients
- 1 3/4 cups all-purpose flour
- 1 3/4 cups granulated sugar
- 3/4 cup unsweetened cocoa powder
- 1 1/2 teaspoons baking powder
- 1 1/2 teaspoons baking soda
- 1 teaspoon salt
- 2 large eggs
- 1 cup whole milk
- 1/2 cup vegetable oil
- 2 teaspoons pure vanilla extract
- 1 cup hot brewed espresso
- 1 1/2 cups heavy cream
- 1/2 cup powdered sugar
- 1 teaspoon pure vanilla extract for the cream
- Chocolate shavings for garnish
Instructions
- Preheat your oven to 350°F (175°C). Lightly grease two 9-inch round cake pans with vegetable oil or butter, then dust them with cocoa powder to prevent sticking. Set aside.
- In a large bowl, sift together the all-purpose flour, granulated sugar, cocoa powder, baking powder, baking soda, and salt. Whisk until well combined.
- In a separate bowl, whisk the eggs. Add the whole milk, vegetable oil, and vanilla extract, mixing until smooth. Gradually stir in the hot brewed espresso.
- Slowly add the wet ingredients into the dry ingredients, stirring gently with a spatula or wooden spoon until just combined. Avoid overmixing.
- Divide the batter evenly between the prepared pans. Bake for 30 to 35 minutes, or until a toothpick inserted in the center comes out clean. Allow the cakes to cool in the pans for 10 minutes, then transfer to a cooling rack to cool completely.
- Pour the heavy cream into a chilled mixing bowl. Add the powdered sugar and vanilla extract. Using an electric mixer, whip the cream on medium-high speed until stiff peaks form, about 3 to 4 minutes.
- Place one cake layer on your serving plate. Spread a generous layer of whipped cream over the top. Carefully place the second cake layer on top and frost the top and sides with the remaining whipped cream.
- Use a grater or vegetable peeler to create chocolate shavings from a bar of dark chocolate. Sprinkle the shavings generously over the top of the cake. Chill the cake for at least an hour before slicing.
Equipment
- Two 9-inch round cake pans
- Electric Mixer
- Mixing bowls
- Measuring cups and spoons
- Cooling rack
- Spatula
- Grater or vegetable peeler
Notes
- Use strong brewed coffee or instant espresso powder if you don’t have an espresso machine.
- Substitute almond or oat milk for a dairy-free cake option.
- Do not overmix the batter to keep the cake light and fluffy.
- Ensure cake layers are completely cool before frosting to prevent melting.
- Store the cake covered in the refrigerator and consume within 3 days for best freshness.