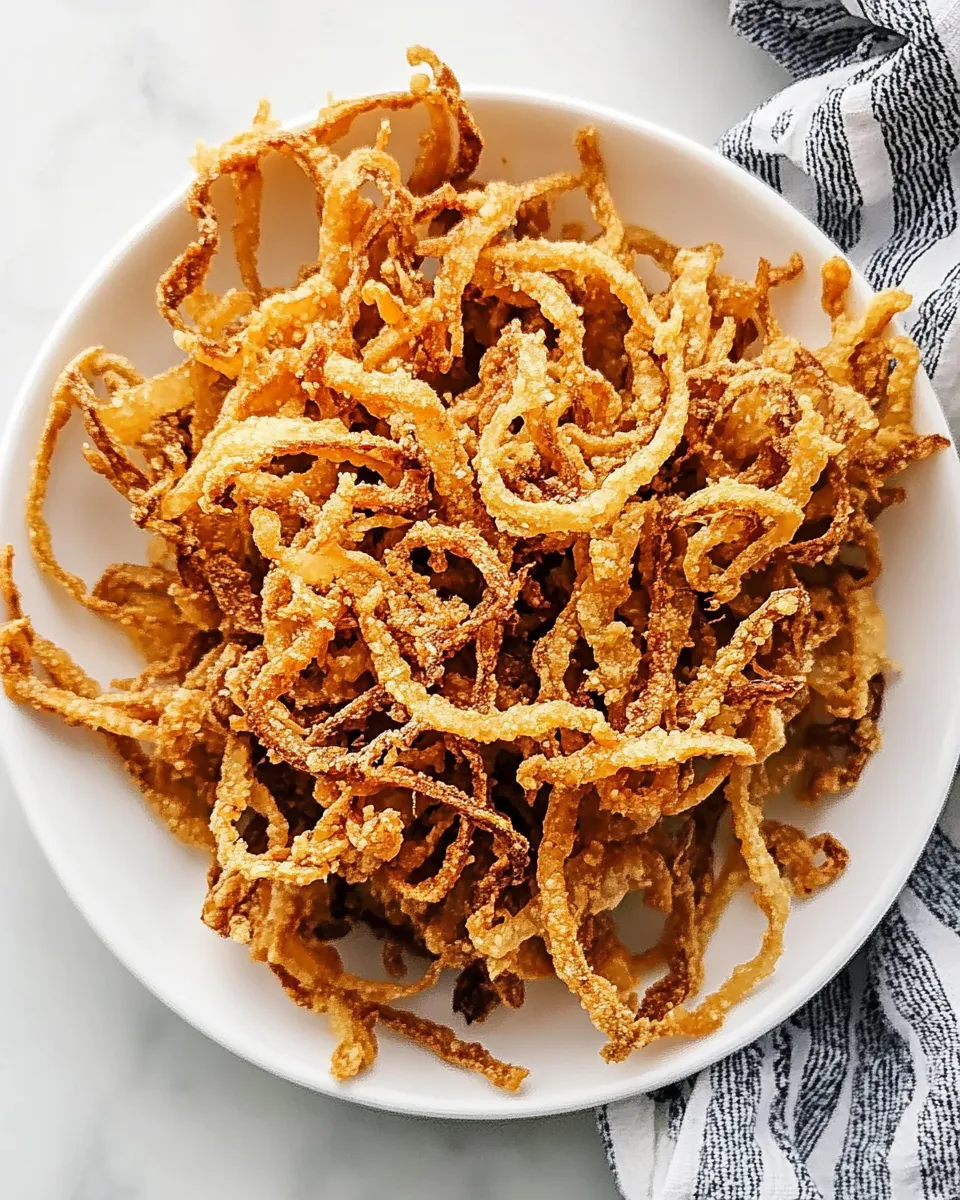
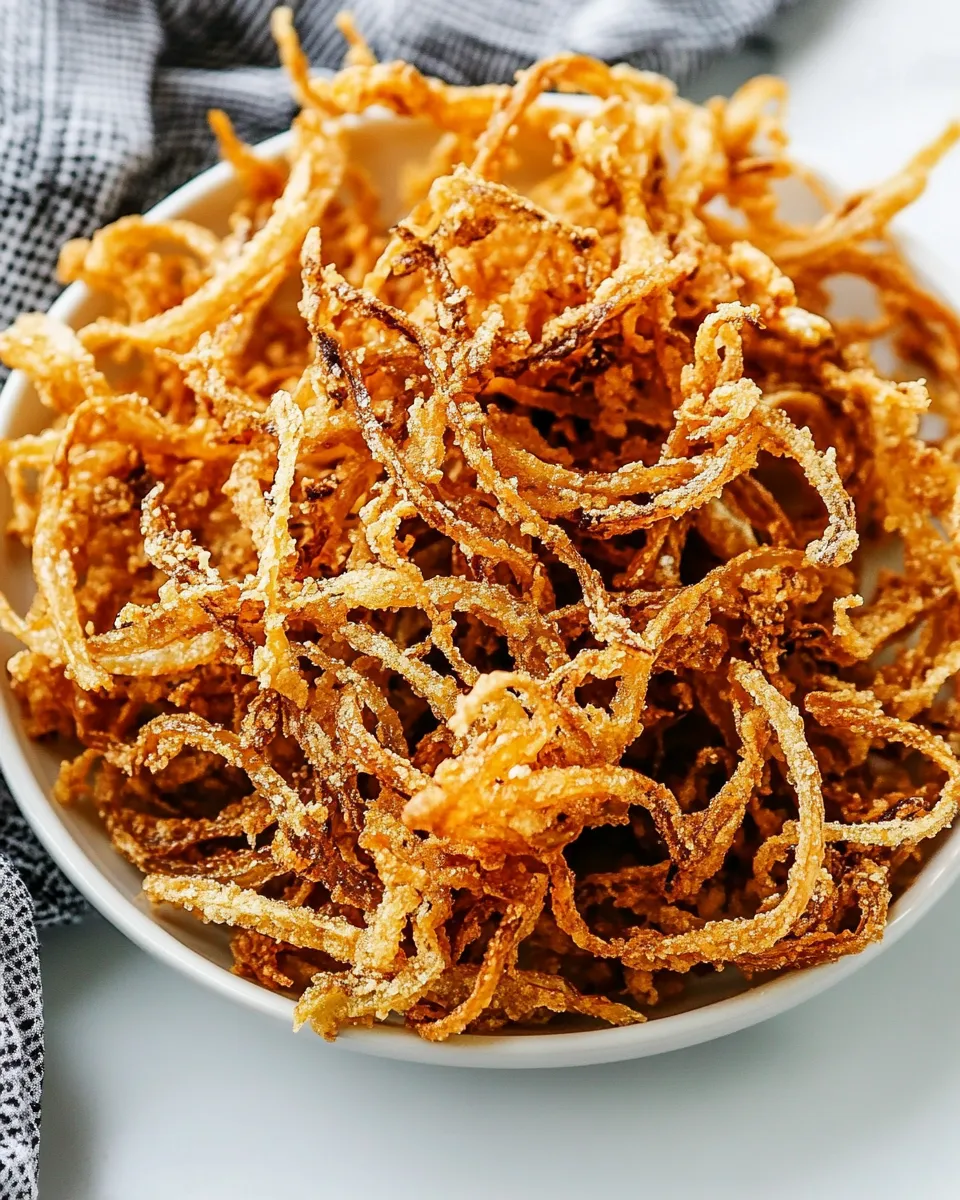
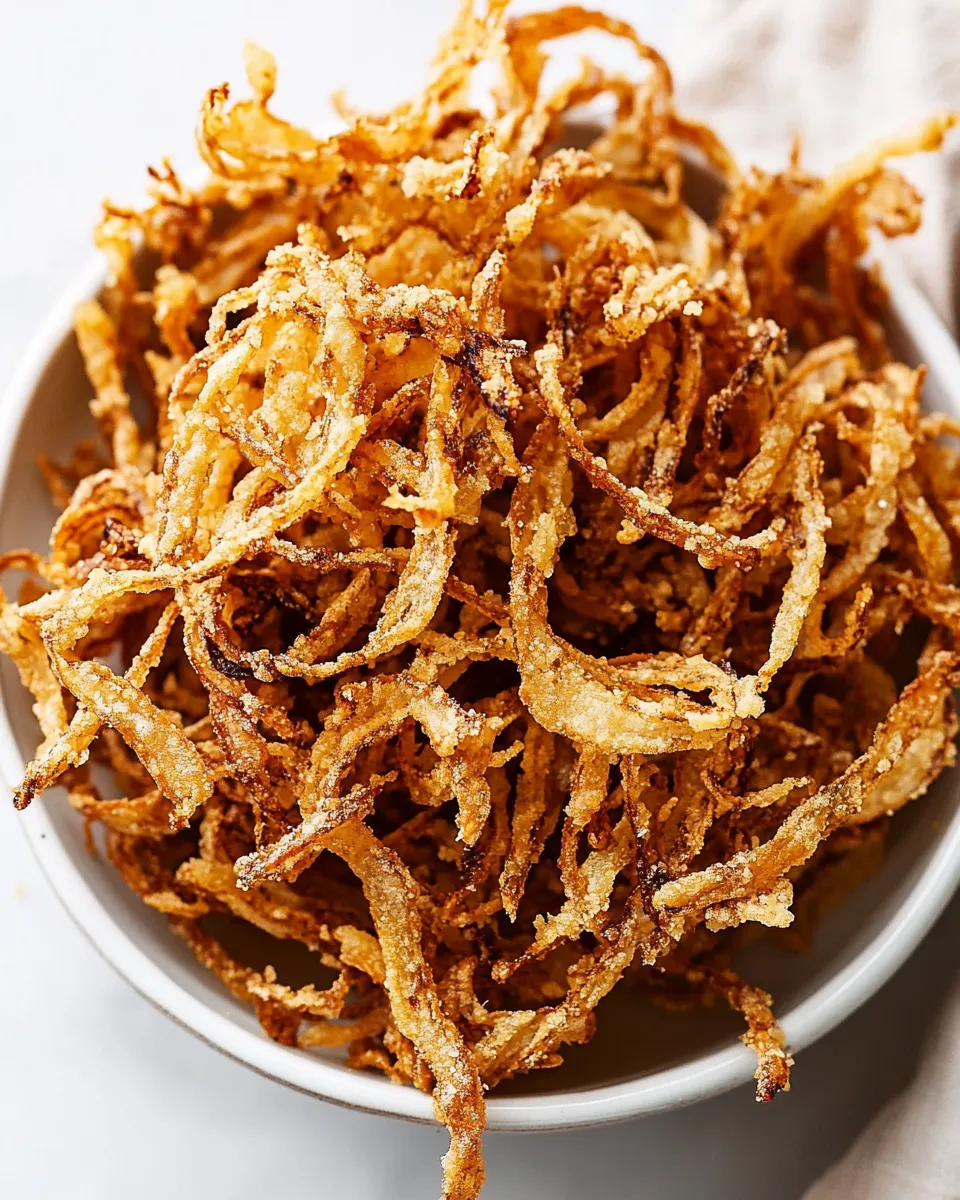
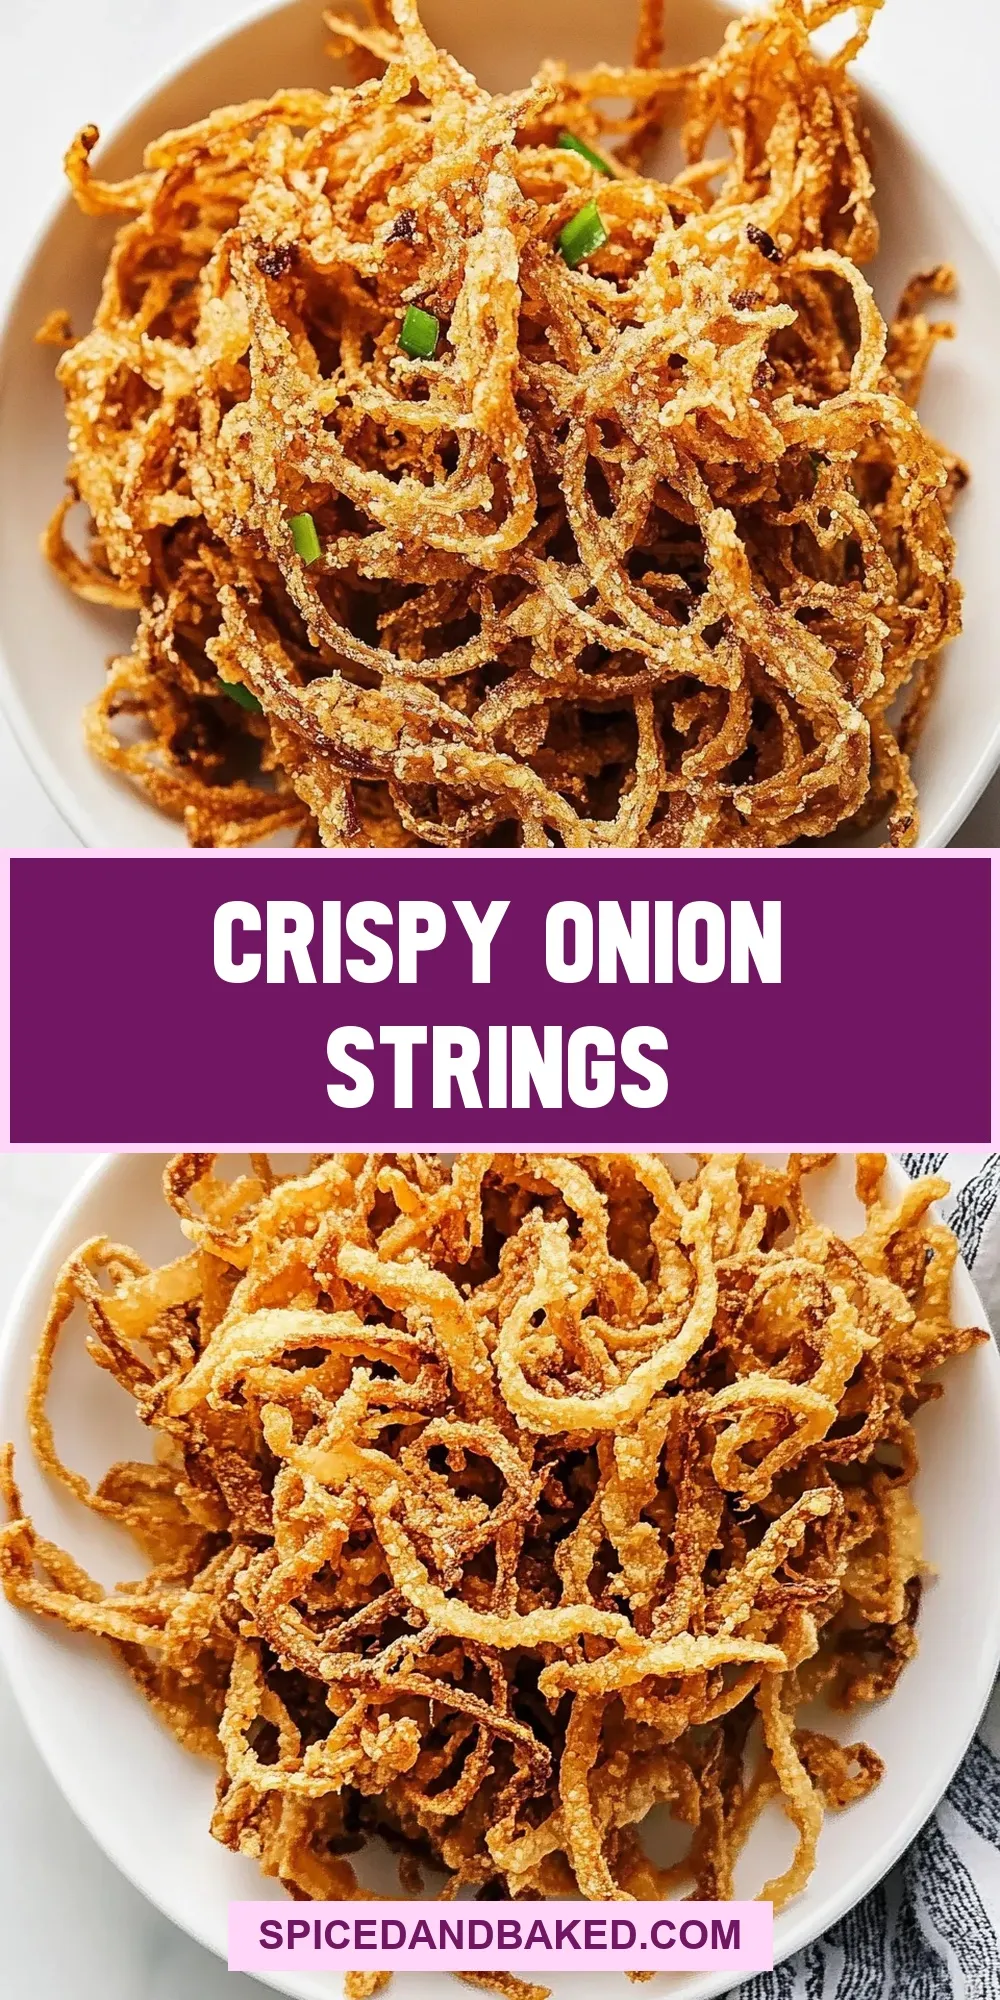
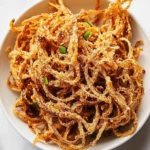
There are recipes that become instant favorites because they hit a simple note perfectly: crunch, salt, and a little sweet from caramelized onion edges. These Crispy Onion Strings are that kind of recipe. They take ordinary onions and, with a shallow fry and a light dredge, turn them into the kind of crunchy topping you’ll want on everything from burgers to salads — and straight from the plate.
I keep this version in my regular rotation because it’s fast, forgiving, and uses ingredients most of us already have. You don’t need fancy tools or a deep fryer; a skillet, a thermometer, and a steady hand will get you there. The steps are deliberate and repeatable, so pick a good movie, invite friends, or make a batch for weeknight tacos.
This post walks through shopping and setup, the exact frying directions, troubleshooting common problems, and a few smart adaptations. Read the steps through once, then warm your oil and get crispy.
Your Shopping Guide
Ingredients
- Oil for frying — neutral, high-smoke-point oil is best; it carries the heat and crisps without adding flavor baggage.
- 2 large onions sliced thin — the base of the dish; slice thin so strings separate and crisp evenly.
- 2 cups buttermilk — tenderizes the onions and helps the flour adhere.
- 1 1/2 cups flour — creates the crisp coating; the amount listed here is what you’ll use for coating.
- 2 teaspoons garlic powder — seasoning that layers savory flavor into the crust.
- 2 teaspoons onion powder — doubles down on onion flavor so each bite is bright.
- 1 teaspoon paprika — adds color and a mild, smoky note.
- 1/2 teaspoon salt — seasons the coating; adjust at the end if you like more.
- 1/2 teaspoon ground black pepper — gentle heat and aromatic edge in the crust.
Pick onions that are firm and dry; they’ll slice cleaner and separate into strings more easily. If your buttermilk is thick, give it a quick stir so it coats the onions uniformly.
Crispy Onion Strings — Do This Next
- Pour oil for frying into a skillet and heat to 350°F (175°C).
- Place 2 cups buttermilk in a small bowl.
- In another bowl, combine 1 1/2 cups flour, 2 teaspoons garlic powder, 2 teaspoons onion powder, 1 teaspoon paprika, 1/2 teaspoon salt, and 1/2 teaspoon ground black pepper; whisk to blend.
- Use a sharp knife to slice 2 large onions thin. Separate the slices into individual strings or strips with your fingers.
- Working in batches to avoid crowding the skillet, use tongs to dredge a portion of the onion strings in the buttermilk, letting excess drip off, then transfer them to the flour mixture and toss to coat evenly. Shake off any excess flour.
- Carefully add the coated onion strings to the hot oil and fry 2–3 minutes, or until golden brown and crispy, maintaining the oil temperature near 350°F between batches.
- Remove fried onion strings with tongs or a slotted spoon and drain on paper towels. Repeat steps 5–7 with the remaining onions.
Why It’s Crowd-Pleasing
Crunch is addictive. These onion strings give a satisfying contrast to creamy sauces, soft buns, and tender proteins. The coating is light enough that you taste the onion, but seasoned enough to feel finished on its own. They’re portable, shareable, and visually appealing — golden wisps on top of a burger or tossed over a bowl of greens signal care and texture in one bite.
People respond to predictable results: the method here reproduces that golden crunch every time if you keep the oil temperature steady and don’t overcrowd the pan. The balance of aromatic powders (garlic and onion) with paprika makes them work with many cuisines, from barbecue to Tex-Mex to a simple comfort-food plate.
No-Store Runs Needed
Most of the ingredients are pantry staples. If you have oil, flour, and basic spices, you’re close. Buttermilk is the one ingredient some people might skip; if you don’t have it, plan ahead and grab it on your next market run, or use a small home substitute (see FAQs). For a quick batch, use the onions and spices you have; this recipe is forgiving with spice ratios if you miss a pinch here and there.
Tools are minimal: skillet, tongs, bowls, and paper towels. If you don’t have a thermometer, use a wooden spoon test: a small bubble should steadily form around the spoon when the oil is hot enough, but a thermometer is strongly recommended for consistent results.
Equipment at a Glance
Here’s what I use every time and what I recommend you have on hand:
- Heavy skillet — holds heat well and helps keep oil temperature stable.
- Cooking thermometer — for maintaining 350°F (175°C); makes the difference between greasy and crisp.
- Tongs and slotted spoon — tongs for dredging and placing strings, slotted spoon for lifting them out.
- Two bowls — one for buttermilk, one for the seasoned flour.
- Paper towels or a wire rack — drain on paper towels or a cooling rack set over a baking sheet to keep them crisp.
Missteps & Fixes
Problem: Soggy onion strings
Fix: Most often caused by oil that’s too cool or overcrowding the skillet. Don’t add too many strings at once; keep the temperature near 350°F and fry in batches. Letting excess buttermilk drip off before coating also helps prevent sogginess.
Problem: Burned edges but pale centers
Fix: Your oil is too hot. Drop the heat slightly and allow it to stabilize. Use a thermometer and aim for that 350°F target. If your skillet has hot spots, stir between batches and distribute strings more evenly.
Problem: Coating falls off
Fix: Make sure the strings are well coated in buttermilk and that excess drips off before tossing in flour. Pressing the flour onto the strings lightly helps but avoid compacting them, which makes the coating heavy. Toss and shake gently to remove excess flour so the coating fries quickly into a crisp shell.
Adaptations for Special Diets
Gluten-free: Swap the 1 1/2 cups flour for a 1:1 gluten-free flour blend that’s intended for frying. The technique is the same; depending on the blend you use, you might need to watch for slightly different browning.
Dairy-free: Buttermilk contributes flavor and adhesion. For a dairy-free approach, use a plant-based milk soured with a little vinegar or lemon juice to mimic buttermilk acidity; the texture will be close, though the flavor differs slightly.
Lower oil use: If you want to avoid frying, spread the coated strings in a single layer on a wire rack over a sheet pan and bake at a high temperature until crisp, flipping once. It won’t be identical to frying, but it’s a workable alternative.
Behind-the-Scenes Notes
The key technical points are temperature control and thin slicing. When onions are sliced thin, each string loses moisture quickly and crisps rather than steams. Buttermilk does two jobs: it softens the onion slightly and gives the flour something to cling to. The seasoned flour forms the crunchy exterior; get that balance right and you’ll have a golden, seasoned shell rather than a bland crust.
I always test-fry a small handful first. If they brown too quickly, lower the heat; if they’re taking too long, raise it slightly. Keep a bowl of paper towels nearby, and after each batch, give the oil a quick skim to remove floating bits that brown too fast and can burn later batches.
Refrigerate, Freeze, Reheat
These onion strings are best eaten fresh — crisp, hot, and golden. If you have leftovers, store them in a single layer in an airtight container with a paper towel to absorb steam. Refrigerate for up to 24 hours; they will lose some crispness.
For reheating, spread them out on a baking sheet and re-crisp in a 375°F oven for 5–8 minutes, watching closely. Avoid microwaving; it makes them soggy. Freezing is not recommended — the delicate crisp structure doesn’t survive thawing well.
Crispy Onion Strings FAQs
Q: Can I use a deep fryer instead of a skillet?
A: Yes. A deep fryer is fine and will make temperature control straightforward. Keep the oil at 350°F and follow the same batch rules to avoid crowding.
Q: What onion type works best?
A: Yellow onions are my go-to for a balance of sweetness and pungency. Sweet onions like Vidalia can be great if you prefer milder flavor; red onions will add color and a more assertive bite.
Q: Can I prepare the onions ahead of time?
A: You can slice the onions and keep them refrigerated for a day, but slice them as close to frying as possible for best texture. Coating and frying should be done just before serving to preserve crispness.
Q: Is there a substitute for buttermilk?
A: If you don’t have buttermilk on hand, you can make a quick substitute by adding 1 tablespoon of lemon juice or white vinegar to 1 cup of milk, letting it sit for 5–10 minutes. This emulates buttermilk’s acidity and helps adhesion, though the original flavor of cultured buttermilk is unique.
Q: How do I keep the fryer oil clean between batches?
A: Skim out small flour bits after each batch with a spider or slotted spoon. These bits brown quickly and can taint later batches. If oil develops a burnt smell or darkens considerably, it’s time to replace it.
Ready to Cook?
When you’re ready, set up your station: skillet and thermometer on the stove, bowls for buttermilk and flour at arm’s reach, onions sliced and waiting. Heat the oil to 350°F and follow the steps. You’ll have a tray of golden, crunchy onion strings in under 30 minutes that’ll elevate whatever they touch — and that’s the kind of small win worth repeating.
If you try them, drop a note on how you served them — I love seeing what readers top with their crispy strings. Simple, quick, and reliable — that’s how I like my snacks, and these deliver every time.
Crispy Onion Strings
Ingredients
Ingredients
- Oil for frying
- 2 large onionssliced thin
- 2 cupsbuttermilk
- 1 1/2 cupflour
- 2 teaspoonsgarlic powder
- 2 teaspoonsonion powder
- 1 teaspoonpaprika
- 1/2 teaspoonsalt
- 1/2 teaspoonground black pepper
Instructions
Instructions
- Pour oil for frying into a skillet and heat to 350°F (175°C).
- Place 2 cups buttermilk in a small bowl.
- In another bowl, combine 1 1/2 cups flour, 2 teaspoons garlic powder, 2 teaspoons onion powder, 1 teaspoon paprika, 1/2 teaspoon salt, and 1/2 teaspoon ground black pepper; whisk to blend.
- Use a sharp knife to slice 2 large onions thin. Separate the slices into individual strings or strips with your fingers.
- Working in batches to avoid crowding the skillet, use tongs to dredge a portion of the onion strings in the buttermilk, letting excess drip off, then transfer them to the flour mixture and toss to coat evenly. Shake off any excess flour.
- Carefully add the coated onion strings to the hot oil and fry 2–3 minutes, or until golden brown and crispy, maintaining the oil temperature near 350°F between batches.
- Remove fried onion strings with tongs or a slotted spoon and drain on paper towels. Repeat steps 5–7 with the remaining onions.
Equipment
- Skillet
- Small Bowl
- Bowl
- Whisk
- Tongs
- Slotted Spoon
- Paper Towels