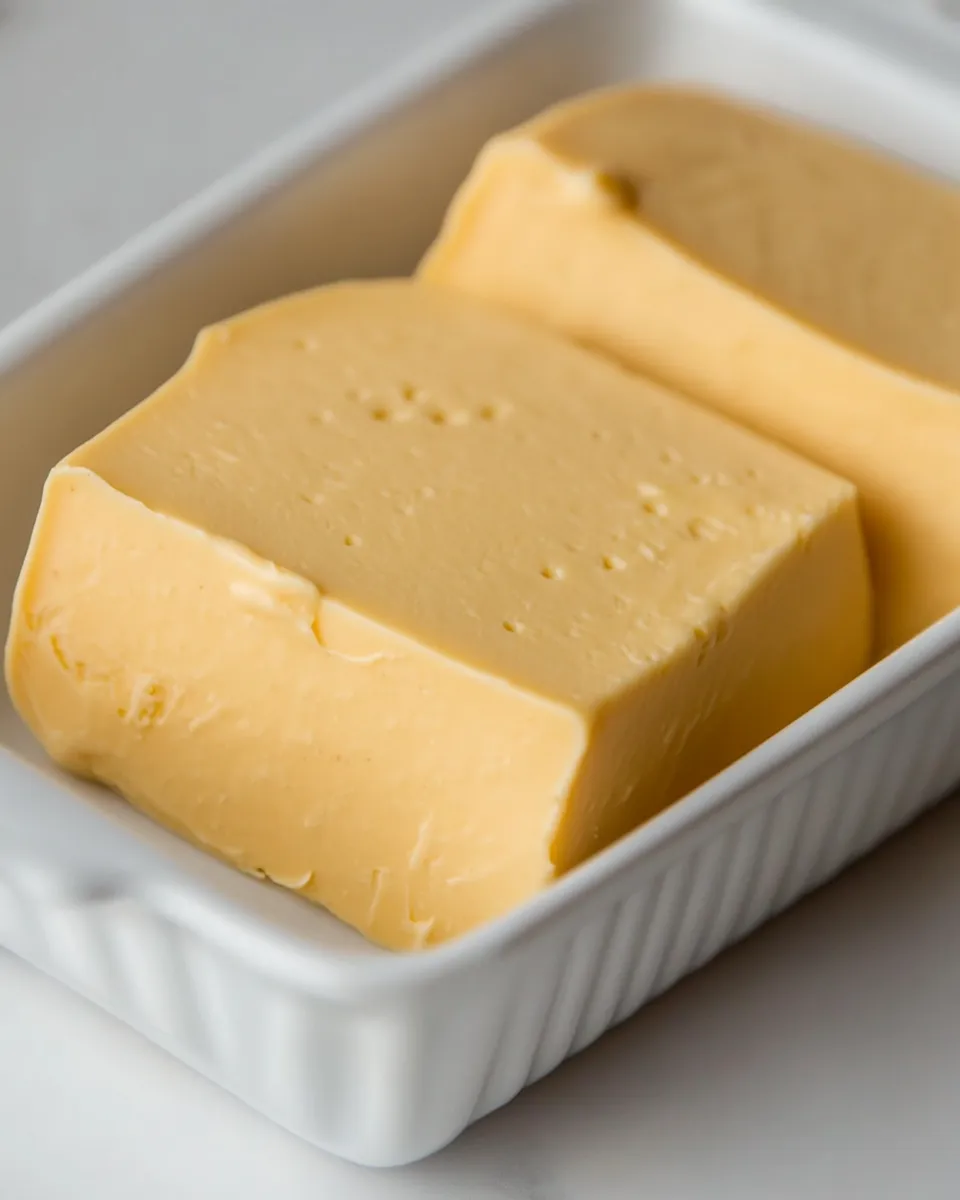
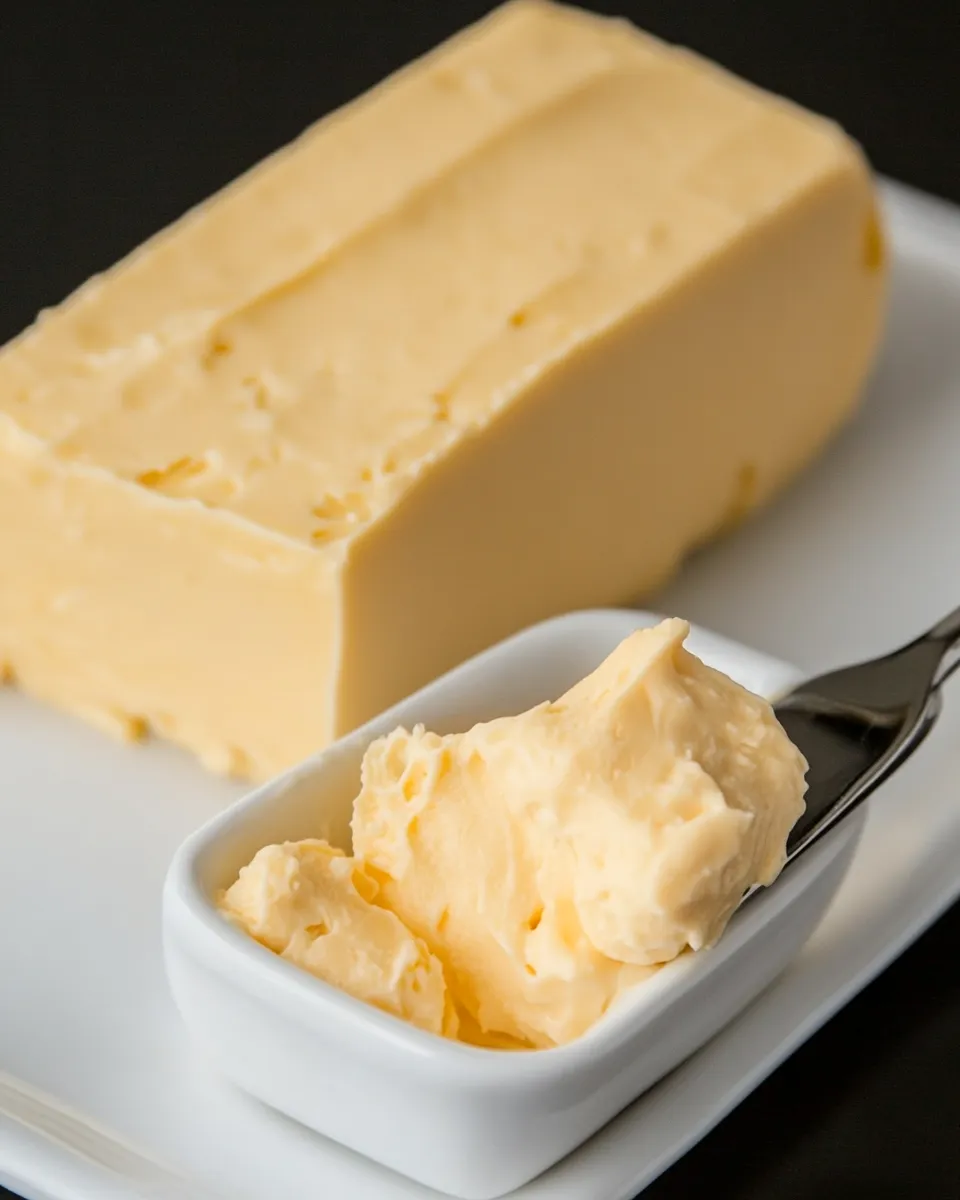
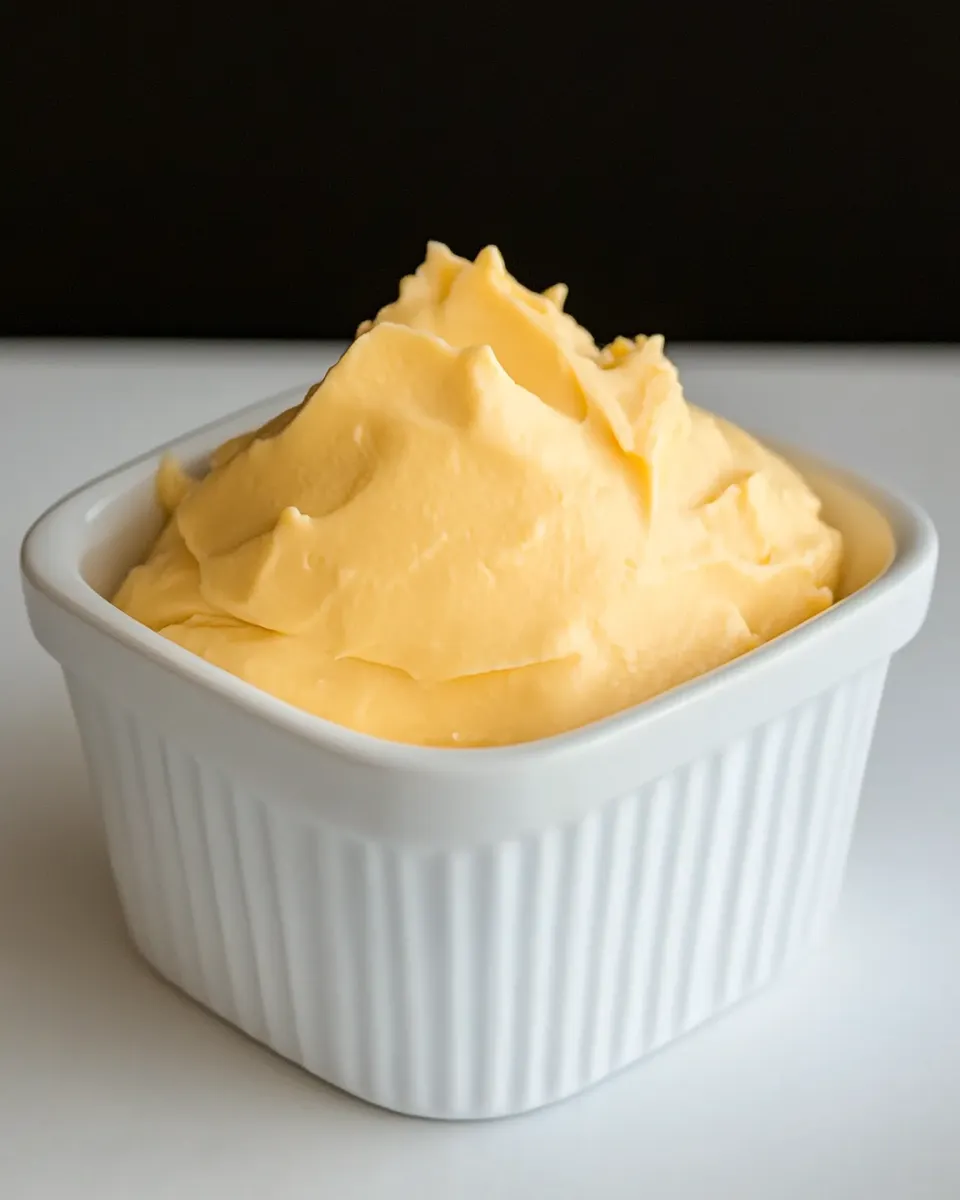
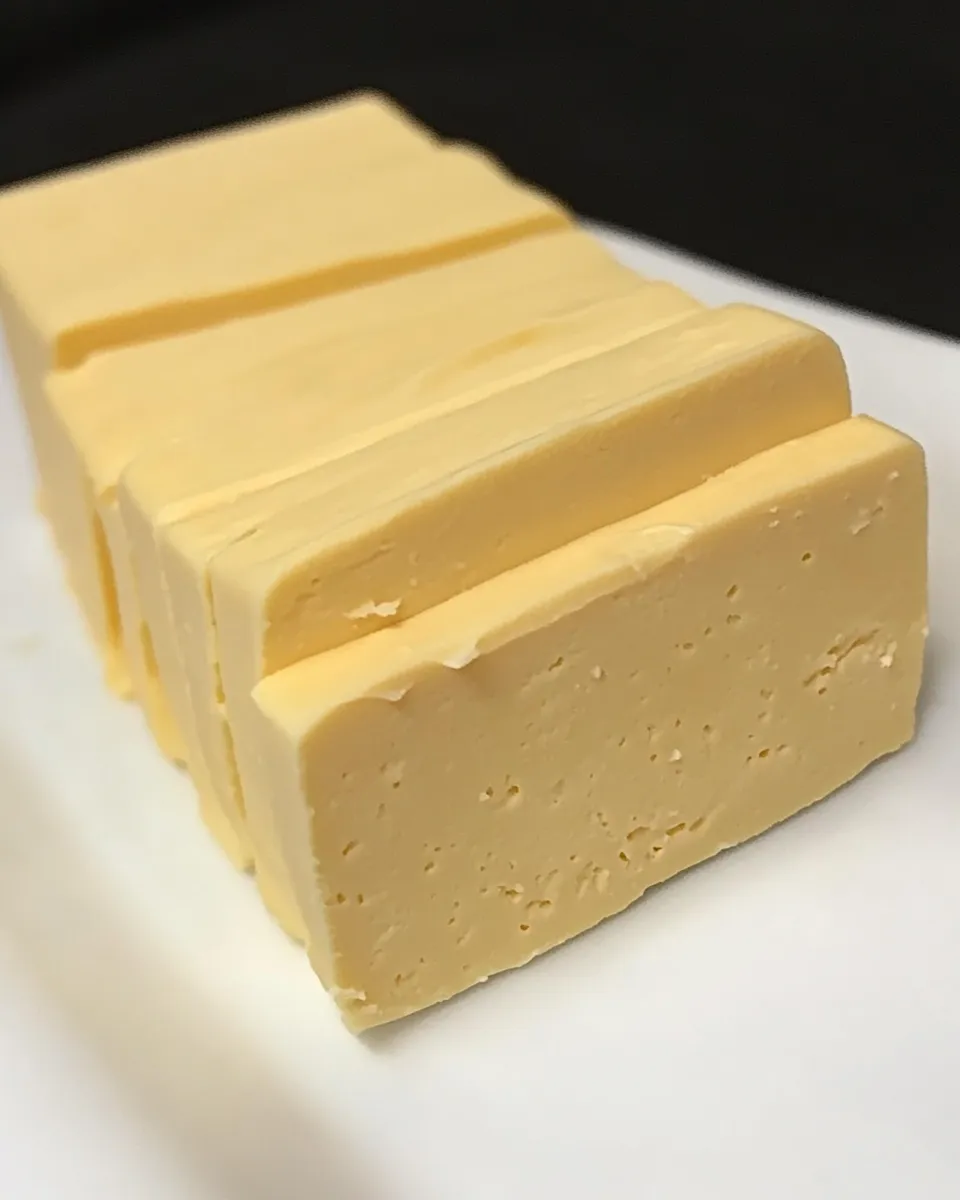
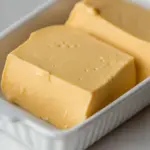
If you love the gooey, smooth melt of Velveeta but want to control what goes into your snack drawer, this homemade version is for you. It delivers that classic creamy, spreadable texture using just a few pantry items and a blender. No fancy stabilizers, no weird additives — just a straightforward method that produces reliable results every time.
This recipe is practical: short ingredient list, clear steps, and a hands-off chill that does the work. It’s perfect for nachos, creamy sauces, or when you need a cheese that will melt evenly without breaking. Expect a smooth, sliceable block that behaves like the store-bought product.
I write recipes that I actually make in my kitchen, then share the honest tips that save time and frustration. Read through the steps once, gather your tools, and you’ll have homemade Velveeta-style cheese set and ready in about 12 hours.
What You’ll Need
Gathering equipment ahead makes this one of the quickest recipes to execute. The active work is just a few minutes of blending and pouring; the rest is refrigeration. A small loaf pan yields a convenient block, but any similarly sized container will work as long as you can get the cheese out when it’s set.
- Blender or food processor — to fully emulsify the cheese for a velvety texture.
- Small loaf pan (or similar mold) — shapes the cheese into a usable block.
- Plastic wrap — lines the pan so the cheese can be removed cleanly and stays airtight.
- Spatula — for scraping and smoothing the mixture into the pan.
- Measuring tools (tablespoon, cup) — to match the recipe amounts precisely.
Ingredients
- 1/4 ounce (7.09 g) packet unflavored gelatin — provides structure so the cheese sets firm and sliceable.
- 6 tablespoons dry milk powder — boosts body, helps with the smooth mouthfeel and binding.
- 1 cup (250 ml) boiling water — dissolves the gelatin and hydrates the powdered milk for a uniform base.
- 16 ounces (453.59 g) mild cheddar cheese, shredded — the flavor and fat that become your final cheese; mild cheddar keeps the flavor familiar and adaptable.
Homemade Velveeta Cheese in Steps
- Line a small loaf pan with plastic wrap so the wrap covers the bottom and sides and leaves excess to hang over the edges.
- Put the 1/4 ounce (7.09 g) packet unflavored gelatin and 6 tablespoons dry milk powder into a blender or food processor.
- Carefully pour 1 cup (250 ml) boiling water over the powders in the blender. Secure the lid, let the mixture sit about 20–30 seconds to allow the gelatin to begin dissolving, then pulse or blend until the powders are fully dissolved and the liquid looks uniform.
- Add the 16 ounces (453.59 g) shredded mild cheddar to the blender. Secure the lid and puree in short bursts until the mixture is completely smooth and homogenous, pausing to scrape down the sides with a spatula as needed.
- Immediately pour and scrape the cheese mixture into the prepared loaf pan. Use a spatula to smooth the top into an even layer.
- Fold the excess plastic wrap over the surface of the cheese, pressing gently to remove any air pockets and ensure the cheese is completely covered.
- Refrigerate the pan for at least 12 hours, until the cheese is fully set. Keep the finished cheese tightly wrapped in plastic in the refrigerator for up to 1 month.
Why This Recipe Is Reliable
This method uses gelatin and dry milk to mimic the emulsifying and stabilizing agents found in commercial processed cheese. Gelatin gives the finished block its sliceable, stable structure, while the dry milk builds body and helps bind the melted cheese into a consistent emulsion. The blender’s role is crucial: high-speed blending breaks the cheese down into very small particles and fully incorporates the hydrated gelatin and milk powder so the end result is uniform and smooth.
The steps are forgiving because the chemistry is simple: hydrate gelatin, dissolve powder, emulsify cheese. There’s no tempering of multiple ingredients over tricky heat, so the risk of breaking or seizing is low. The long chill time lets the gelatin network set completely, which is why the minimum 12-hour refrigeration is non-negotiable for the intended texture.
Texture-Safe Substitutions
Want a slightly different flavor or melt? You can swap the mild cheddar for a different cheddar variety without changing the method. A sharper cheddar will give more pronounced flavor; a Colby or Monterey Jack will mellow the tang and yield a milder profile. Keep the same weight of cheese so the set remains consistent.
If you prefer a softer, more spreadable result, reduce firmness by shortening chill time slightly or by using a cheese with a higher moisture content (like young Colby). If you need an even firmer block, choose a drier cheese or make sure it’s shredded finely so the blender can fully incorporate it.
Prep & Cook Tools
- Blender or food processor — high-power blenders make silkier emulsions, but a standard unit will work if you pulse and scrape carefully.
- Small loaf pan or mold — choose one around 8 x 4 inches for a similar thickness and cooling profile.
- Plastic wrap — non-negotiable for lining the pan and keeping the set cheese airtight.
- Spatula — flexible, heat-resistant is best for scraping hot mixture.
- Measuring spoons and cups — accuracy with the gelatin and powdered milk matters for texture.
Missteps & Fixes
Grainy or slightly lumpy texture: Often caused by incomplete blending. Solution: return the mixture to the blender and puree in short bursts, scraping down the sides until entirely smooth. Warm slightly if needed, then reblend.
Separation or greasy surface after chilling: That usually happens when the emulsion wasn’t fully achieved. Puree longer next time and make sure the gelatin and powdered milk were fully dissolved in the boiling water before adding the cheese. If separation occurs after chilling, try warming gently and re-blending to bring the fats back into suspension.
Cheese too firm or too soft: For too firm, use a cheese with higher moisture next time or shred the cheese finer so it blends fully. For too soft, allow the full 12 hours chill or choose a drier cheddar.
Difficulty removing from pan: The plastic wrap liner should prevent sticking. If the edges cling, run a thin knife around the perimeter and lift using the excess wrap.
Make It Fit Your Plan
Meal prep: this recipe creates a convenient block that stores well and slices predictably. Keep pre-cut slices for quick sandwiches, meltable cheese on hand for weeknight tacos or mac and cheese, or cube it for party platters.
Scaling: you can double the recipe, but use a larger container and blend in batches if your blender is small. The key is preserving the same ratios of ingredients so the set is consistent.
Dietary considerations: this recipe relies on gelatin, which affects suitability for vegetarian diets. If that matters to you, plan on substituting with a vegetarian setting agent in a different tested recipe — this one uses gelatin specifically for texture.
Author’s Commentary
I make this in my kitchen when I want a quick block of meltable cheese without buying a processed brick. It’s approachable and forgiving. My favorite use is classic nachos: cubes melted on the stovetop with a splash of milk to loosen, poured over tortilla chips, and finished with jalapeños and cilantro. It’s not gourmet — it’s practical and deeply satisfying.
When I teach this to friends, the two most common questions I hear are: “Can I freeze it?” and “How long will it last?” The refrigeration guidance below is what I follow; I prefer refrigeration for texture, though freezing can be an option in a pinch if managed carefully (see storage notes).
Meal Prep & Storage Notes
After the cheese is fully set and the excess plastic wrap is folded over, keep the finished cheese tightly wrapped in plastic in the refrigerator for up to 1 month. This airtight wrapping prevents drying and slows flavor changes.
If you plan to make ahead for a party, prepare it up to a week in advance and keep it refrigerated until use. For extended storage beyond a month, freezing is possible but may change the texture slightly — thaw in the refrigerator and re-blend or use in cooked dishes where textural changes aren’t noticeable.
FAQ
Q: Can I use a different kind of cheese?
A: Yes. The recipe is written with mild cheddar, which gives a neutral, familiar flavor. Stronger cheddars, Colby, or Monterey Jack will work; just keep the same weight so the set remains predictable.
Q: Why does the recipe use gelatin?
A: Gelatin creates the sliceable, stable structure that mimics processed cheese. It helps the emulsified fats and proteins hold together once chilled.
Q: Can I skip the powdered milk?
A: Powdered milk adds body and helps the texture. Skipping it will change mouthfeel and may affect how well the mixture emulsifies; it’s not recommended if you want a reliable Velveeta-like texture.
Q: Is the blender step really necessary?
A: Yes. The blender breaks down the cheese into very small particles and fully combines it with the hydrated gelatin and milk powder. Without thorough blending, the final texture can be uneven.
Time to Try It
Ready to make your own meltable cheese? Set aside 15–20 minutes for active work, then let the fridge do the rest. Follow the steps in order, be patient with the chill time, and you’ll have a reliable, sliceable block that melts like a dream. When you do make it, take note of the cheese you started with—switching the cheddar type is the easiest way to tune flavor without changing technique.
Share your results, variations, and favorite ways you used the finished cheese. Happy melting—and enjoy the ease of homemade comfort food that behaves just the way you want it to.
DIY: Homemade Velveeta Cheese
Ingredients
Ingredients
- 1/4 ounce 7.09 gpacket unflavored gelatin
- 6 tablespoonsdry milk powder
- 1 cup 250 mlboiling water
- 16 ounces 453.59 gmild cheddar cheese, shredded
Instructions
Instructions
- Line a small loaf pan with plastic wrap so the wrap covers the bottom and sides and leaves excess to hang over the edges.
- Put the 1/4 ounce (7.09 g) packet unflavored gelatin and 6 tablespoons dry milk powder into a blender or food processor.
- Carefully pour 1 cup (250 ml) boiling water over the powders in the blender. Secure the lid, let the mixture sit about 20–30 seconds to allow the gelatin to begin dissolving, then pulse or blend until the powders are fully dissolved and the liquid looks uniform.
- Add the 16 ounces (453.59 g) shredded mild cheddar to the blender. Secure the lid and puree in short bursts until the mixture is completely smooth and homogenous, pausing to scrape down the sides with a spatula as needed.
- Immediately pour and scrape the cheese mixture into the prepared loaf pan. Use a spatula to smooth the top into an even layer.
- Fold the excess plastic wrap over the surface of the cheese, pressing gently to remove any air pockets and ensure the cheese is completely covered.
- Refrigerate the pan for at least 12 hours, until the cheese is fully set. Keep the finished cheese tightly wrapped in plastic in the refrigerator for up to 1 month.
Equipment
- Blender or Food Processor
- small loaf pan
- Plastic Wrap
- Spatula
Notes
Nutritional values are based on one ounce