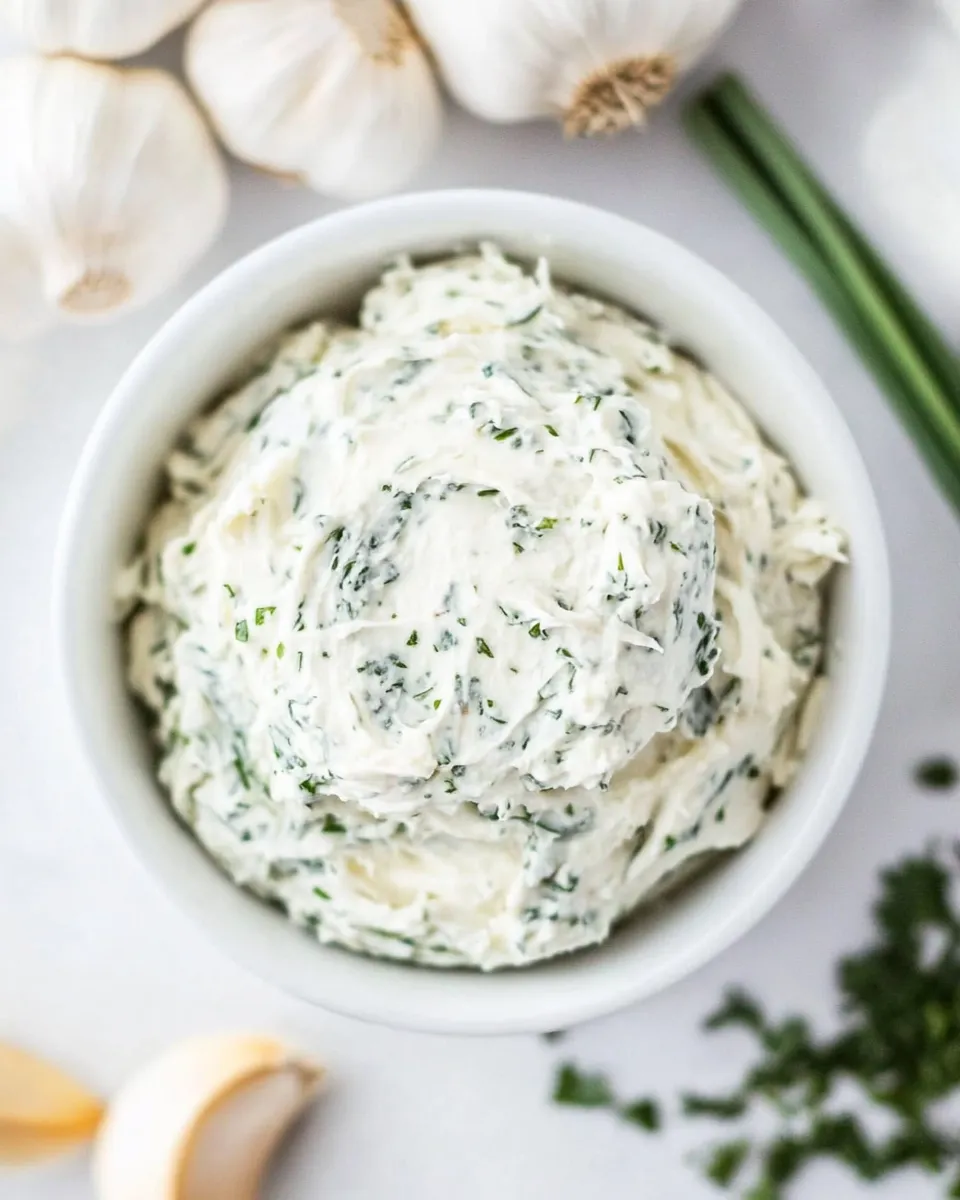
This garlic butter is the kind of building block I keep in the fridge at all times. It’s bright, garlicky, and melts into everything from weeknight pasta to a last-minute pan-seared steak. No complicated steps — just precise timing and a reliable method.
I like recipes that do most of the work up front and then reward you for days. This one makes a compound butter that’s ready to slather, melt, or dollop. It’s forgiving, keeps well, and the technique ensures the garlic stays fragrant without burning.
The Essentials
Make sure the garlic is very finely grated — that texture disperses flavor without leaving large bits. Use cold butter in the initial pan step so the garlic infuses as the butter melts gently. Separately, whip softened butter to aerate it; that gives the spread a light, luxurious texture.
Work on low–medium heat and watch the garlic closely. Garlic browns fast and turns bitter. The goal is fragrant garlic and melted butter, not browned bits. Once cooled, mix it into whipped butter along with fresh herbs and seasoning to taste.
Ingredients
- 2tablespoonscold unsalted butter — used to gently extract garlic flavor; keep it cold to control melting.
- 6finely grated garlic cloves — the primary flavor; grate finely so it melds evenly into the butter.
- 2sticks softened unsalted butter — the base of the compound butter; should be softened for whipping.
- 2tablespoonsminced fresh Italian flat leaf parsley — adds color and a fresh herbal lift.
- 1tablespoonsminced fresh chives — provides a mild onion note without overpowering the garlic.
- coarse salt and fresh cracked pepper to taste — seasoning to bring everything into balance.
Garlic Butter — Do This Next
- Put a medium sauté pan over low–medium heat. Add 2 tablespoons cold unsalted butter and immediately add the 6 finely grated garlic cloves, then turn the heat to low–medium so the butter melts gently.
- Stir constantly and cook just until the butter has melted and the garlic is fragrant, about 30–45 seconds. Do not let the garlic brown. Remove the pan from the heat.
- Transfer the garlic and any melted butter from the pan to a small bowl and let it cool until no longer hot (warm or room temperature).
- Place the 2 sticks softened unsalted butter in a stand mixer fitted with the paddle attachment. Beat on high for 5–7 minutes, until the butter is light and fluffy.
- Reduce the mixer speed to low and add the cooled garlic and any melted butter from the bowl, 2 tablespoons minced fresh Italian flat leaf parsley, 1 tablespoon minced fresh chives, and coarse salt and fresh cracked pepper to taste.
- Increase the mixer to medium and mix just until everything is evenly combined. Scrape the bowl and taste; adjust salt and pepper if needed.
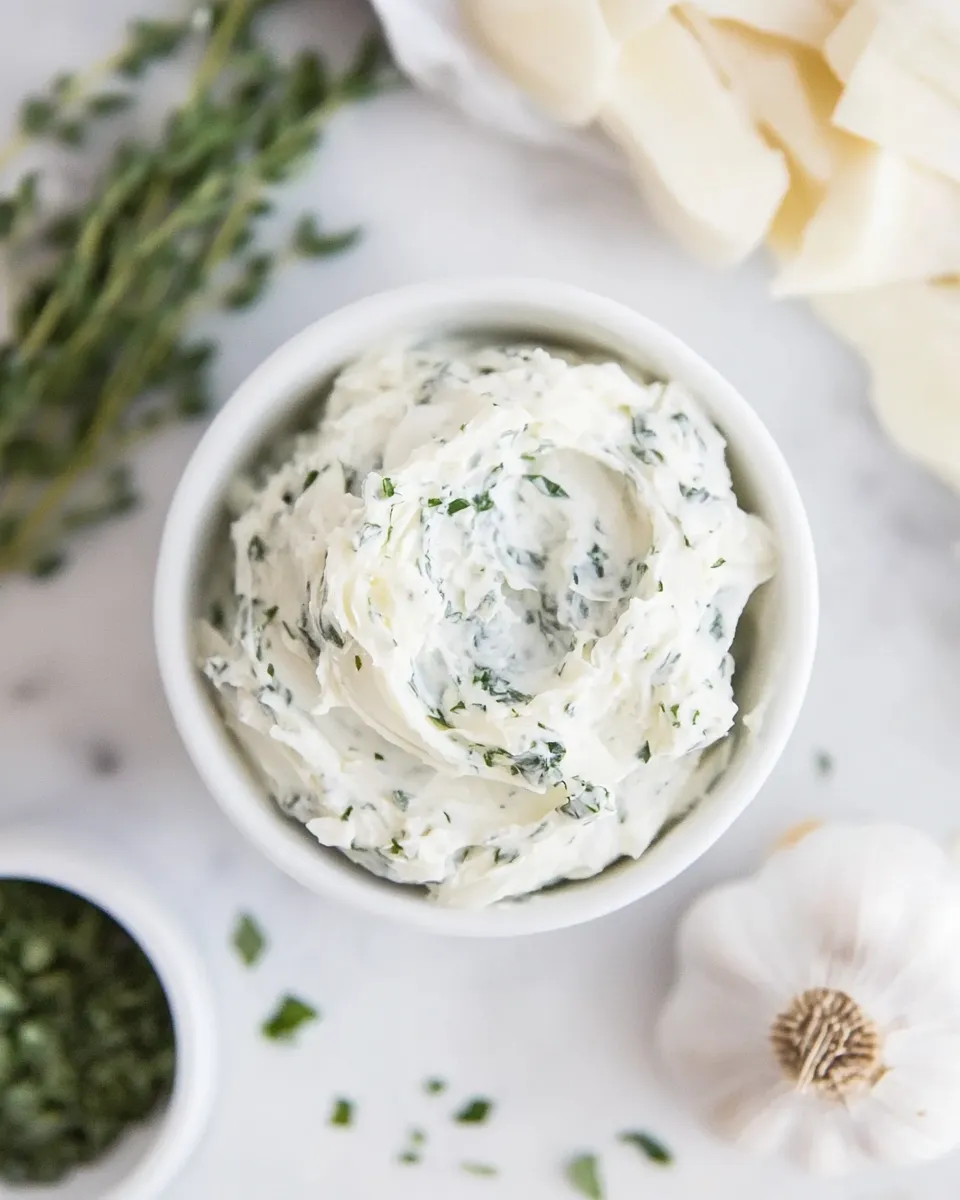
- Transfer the garlic butter to a serving dish or an airtight container. Serve immediately or cover and refrigerate until firm.
Why It Deserves a Spot
Garlic butter is versatile. It transforms plain bread into garlic toast, gives steamed vegetables a finish they deserve, and becomes an instant sauce when melted into hot pasta. It also elevates simple proteins — a spoonful on a finished piece of fish or steak is an inexpensive flavor upgrade.
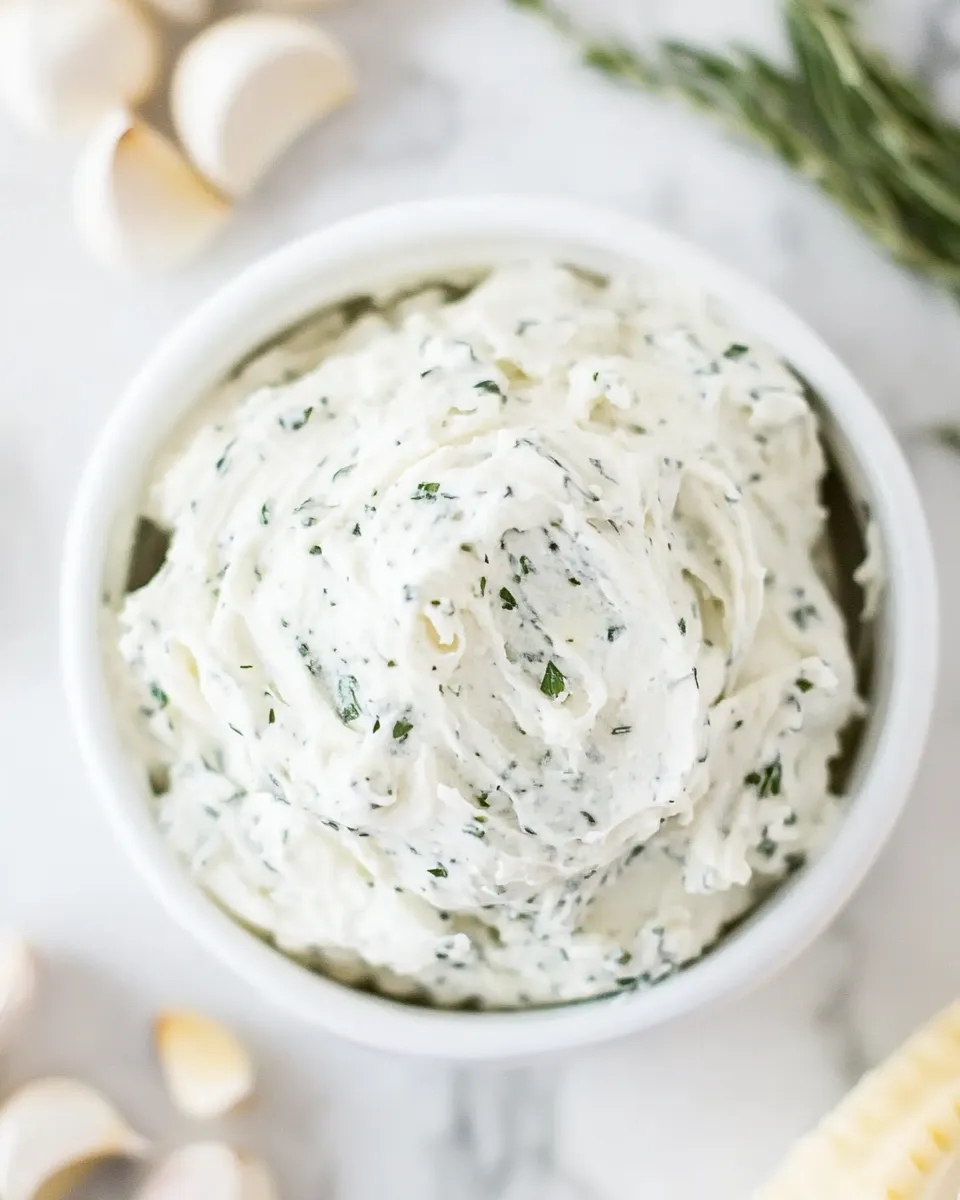
Beyond flavor, this particular method wins because it protects the garlic from bitterness (no browning) and creates a fluffy, spreadable texture by whipping the softened butter. That texture makes it easier to portion, spread, and melt evenly.
What to Use Instead
If you don’t have one of the fresh herbs called for, use substitutes rather than skip them. Flat-leaf parsley can be swapped for curly parsley if that’s what you have, though flat leaf is slightly more aromatic. If you’re out of chives, a small pinch of finely minced scallion white adds a similar brightness.
For a dairy-free alternative, use a plant-based butter that whips well. Keep in mind textures and melting points differ, so expect slight changes in mouthfeel and spreadability.
Gear Up: What to Grab
Keep the list short: a medium sauté pan, a small bowl, and either a stand mixer with a paddle attachment or a hand mixer. A fine grater or microplane for the garlic makes a big difference in texture. If you want neat logs for freezing, use plastic wrap or parchment and a rolling surface.
Optional but useful: an instant-read thermometer if you’re nervous about heat control (you’re aiming for gentle melting rather than any kind of browning) and an airtight container for storage.
Easy-to-Miss Gotchas
- Overheating the garlic — even a few extra seconds can produce a bitter flavor. Keep the pan moving and remove promptly.
- Using room-temperature garlic — finely grated garlic releases juices; if it’s warm (from being handled or exposed), it can speed up browning.
- Skipping the cooling step — adding hot garlic to whipped butter will melt it down and ruin the aerated texture. Let the garlic cool until it’s warm or room temperature.
- Under-seasoning — taste before you store. Butter requires a bit of salt to show the flavors vividly.
Seasonal Serving Ideas
Spring: Spoon onto grilled asparagus or toss with lemony peas and pasta. The herbs will feel fresh and seasonal.
Summer: Use as a base for a quick compound sauce for grilled corn or finish grilled shrimp with a dab of the butter while the seafood is still hot.
Autumn: Melt into roasted root vegetables or swirl through warm mashed potatoes for a cozy side dish.
Winter: Place a pat on top of braised short ribs or roast chicken right before serving to add a glossy, savory finish.
Author’s Commentary
I rely on this garlic butter when I need an instant flavor lift. The method separates extraction of garlic flavor (in cold pat of butter) from building texture (whipping the main butter). That two-part approach makes a compound butter that’s both deeply flavored and pleasant in the mouth.
Don’t overcomplicate the herbs. Fresh parsley and chives are enough; they complement without competing. If you want to experiment, a small bit of lemon zest or a pinch of smoked paprika changes the profile neatly, but only after you’ve mastered the base technique.
Make Ahead Like a Pro
Short-term
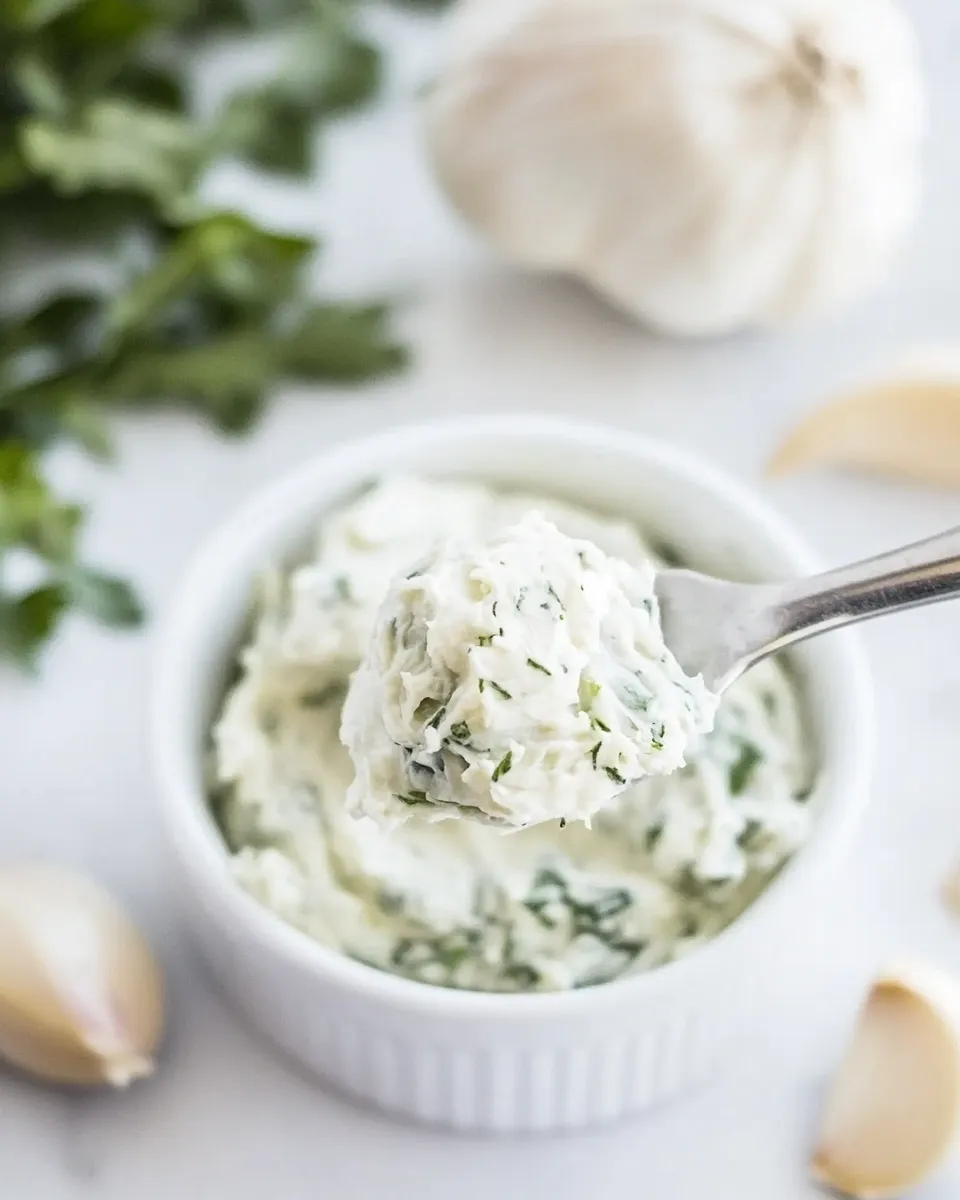
Store the finished garlic butter in an airtight container in the refrigerator for up to two weeks. It firms up and is easy to slice or scoop. Bring it to room temperature briefly before using if you want it spreadable.
Long-term
For longer storage, portion the butter into logs using plastic wrap or parchment, twist the ends, and freeze. Frozen rolls keep for several months. Slice off what you need and add directly to hot foods without thawing.
Popular Questions
Q: Can I use powdered garlic?
A: Powdered garlic lacks the fresh punch and texture this recipe relies on. If you must substitute, reduce the amount and expect a different flavor profile.
Q: What if my garlic butter separates when refrigerated?
A: If it seems a bit separated, let it sit at room temperature and whisk or re-whip briefly. Proper cooling of the garlic step prevents most separation.
Q: Can I make this without a mixer?
A: Yes. Beat softened butter vigorously by hand with a sturdy whisk or wooden spoon until fluffy, but expect it to take more time and elbow grease.
Before You Go
Make a batch this weekend. Put a little on toasted sourdough and another spoonful into hot pasta. Keep some in the freezer for when you need an effortless boost. It’s one of those small, deliberate steps in the kitchen that saves time and tastes like care.
If you want variations or storage tips tailored to your pantry, tell me what you have on hand and I’ll suggest adjustments. Simple swaps can extend the life of a great compound butter without losing its character.

Garlic Butter Recipe
Ingredients
Ingredients
- 2 tablespoonscold unsalted butter
- 6 finely grated garlic cloves
- 2 sticks softened unsalted butter
- 2 tablespoonsminced fresh Italian flat leaf parsley
- 1 tablespoonsminced fresh chives
- coarse salt and fresh cracked pepper to taste
Instructions
Instructions
- Put a medium sauté pan over low–medium heat. Add 2 tablespoons cold unsalted butter and immediately add the 6 finely grated garlic cloves, then turn the heat to low–medium so the butter melts gently.
- Stir constantly and cook just until the butter has melted and the garlic is fragrant, about 30–45 seconds. Do not let the garlic brown. Remove the pan from the heat.
- Transfer the garlic and any melted butter from the pan to a small bowl and let it cool until no longer hot (warm or room temperature).
- Place the 2 sticks softened unsalted butter in a stand mixer fitted with the paddle attachment. Beat on high for 5–7 minutes, until the butter is light and fluffy.
- Reduce the mixer speed to low and add the cooled garlic and any melted butter from the bowl, 2 tablespoons minced fresh Italian flat leaf parsley, 1 tablespoon minced fresh chives, and coarse salt and fresh cracked pepper to taste.
- Increase the mixer to medium and mix just until everything is evenly combined. Scrape the bowl and taste; adjust salt and pepper if needed.
- Transfer the garlic butter to a serving dish or an airtight container. Serve immediately or cover and refrigerate until firm.
Equipment
- sauté pan
- Small Bowl
- Stand mixer
- paddle attachment
Notes
Make-Ahead:
You can make this up to several days ahead of time. Keep it in the refrigerator or freezer until you ready to use it.
How to Store:
Cover and keep in the refrigerator for 7 days. Cover and freeze for up to 6 months.
You can
use this butter directly from the freezer in whatever you want to use it in.
Add acids
like citrus juice or vinegar to enhance the flavor.
If garlic
is overcooked it will become bitter.
You can
also use an electric hand mixer.