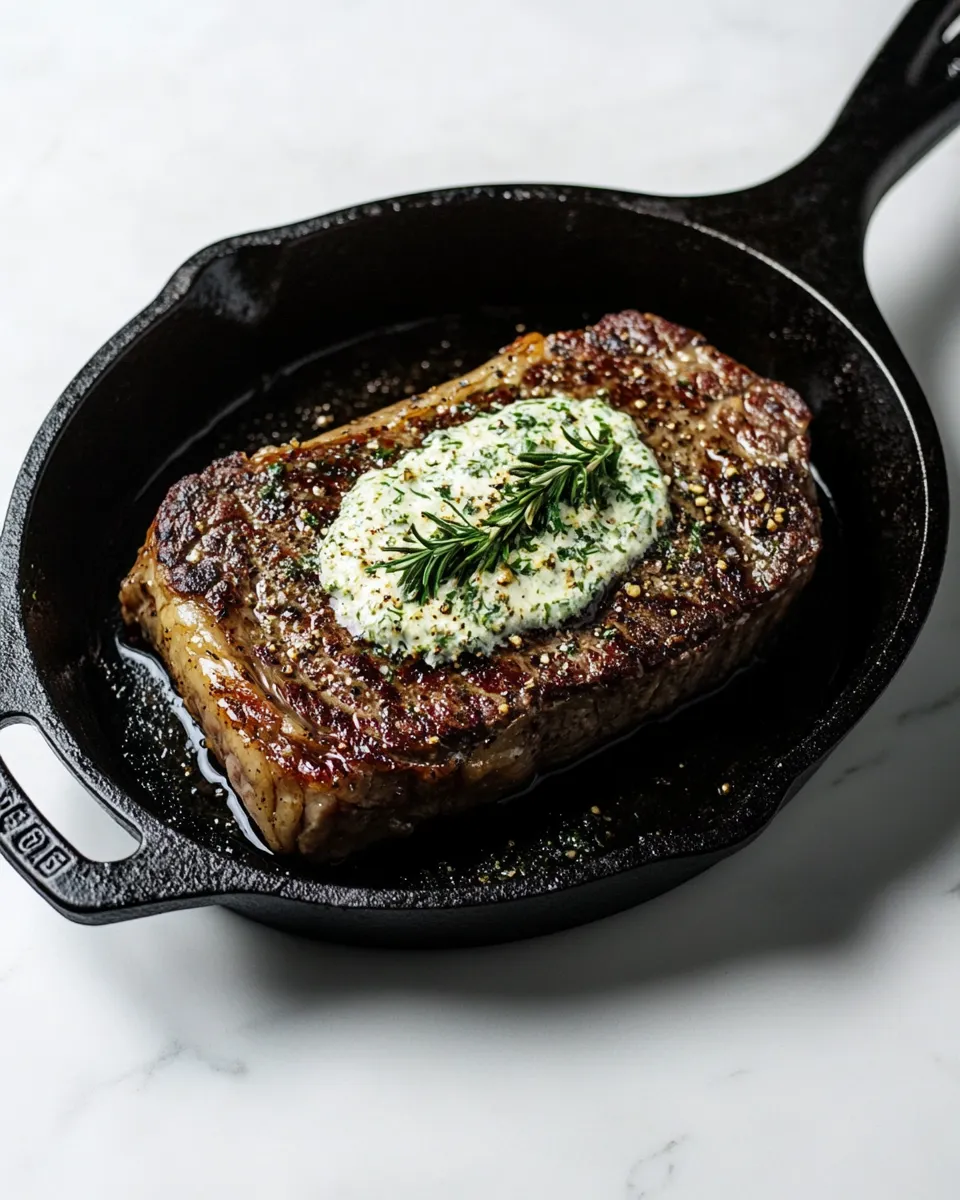
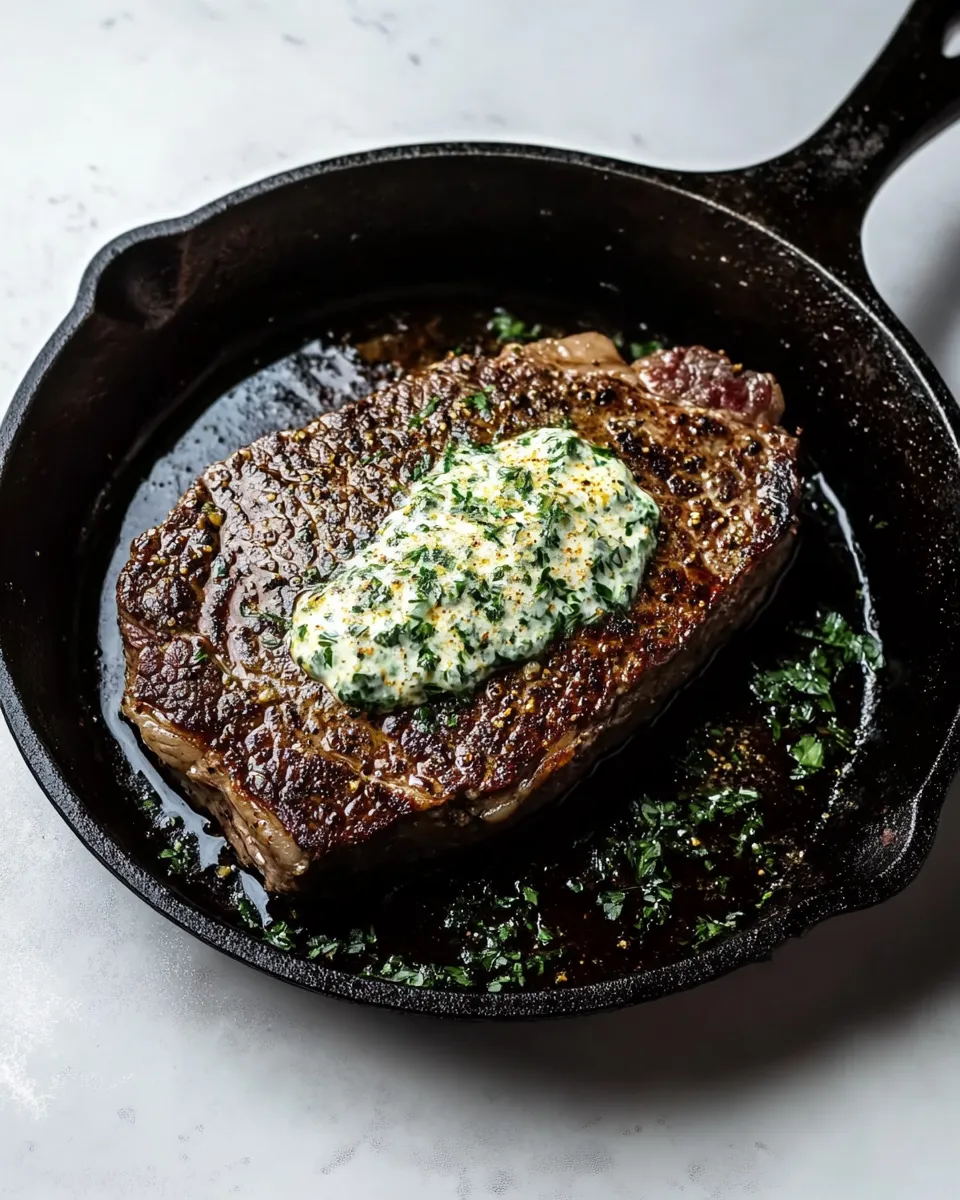
I love a recipe that asks for almost nothing and delivers a lot. This strip steak method does exactly that: a hot cast iron skillet, simple seasoning, and a short oven finish. The result is a steak with a deep brown sear, a tender interior and zero fuss. That’s what I reach for on a weeknight when I want something satisfying without a long list of ingredients or complicated steps.
There’s a little ritual to it — bringing the steaks up from fridge chill, getting the skillet screaming hot, and trusting the thermometer. Each step is straightforward. Follow them and you’ll get consistent results every time. I’ll walk you through what to expect, the tools to use, common mistakes to avoid, and quick options if you want to change the flavor profile.
The Ingredient Lineup
- 2 strip steaks, 1 to 1-1/2 inch thick — the central protein; thickness influences timing and final temperature.
- Kosher salt, to taste — brings out beef flavor and helps form the crust when applied before searing.
- Black pepper, to taste — sharp finishing seasoning; add just before cooking to avoid burning on the pan surface.
Cast Iron Seared Strip Steak: How It’s Done
- Unwrap the steaks, place them on a plate, and leave uncovered in the refrigerator for 1–2 hours.
- When you are ready to cook, preheat your oven to 450 degrees F.
- Place a 12-inch cast iron skillet on the stove over medium-high heat and heat until very hot.
- Remove the steaks from the refrigerator and season both sides with kosher salt and black pepper to taste.
- Carefully add the steaks to the hot skillet and do not move them. Sear until you see a color change about halfway up the sides, about 5 minutes.
- Flip the steaks, then immediately transfer the skillet to the preheated oven.
- Cook in the oven 8–10 minutes, or until an instant-read thermometer inserted into the thickest part reads 120–125 degrees F.
- Remove the steaks from the oven and transfer to a plate or cutting board. Let rest until the internal temperature reaches 130–135 degrees F.
- Serve plain.
Why You’ll Love This Recipe
This technique champions two things: a strong sear and controlled carryover cooking. The sear locks in flavor and creates that satisfying crust. The oven finish lets the center come up to temperature gently so you don’t end up with an overcooked exterior and an undercooked core. It’s a reliable path to medium-rare or medium steak without fancy equipment.
It’s also short on hands-on time. Once the steak is in the cast iron you can let it do its work. The steps are precise but not precious — they reward attention to heat and timing more than culinary bravado. That makes it perfect for cooks who want excellent steak without theatrics.
Ingredient Flex Options
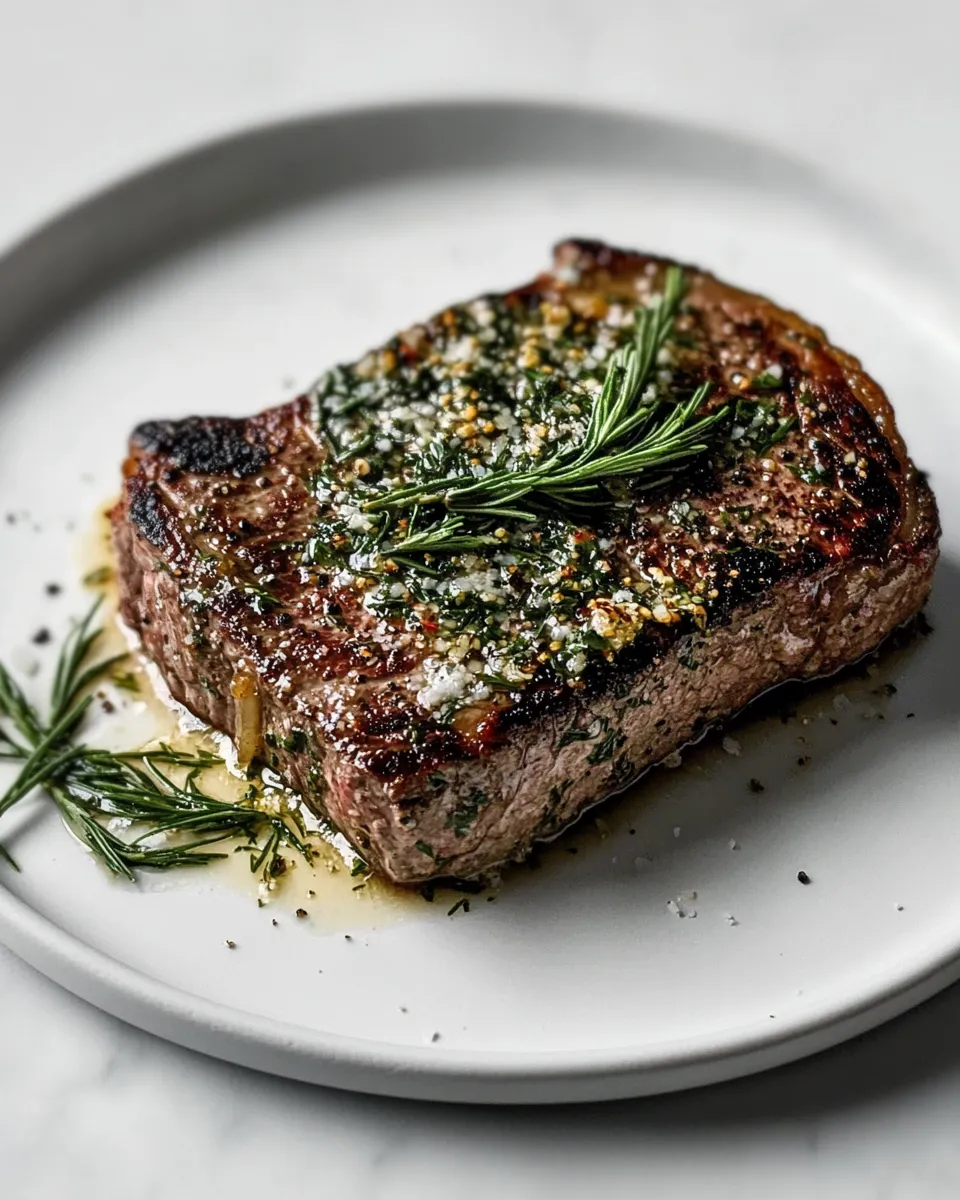
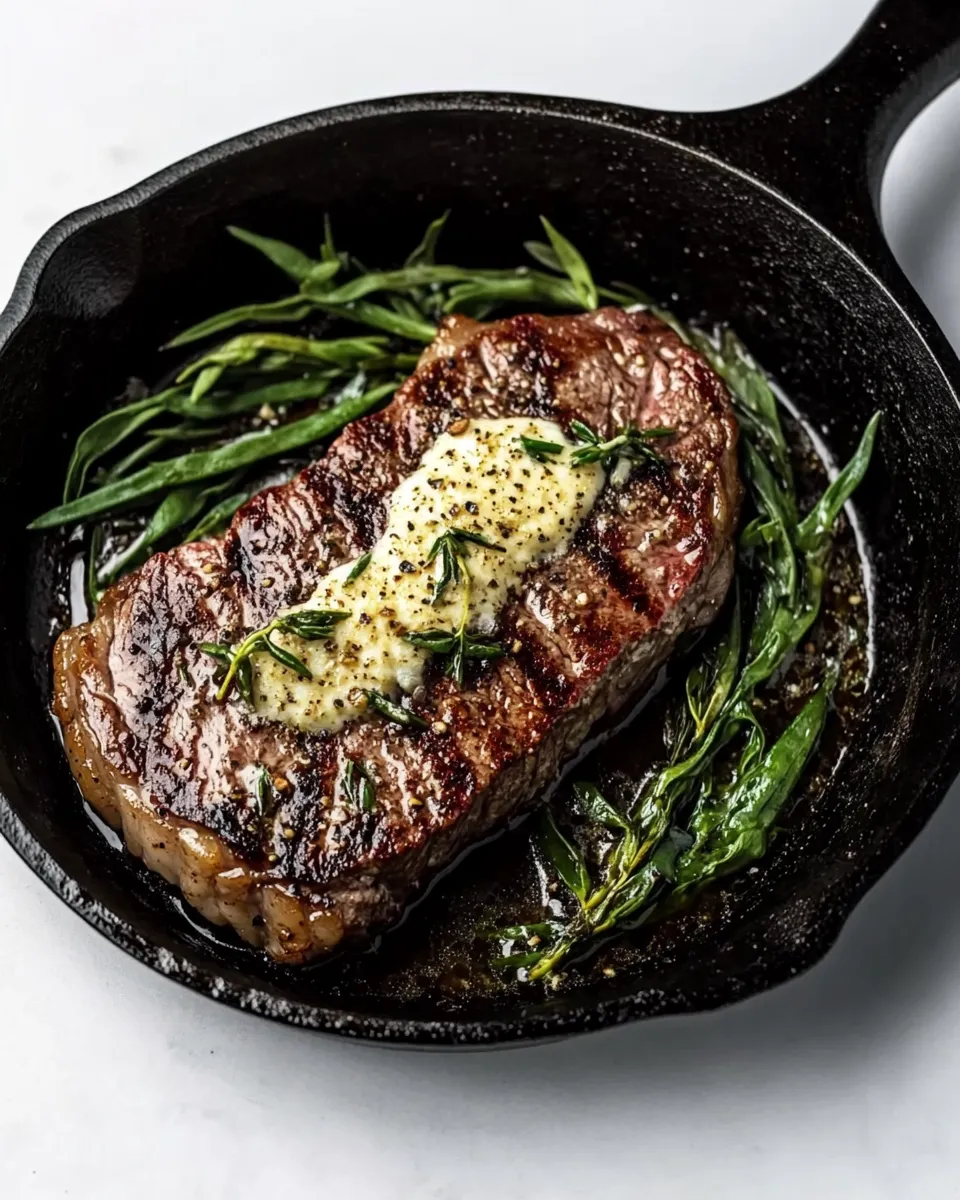
This recipe is intentionally minimal, but you can tailor it without changing the core method. If you like a finishing note, a small pat of butter and a sprig of herb spooned over the steak while it rests adds richness. If you prefer bolder seasoning, a light rub of coarsely ground pepper and a pinch more salt on the meat works well just before searing.
For those who want to tweak doneness, adjust the oven time and target thermometer reading. Thicker steaks will need slightly longer; thinner steaks will need less. The rest period is your friend — it evens out the juices and produces a better bite.
Prep & Cook Tools
Must-haves
- 12-inch cast iron skillet — holds heat and gives a superior sear.
- Instant-read thermometer — the single best tool for consistent doneness.
- Tongs — for secure flipping without piercing the steak.
Nice-to-haves
- Sturdy cutting board — for resting and carving.
- Heat-proof oven mitts or a thick towel — cast iron handles get hot quickly.
- Timer — helps track sear and oven time when you’re multitasking in the kitchen.
Frequent Missteps to Avoid
Heat is the most common culprit. If the skillet isn’t very hot you won’t get a good crust. Bring the pan up slowly over medium-high and let it sit until very hot before adding the steaks. Conversely, if your heat is too fierce and your pan smokes heavily, reduce the stovetop slightly — you want searing, not burning.
Another mistake is moving the steaks too soon. Don’t prod or flip while the crust is forming. Let the steak develop that brown color up the side before turning — this is also your visual cue for timing. Finally, skip slicing immediately after cooking. Resting lets the juices redistribute so the steak stays juicy on the plate instead of on the cutting board.
Seasonal Ingredient Swaps
While the recipe is written to be served plain, seasonal touches on the side are easy and effective. In summer, a simple salad or grilled vegetables pair cleanly. In colder months, roasted root vegetables or a warm grain pilaf add comfort without overwhelming the steak. If you want a finishing drizzle, a pan sauce made from steak drippings, a splash of vinegar or wine, and a touch of butter complements the meat beautifully.
Keep your accompaniments high-contrast and seasonal: bright and acidic sides cut the richness in warm months; hearty, savory sides sit well beside steak in cooler weather.
Cook’s Commentary
I cook this exact way when I want a predictable result. Letting the steaks sit uncovered in the refrigerator for 1–2 hours does two things: it takes off some surface chill and helps the exterior dry slightly so the sear is more effective. The 5-minute sear is a guideline tied to the 1–1.5 inch thickness; watch the side color and use that as much as the clock.
Thermometers are non-negotiable for me. The 120–125°F target in the oven aims low because the carryover heat during resting brings the steak to the target 130–135°F. If you prefer a bit more color inside, aim a few degrees higher before resting — but adjust conservatively. Steak continues to cook after it leaves the oven.
Meal Prep & Storage Notes
If you cook steaks ahead, sear them as directed, cool completely, then wrap tightly and refrigerate up to 3 days. Reheat gently in a low oven (about 250°F) until warmed through, then finish with a quick high-heat sear (30–60 seconds per side) to refresh the crust. Avoid microwaving — it ruins texture quickly.
Leftovers store well. Slice against the grain before refrigerating if you think you’ll use cold slices for sandwiches or salads. Reheated slices can be warmed in a skillet with a small splash of liquid to prevent drying.
Cast Iron Seared Strip Steak FAQs
Q: Can I use a different pan? A: A heavy-bottomed stainless steel pan will work in a pinch, but cast iron retains and distributes heat better for the sear described here. Nonstick pans won’t produce the same crust.
Q: What if my steaks are thicker or thinner than 1–1/2 inches? A: For thicker steaks, add a few extra minutes in the oven and rely on the thermometer. For thinner steaks, shorten the oven time; they’ll reach temperature faster after searing. Use the side-color cue during sear and the thermometer in the oven to confirm doneness.
Q: Should I oil the steak or the pan? A: This method is written without an explicit oil step. If your pan is well-seasoned cast iron, you can sear directly. If your pan tends to stick, a light smear of a neutral oil on the steak or in the pan before heating is acceptable. Don’t use too much — you want dry heat to form a crust.
Q: Why does the recipe say “serve plain”? A: It’s a nod to the purity of the technique: a properly seared and rested strip steak needs little else. That said, finishing additions like a pat of butter or a sprinkle of flaky salt are optional and delicious.
The Last Word
This is an honest, no-nonsense way to get a great strip steak at home. Minimal ingredients, a hot pan, careful timing, and a thermometer are the only secrets. Once you run through it a couple of times, the rhythm becomes second nature. You’ll know when the pan is right, when the sides show that color change, and when to tuck the skillet into the oven. Follow the sequence and trust the thermometer — it’s the best shortcut to a reliably excellent steak.
Cast Iron Seared Strip Steak
Ingredients
Ingredients
- 2 strip steaks 1 to 1-1/2 inch thick
- Kosher salt to taste
- Black pepper to taste
Instructions
Instructions
- Unwrap the steaks, place them on a plate, and leave uncovered in the refrigerator for 1–2 hours.
- When you are ready to cook, preheat your oven to 450 degrees F.
- Place a 12-inch cast iron skillet on the stove over medium-high heat and heat until very hot.
- Remove the steaks from the refrigerator and season both sides with kosher salt and black pepper to taste.
- Carefully add the steaks to the hot skillet and do not move them. Sear until you see a color change about halfway up the sides, about 5 minutes.
- Flip the steaks, then immediately transfer the skillet to the preheated oven.
- Cook in the oven 8–10 minutes, or until an instant-read thermometer inserted into the thickest part reads 120–125 degrees F.
- Remove the steaks from the oven and transfer to a plate or cutting board. Let rest until the internal temperature reaches 130–135 degrees F.
- Serve plain.
Equipment
- 12-inch Seasoned Cast Iron Skillet
Notes
135 degrees is the internal temp for a medium rare steak.
145 degrees is the internal temp for a medium steak.